The Garrison Yard
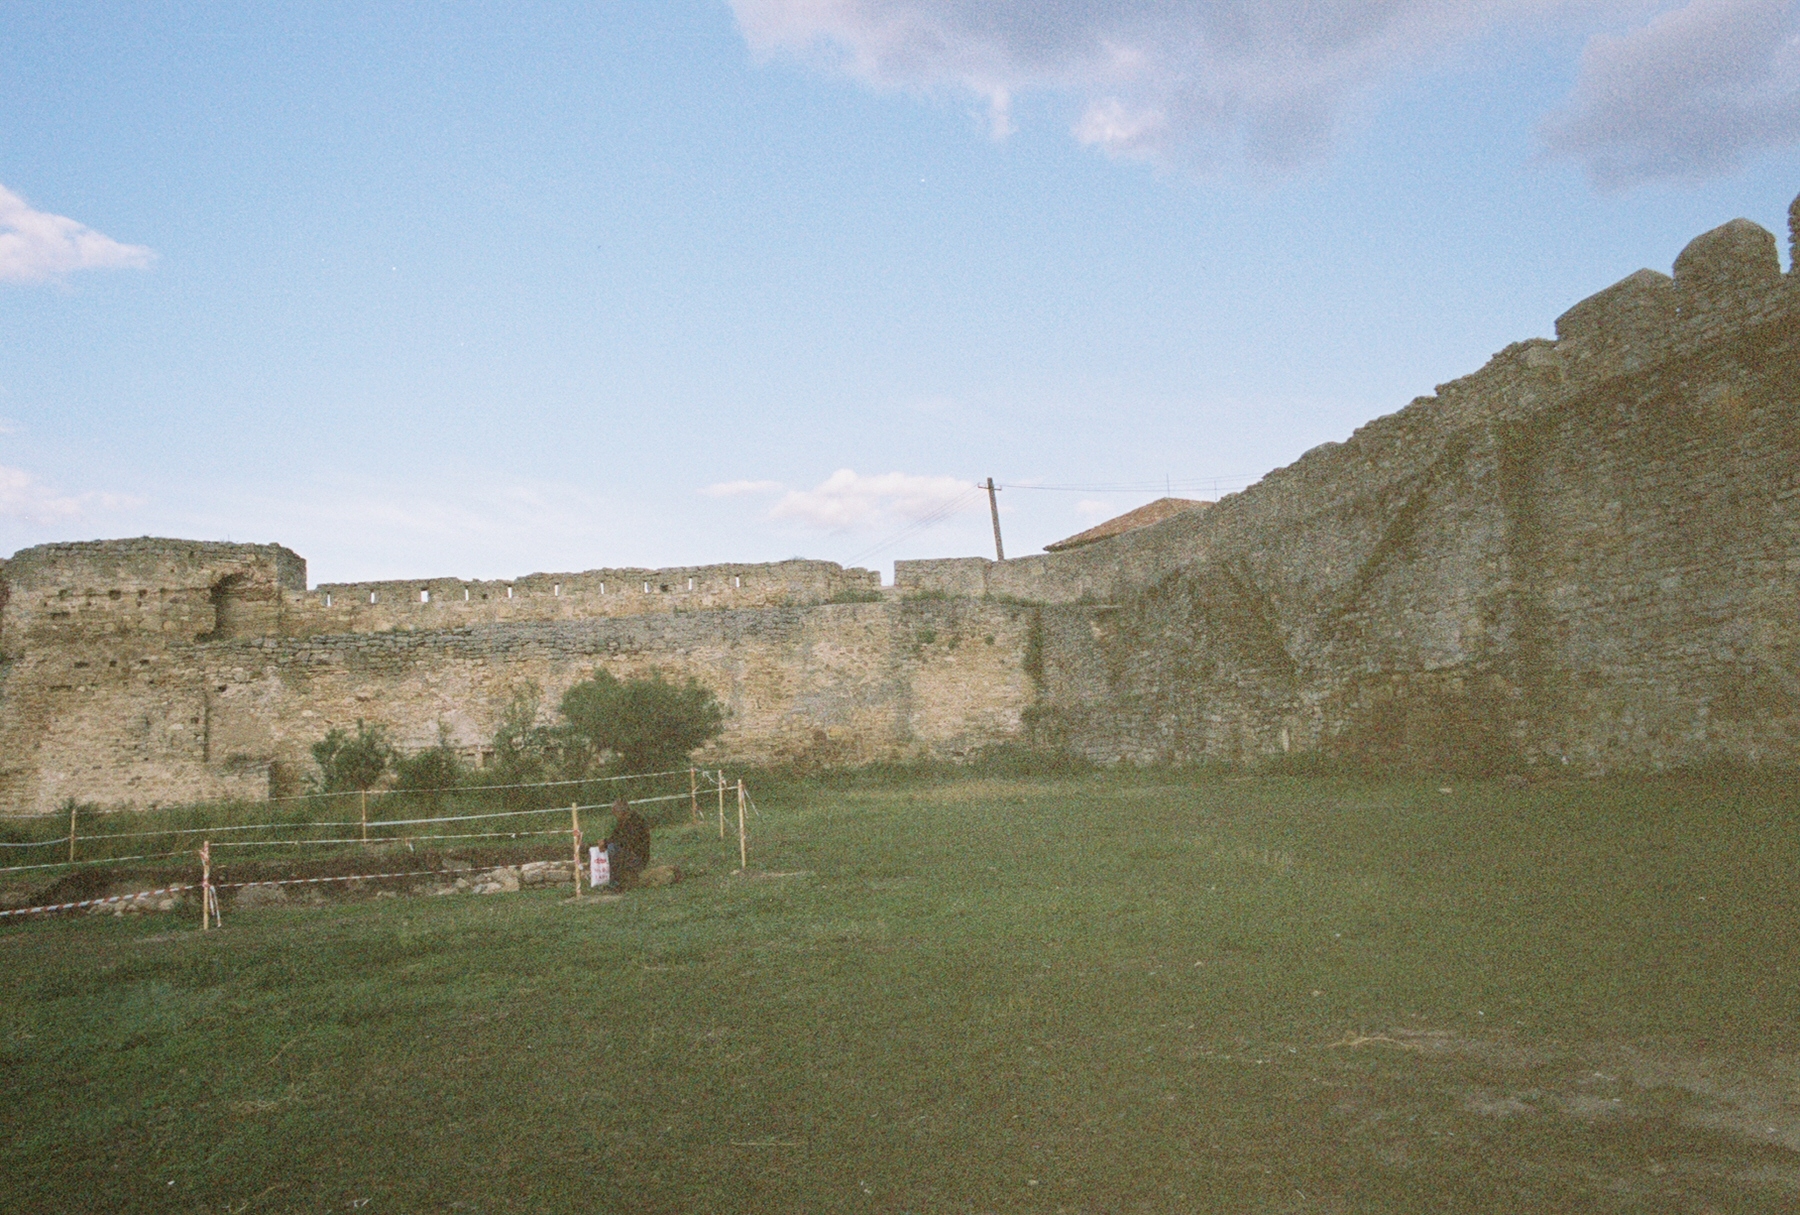
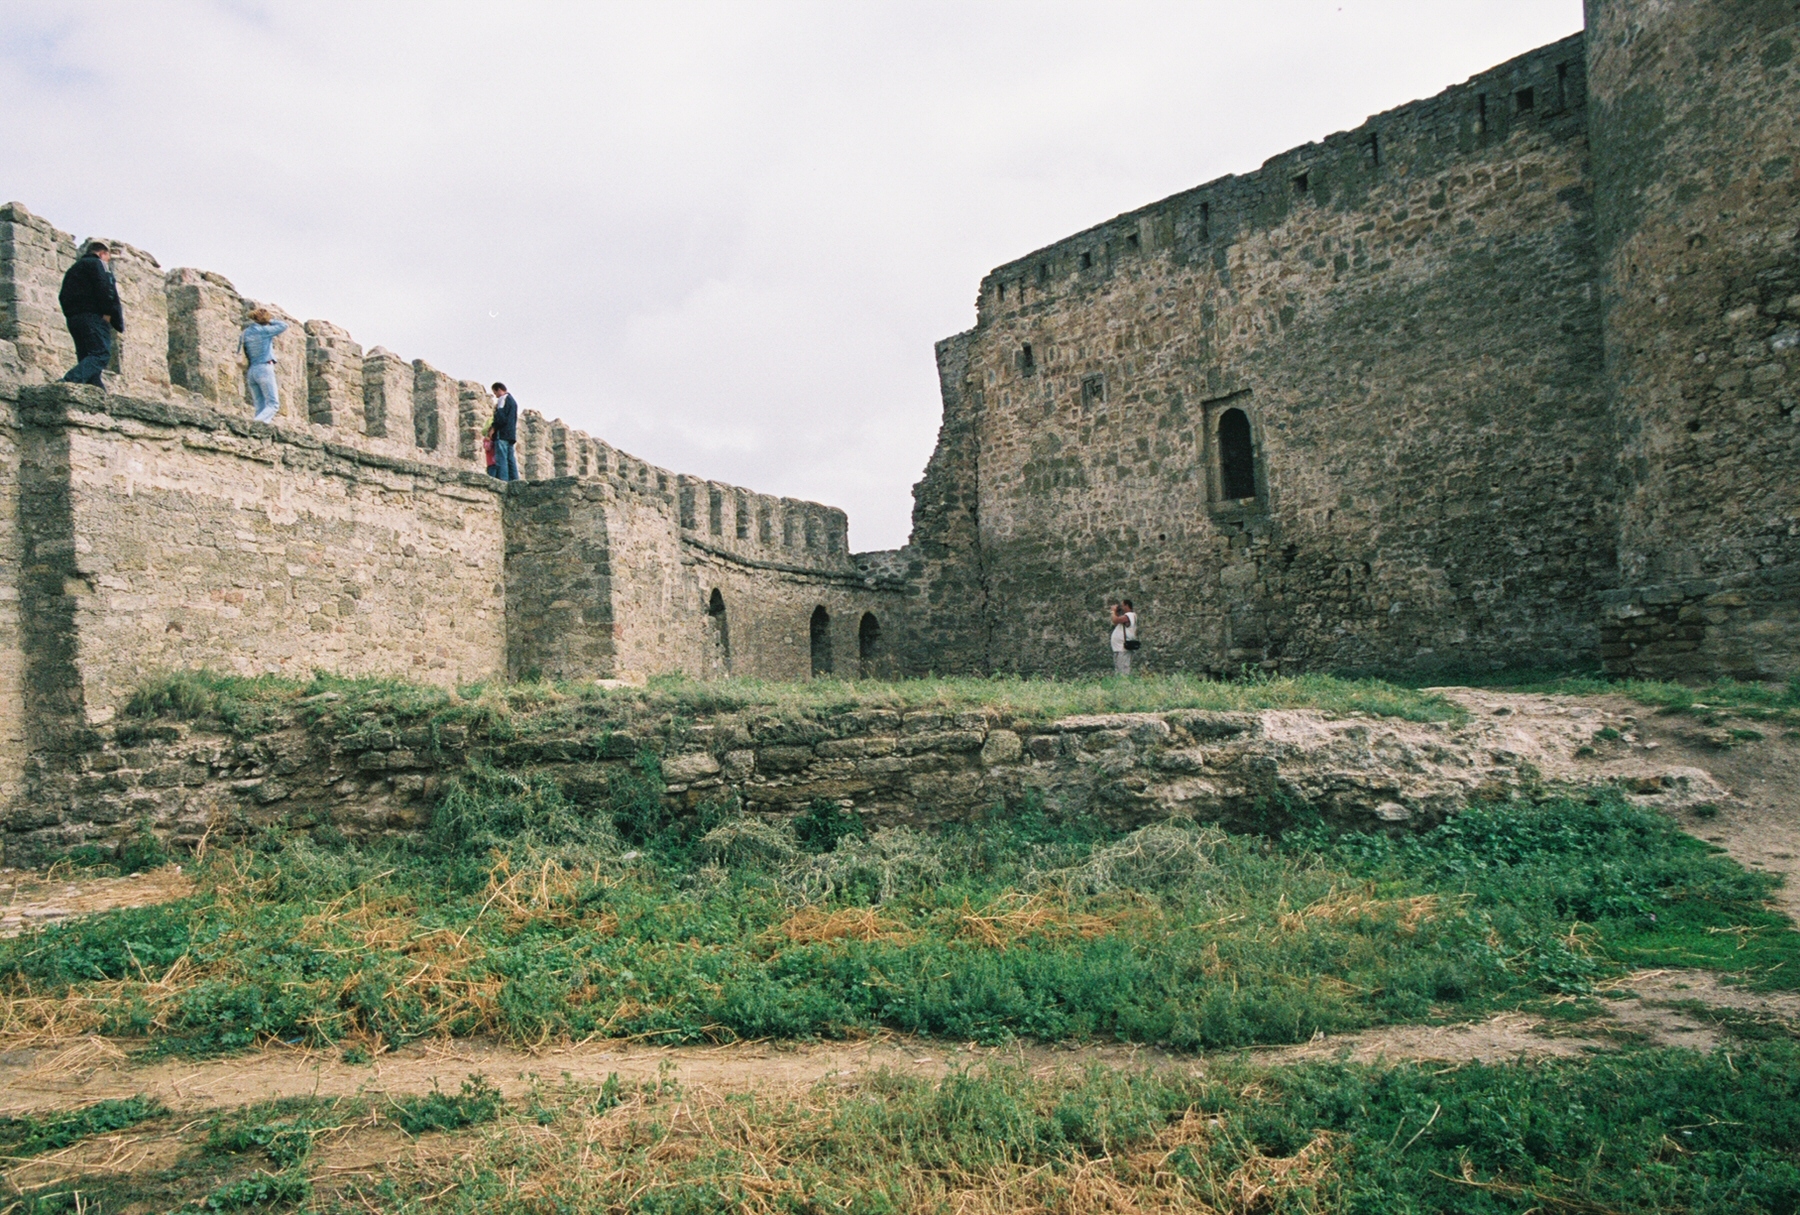
The Garrison Yard is the fortified enclosure that surrounds the Citadel, forming an inner ward of the fortress if one considers the Civil Yard (see below) to be the outer ward. While the Citadel probably served as the original castle’s elite residence and administrative heart, the Garrison Yard would have housed all the other functional aspects of the castle (e.g. garrison quarters, stables, storehouses, additional kitchen facilities, and workshops). Given its internal dimensions, it seems likely that much of the activity that took place within the Garrison Yard occurred in free-standing buildings that have long since been dismantled. What does survive is the architecture of the surrounding curtain walls. The following is an attempt to read these walls and reconstruct what they can tell us about the development of the Garrison Yard and its components over time.
North Curtain Wall
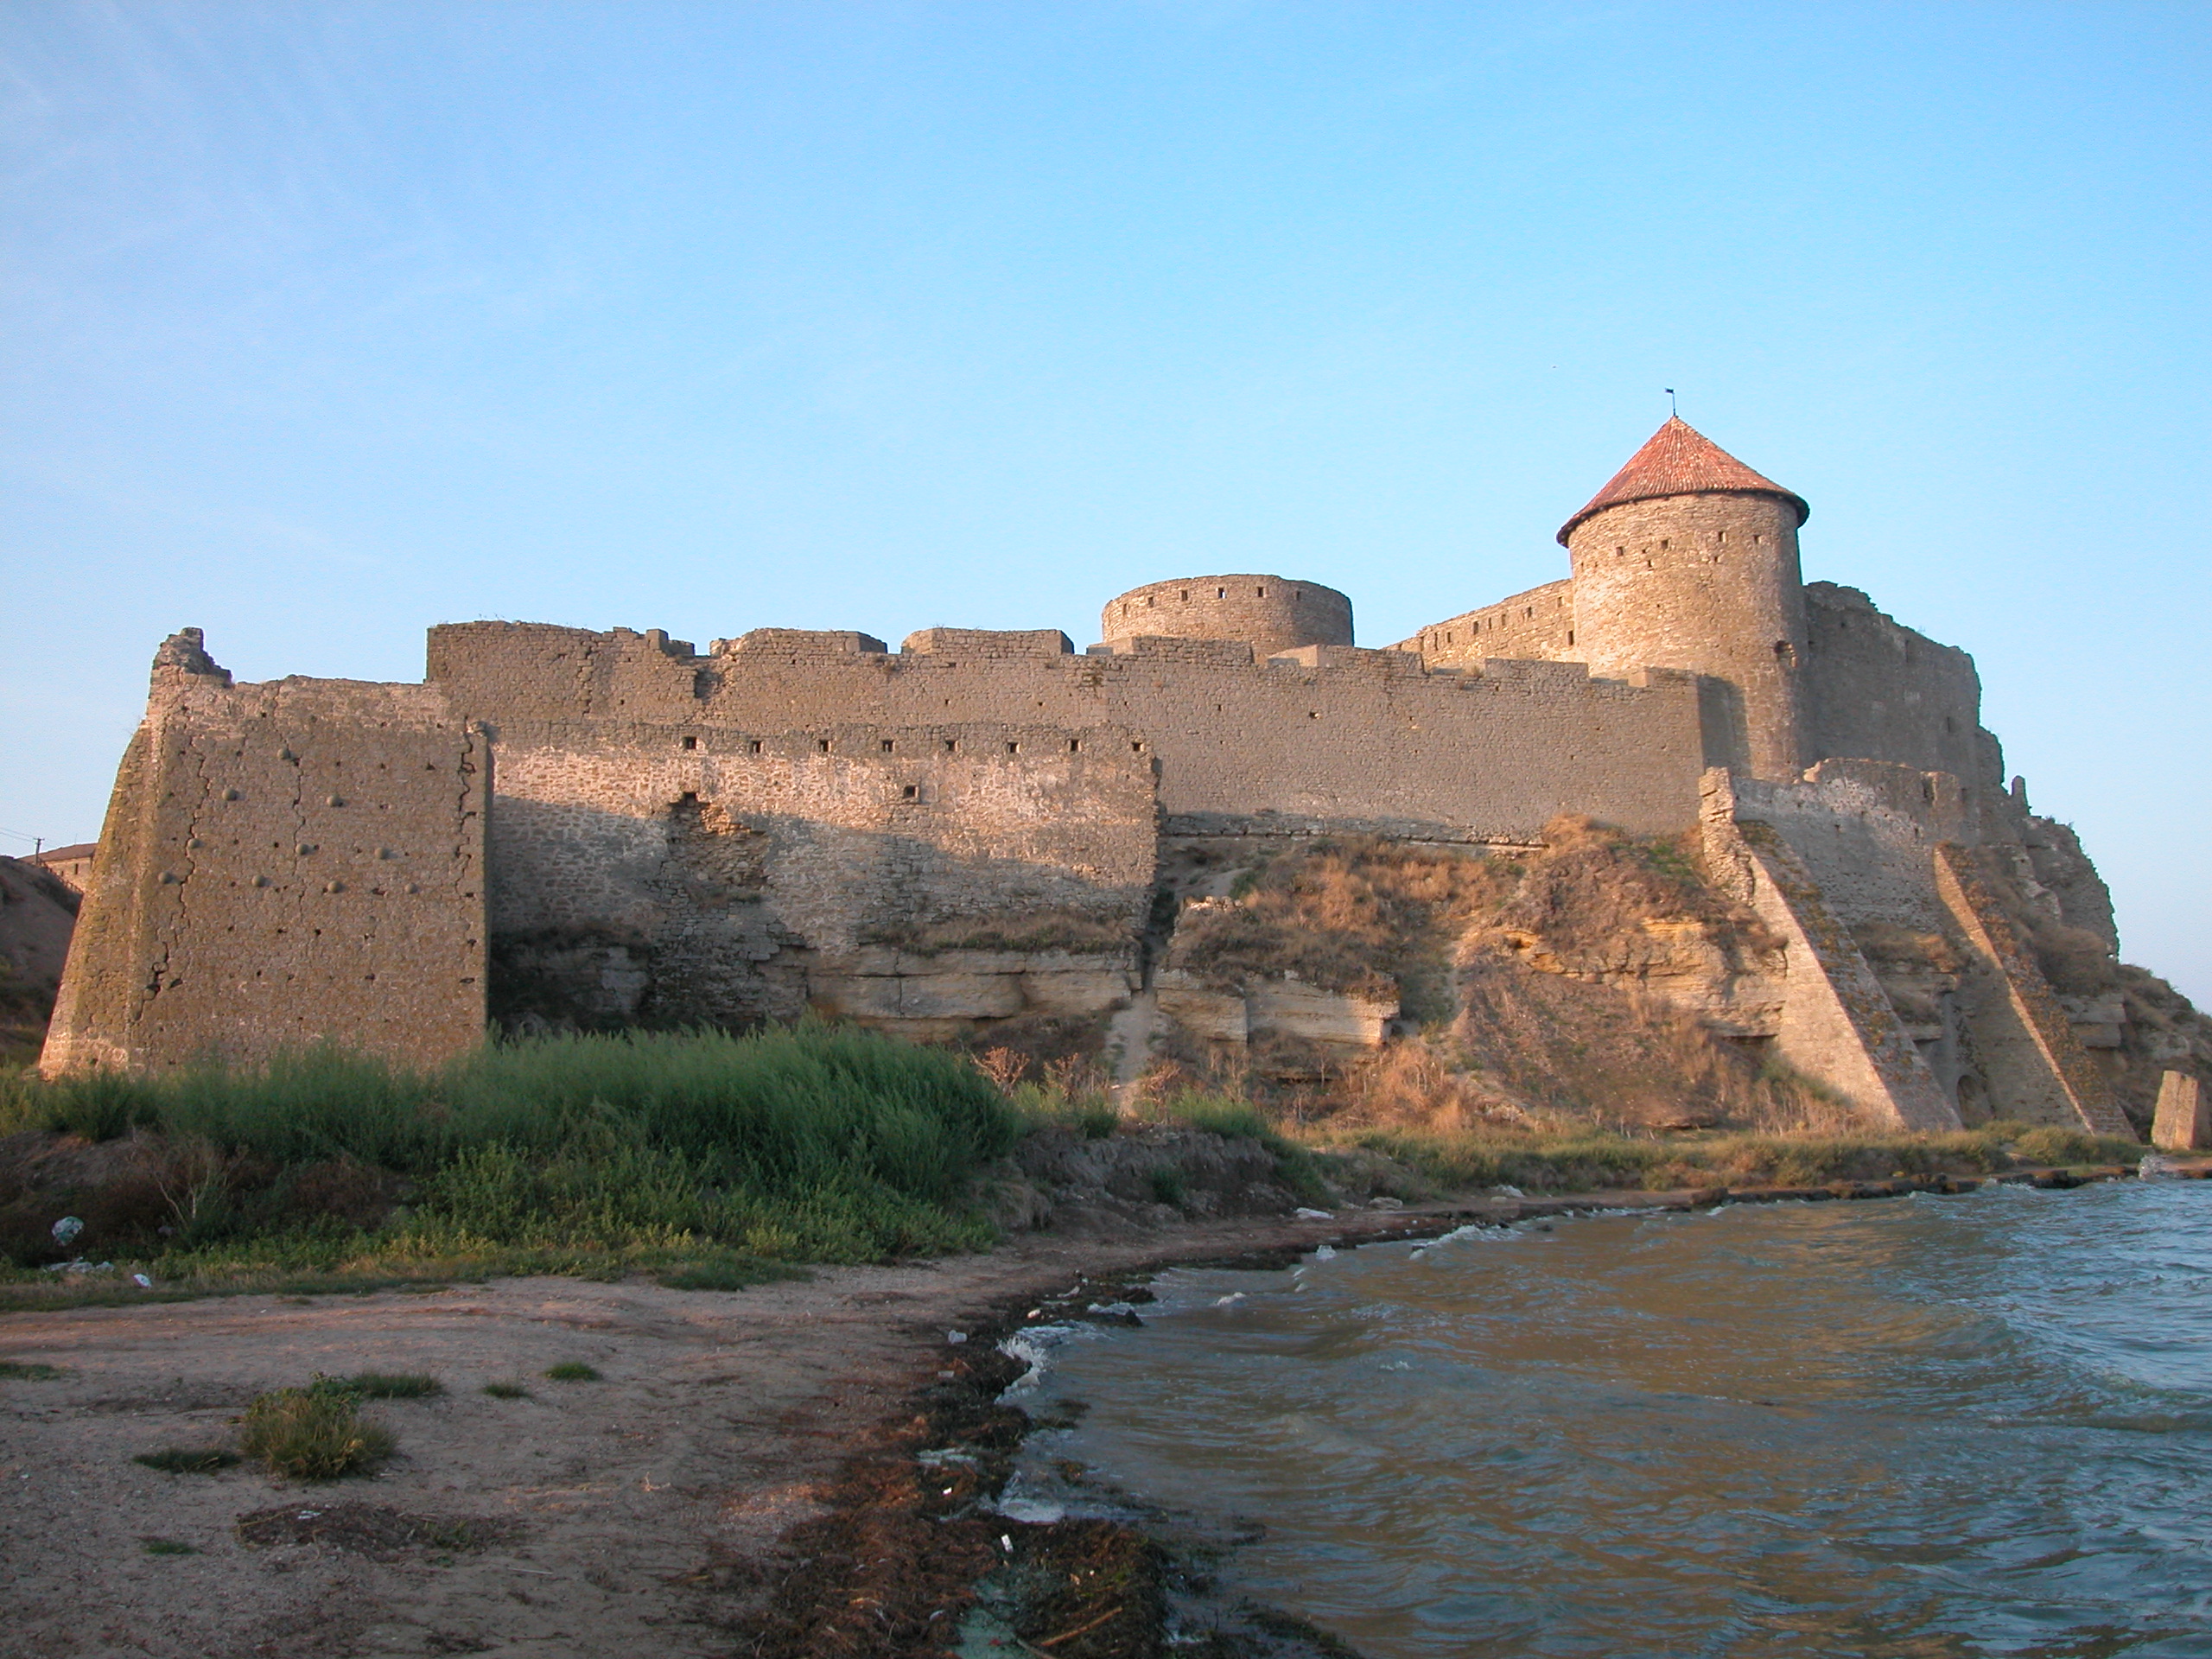
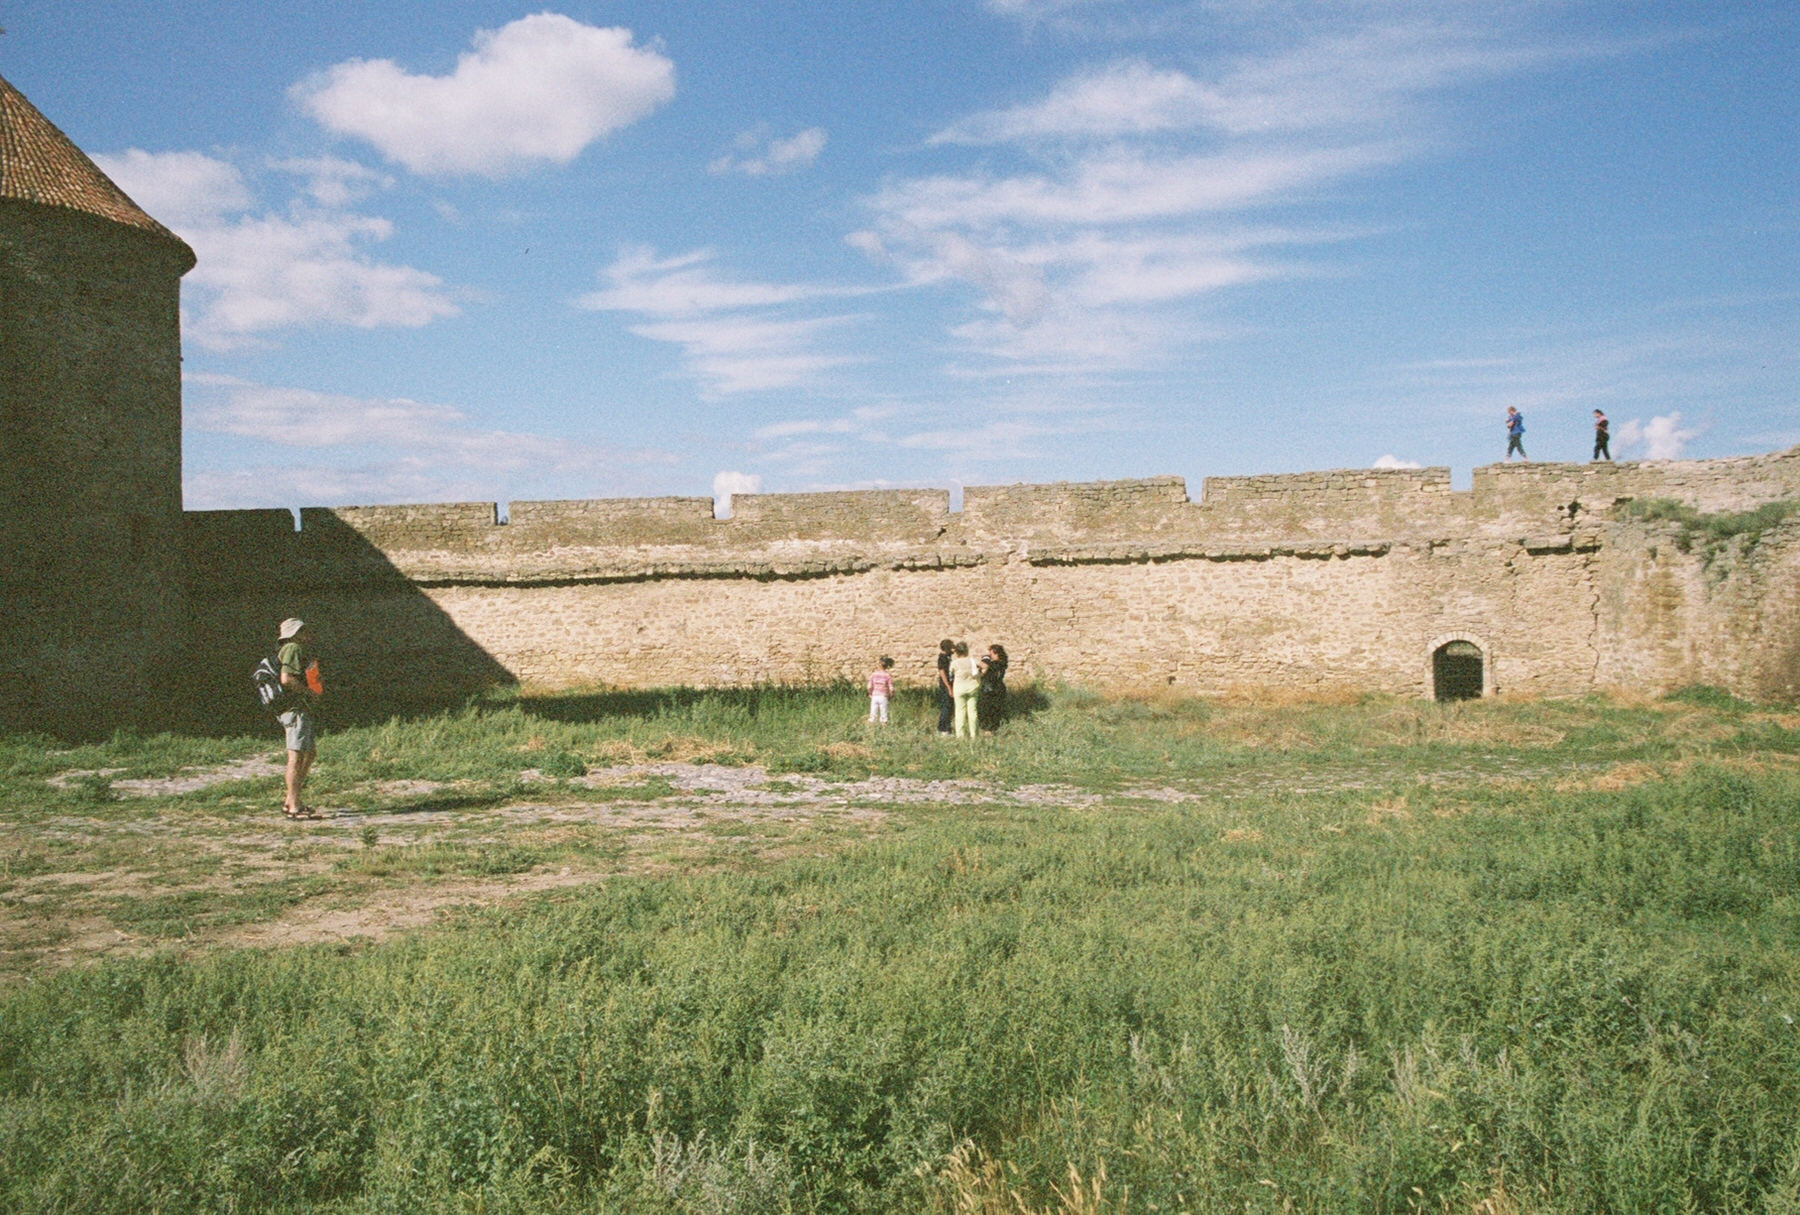
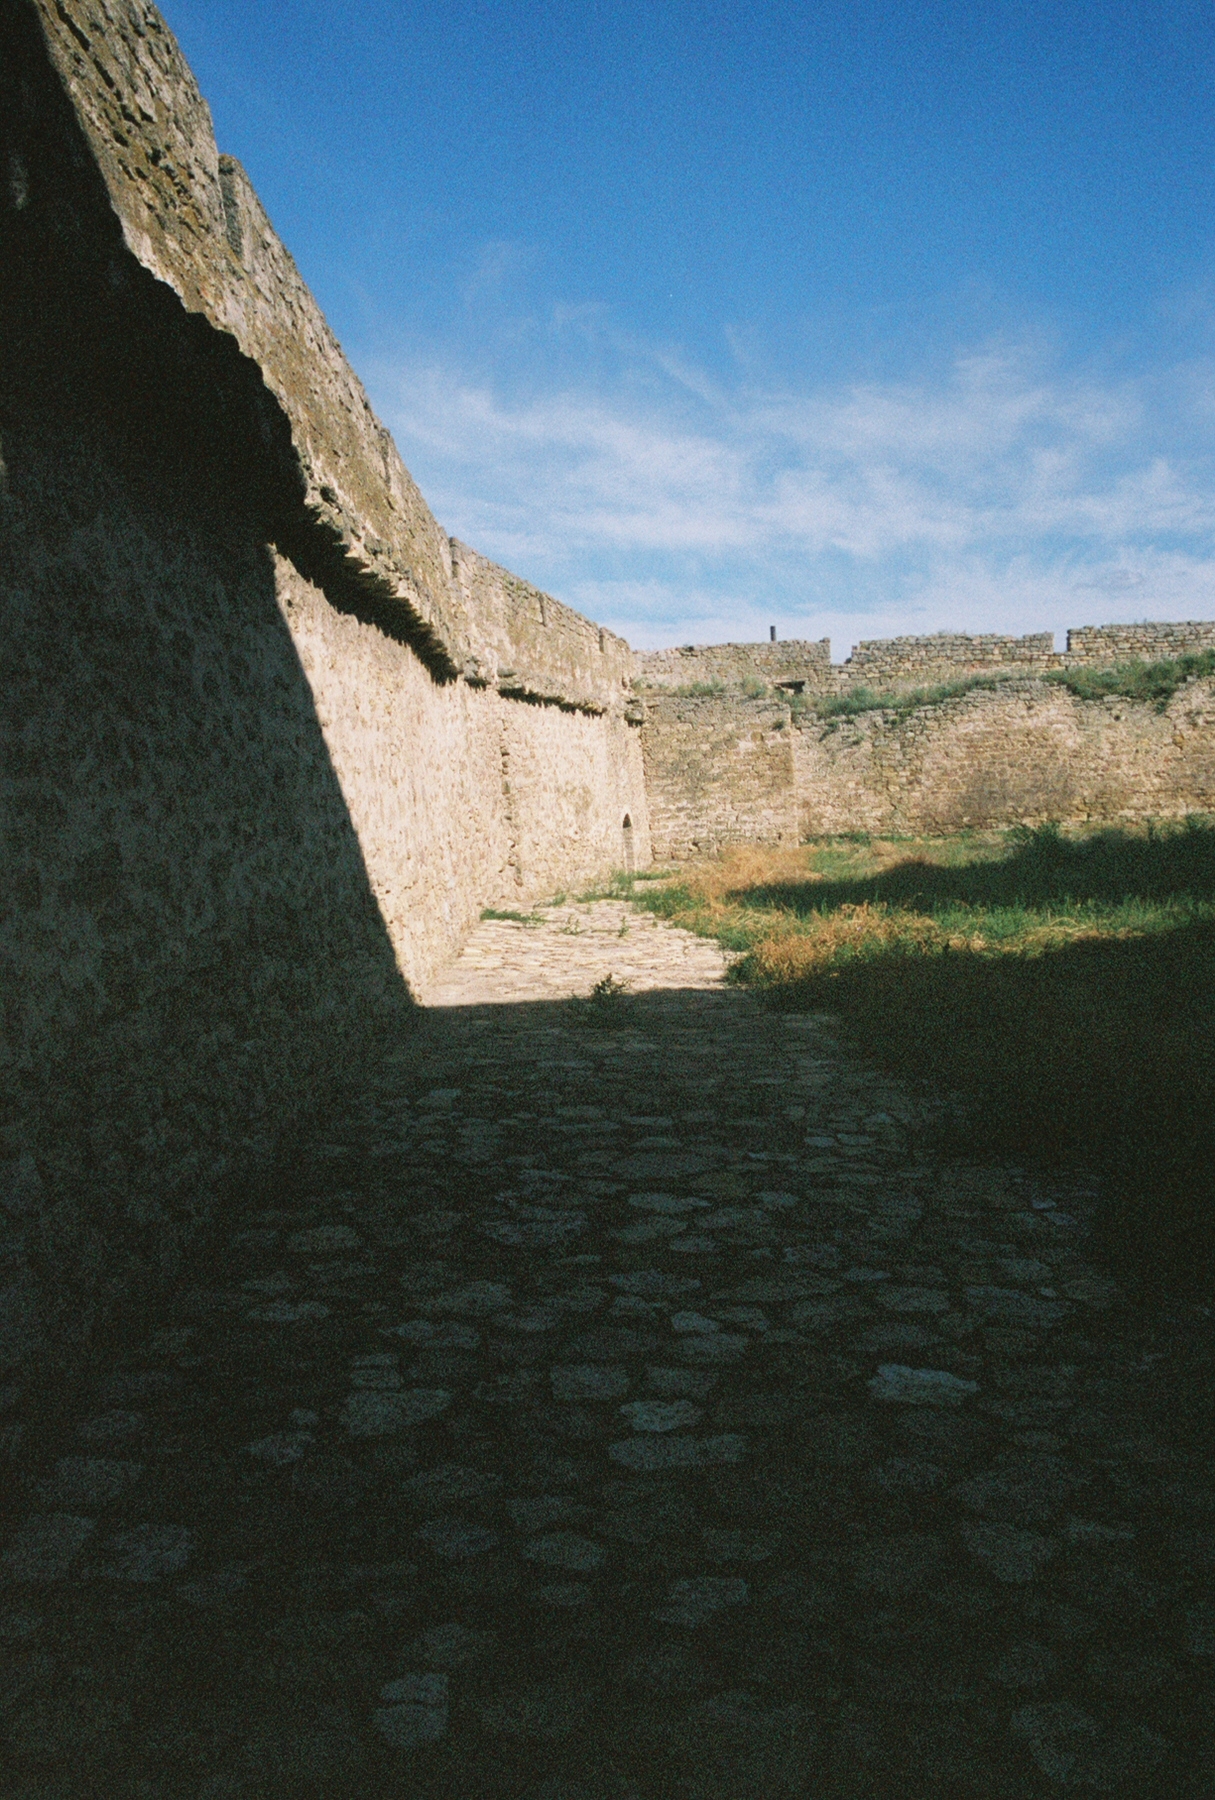
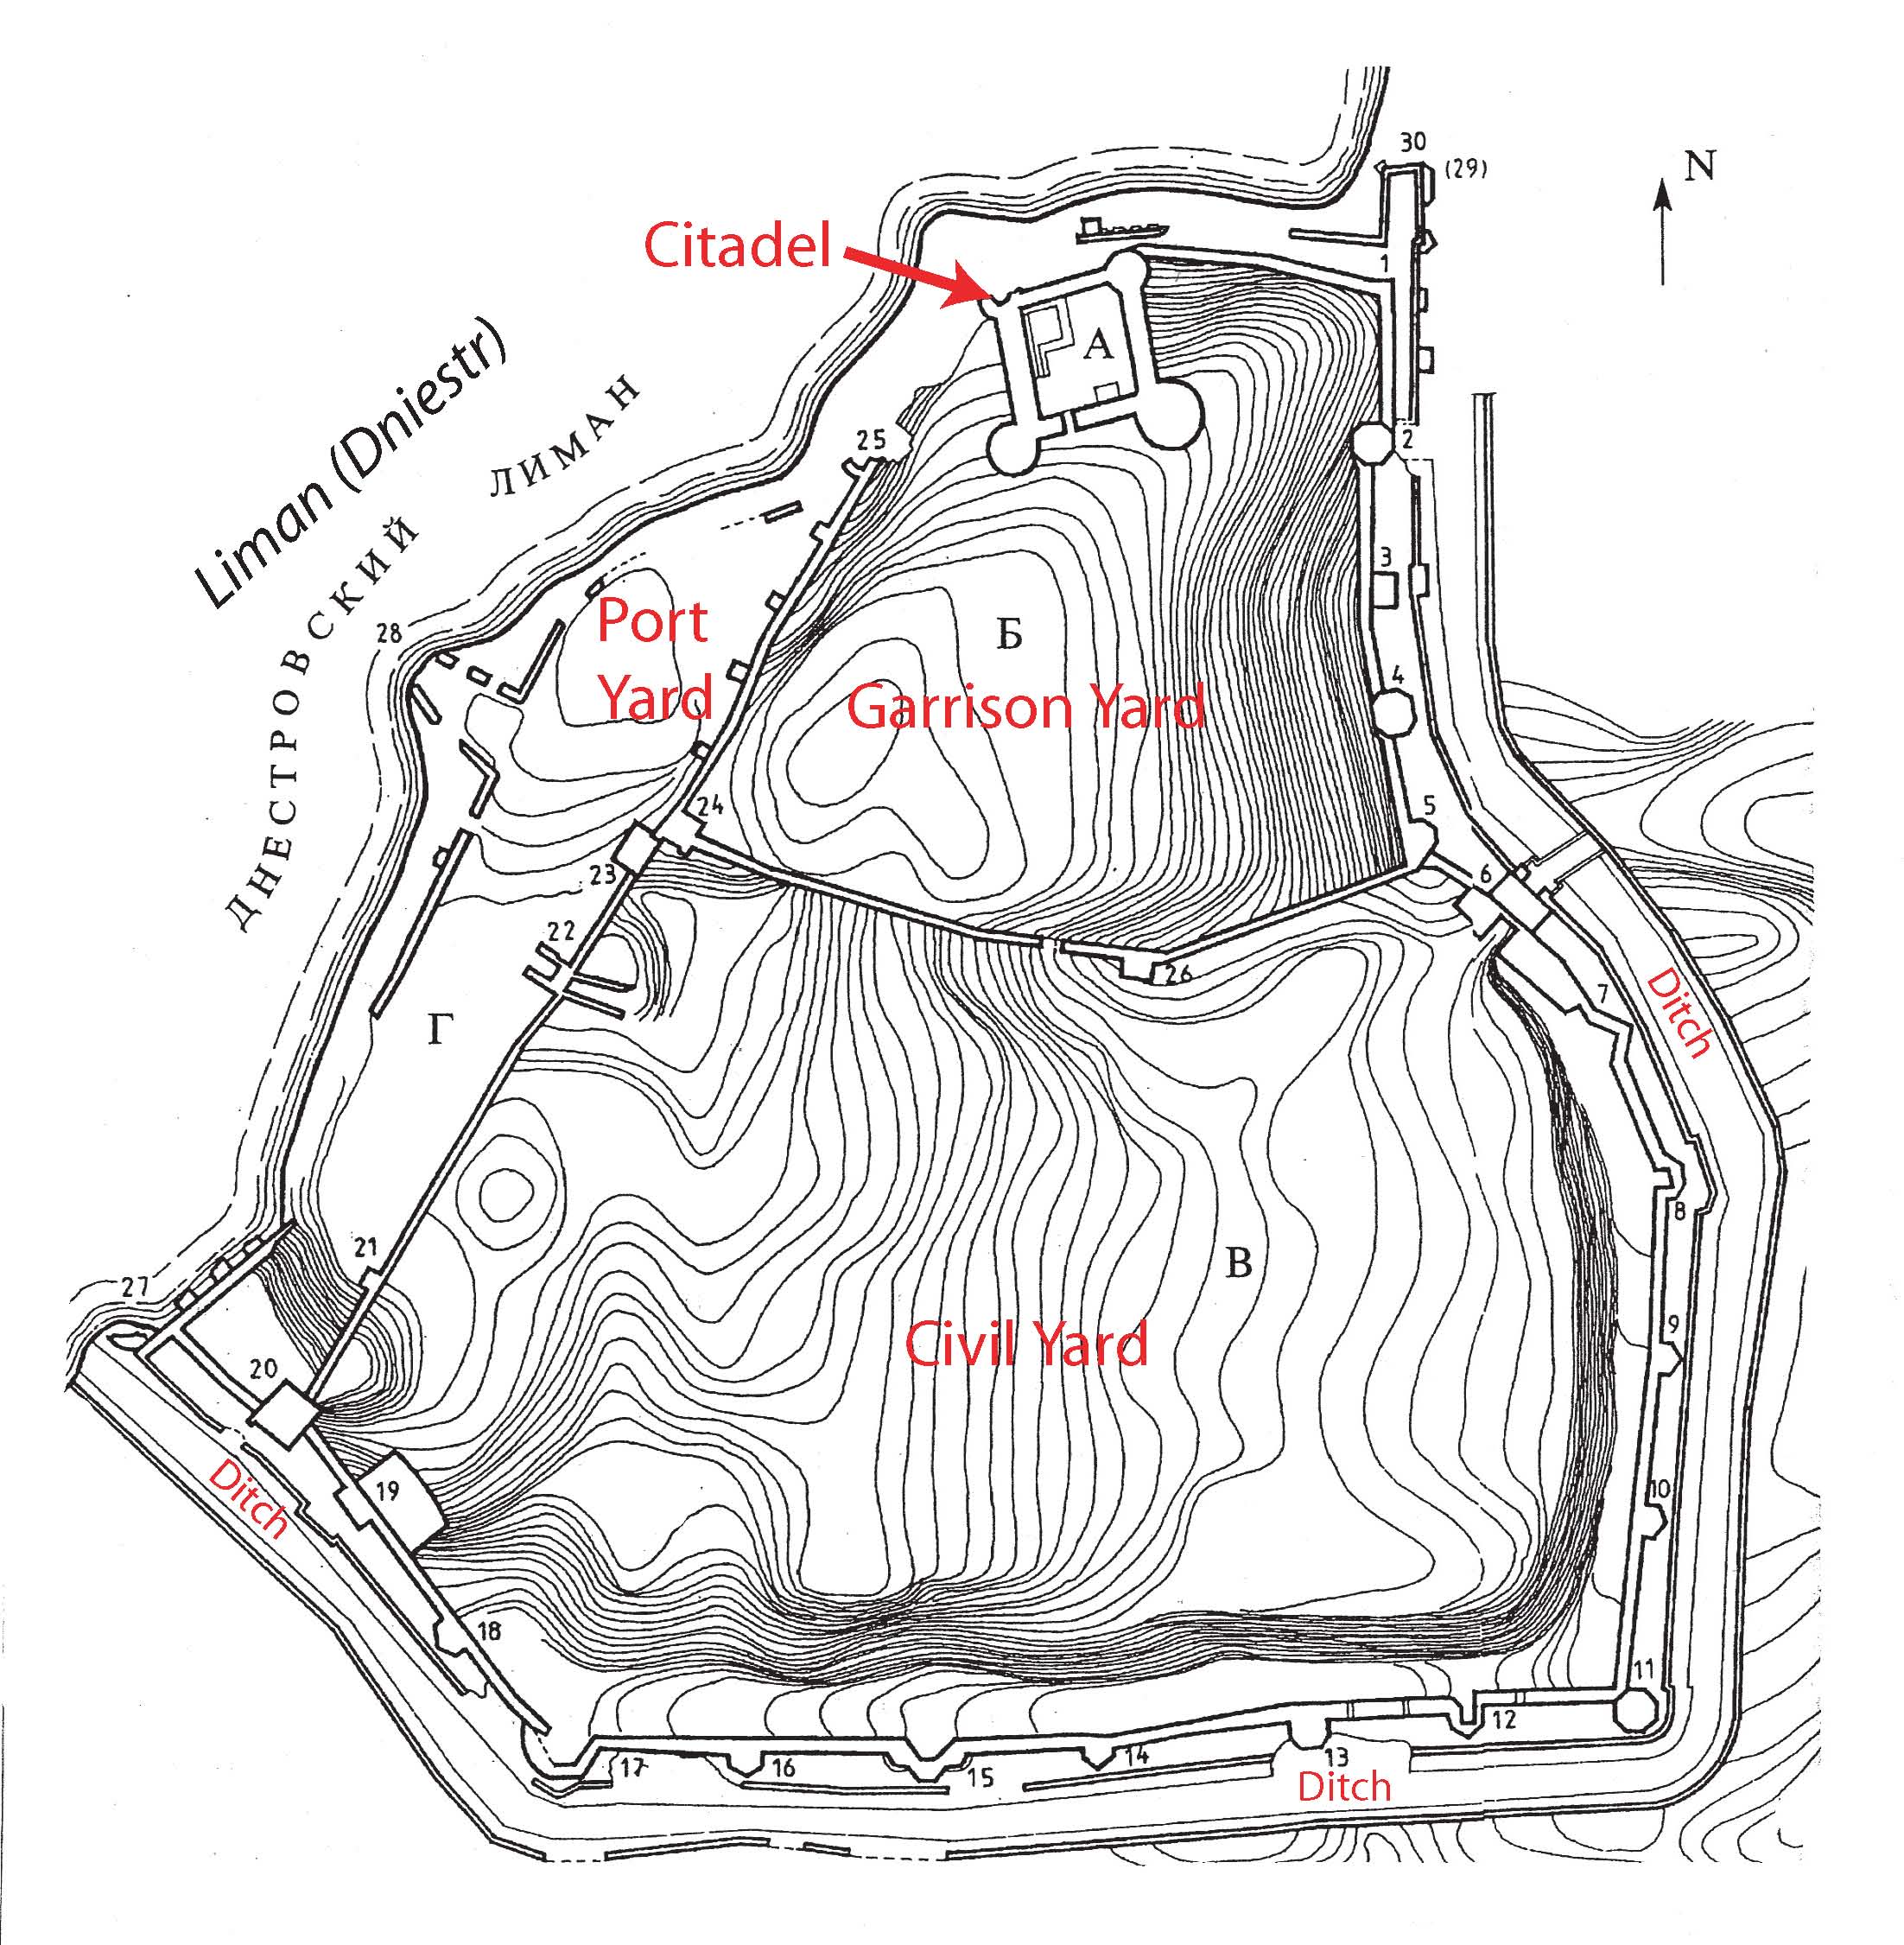
The north curtain wall is attached to the Citadel to its west and clearly post-dates it. On the top of the wall, there are six cannon embrasures that open to the north. [Fig 17] Although these can be clearly seen from the estuary and identified when one is traversing the top of the curtain, there is currently no platform behind these cannon embrasures upon which to mount cannons. [Fig 18] In the past, however, a gun platform clearly existed, probably following the line of paving seen on the present day ground surface. [Fig 19 and Fig 5] A disjuncture in the masonry near Tower 1 supports this contention. This wide platform would have been accessible from the Citadel through the external door in the Citadel’s NE Tower (see above). The platform’s existence is corroborated on a number of old plans and the section drawings from the 1950s survey of the fortress (p. 83, fig. 44e), as well as the contour lines depicted on the main plan of the fortress. [Fig 1] Based on Ottoman documentary evidence, we believe this gun platform was called the “Pasha Bastion” (Paşa Tabyası).
A few plans indicate an underground passageway from the Garrison Yard through this gun platform to the main “postern” gate in the northeast corner of the Garrison Yard (beneath Tower 1). [Fig 18] This postern leads to the Small Ditch between the curtain wall and the outer half-wall that overlooks the shoreline to the north and the Ditch to the east. Although the inner arch of this postern is currently made of cement, the postern itself looks original and would have been needed to provide access to the so-called Tower 30, an extension of the Small Ditch that projects to the north outward from the fortress' line of towers.
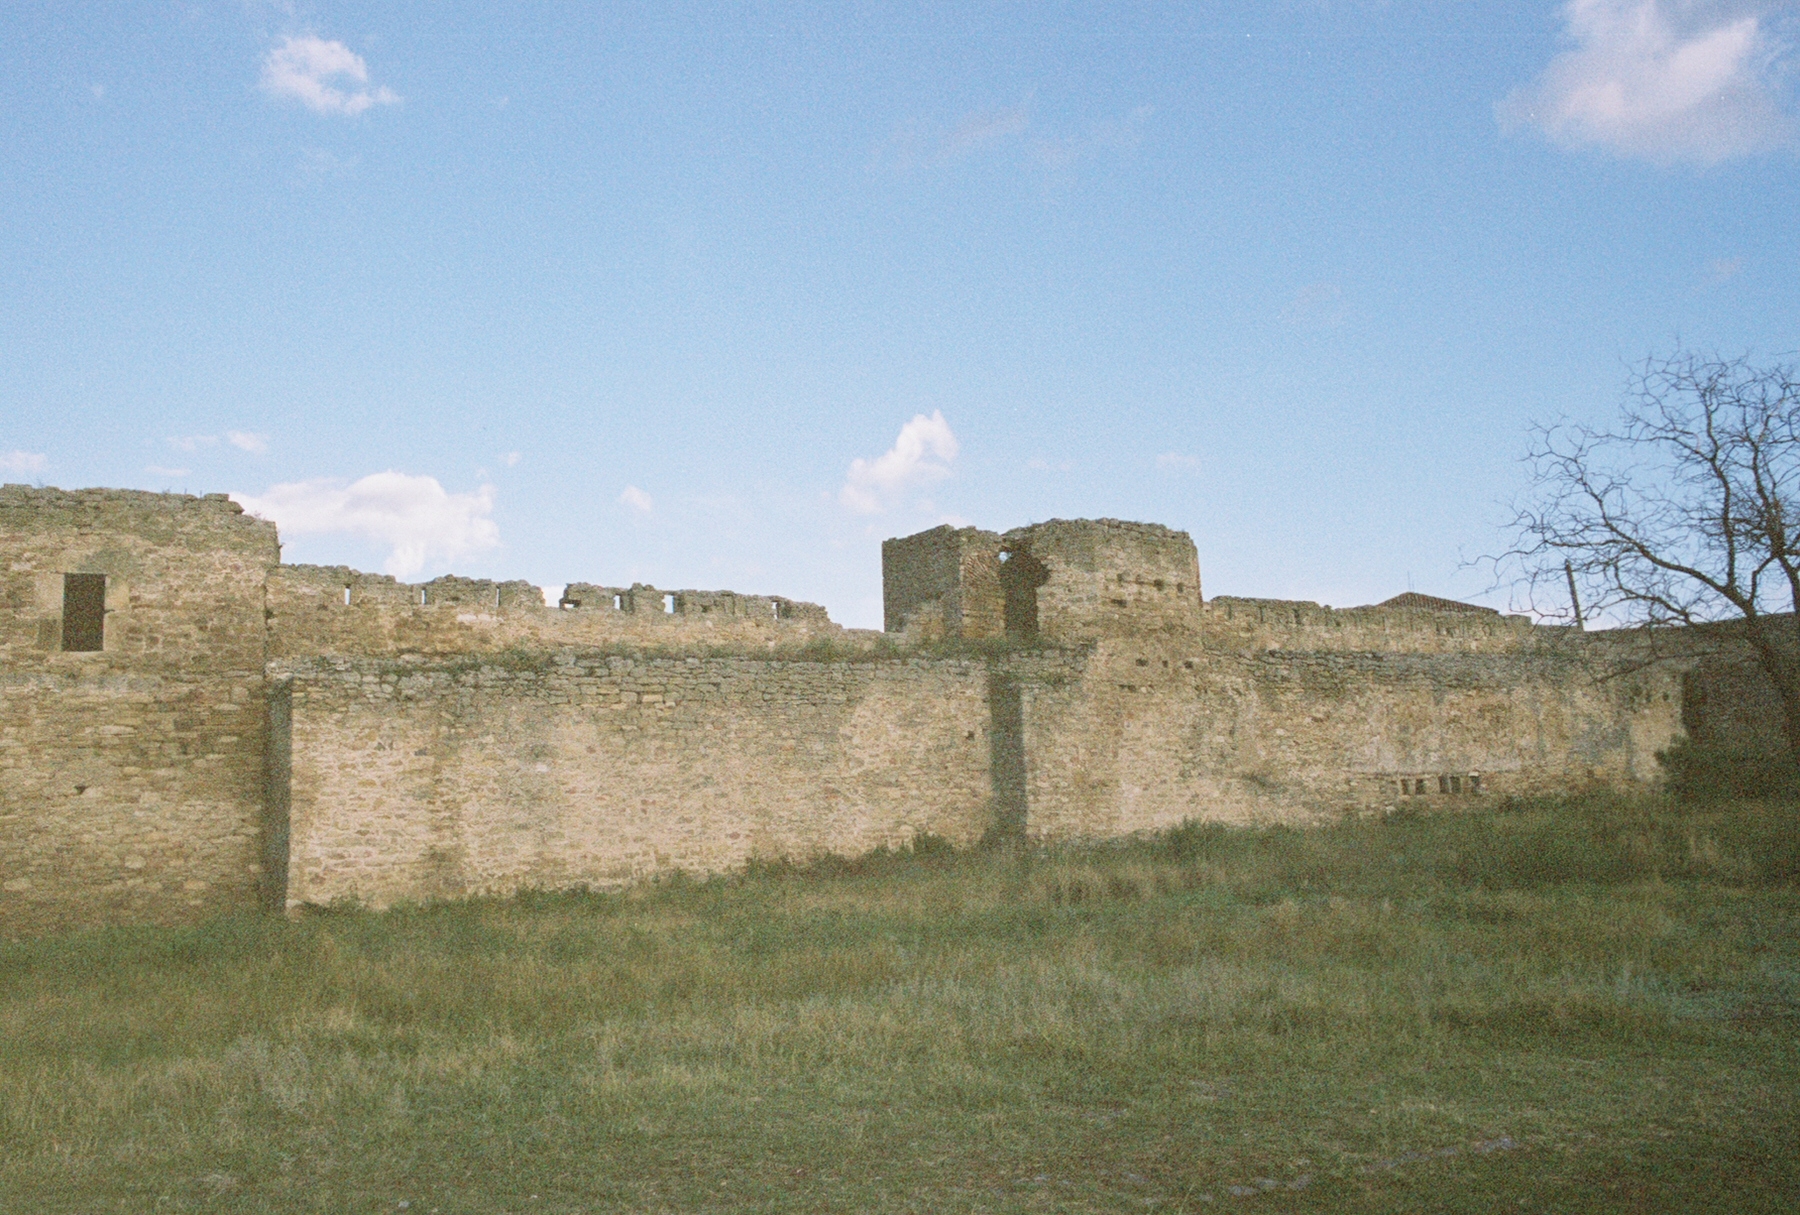
The outside face of the north curtain wall is consistently weathered and appears to be original. The Small Ditch in front of it was protected by a half-wall to the north, with musket loops opening on the estuary. Part of this half-wall is now missing. [Fig 1]
Tower 1
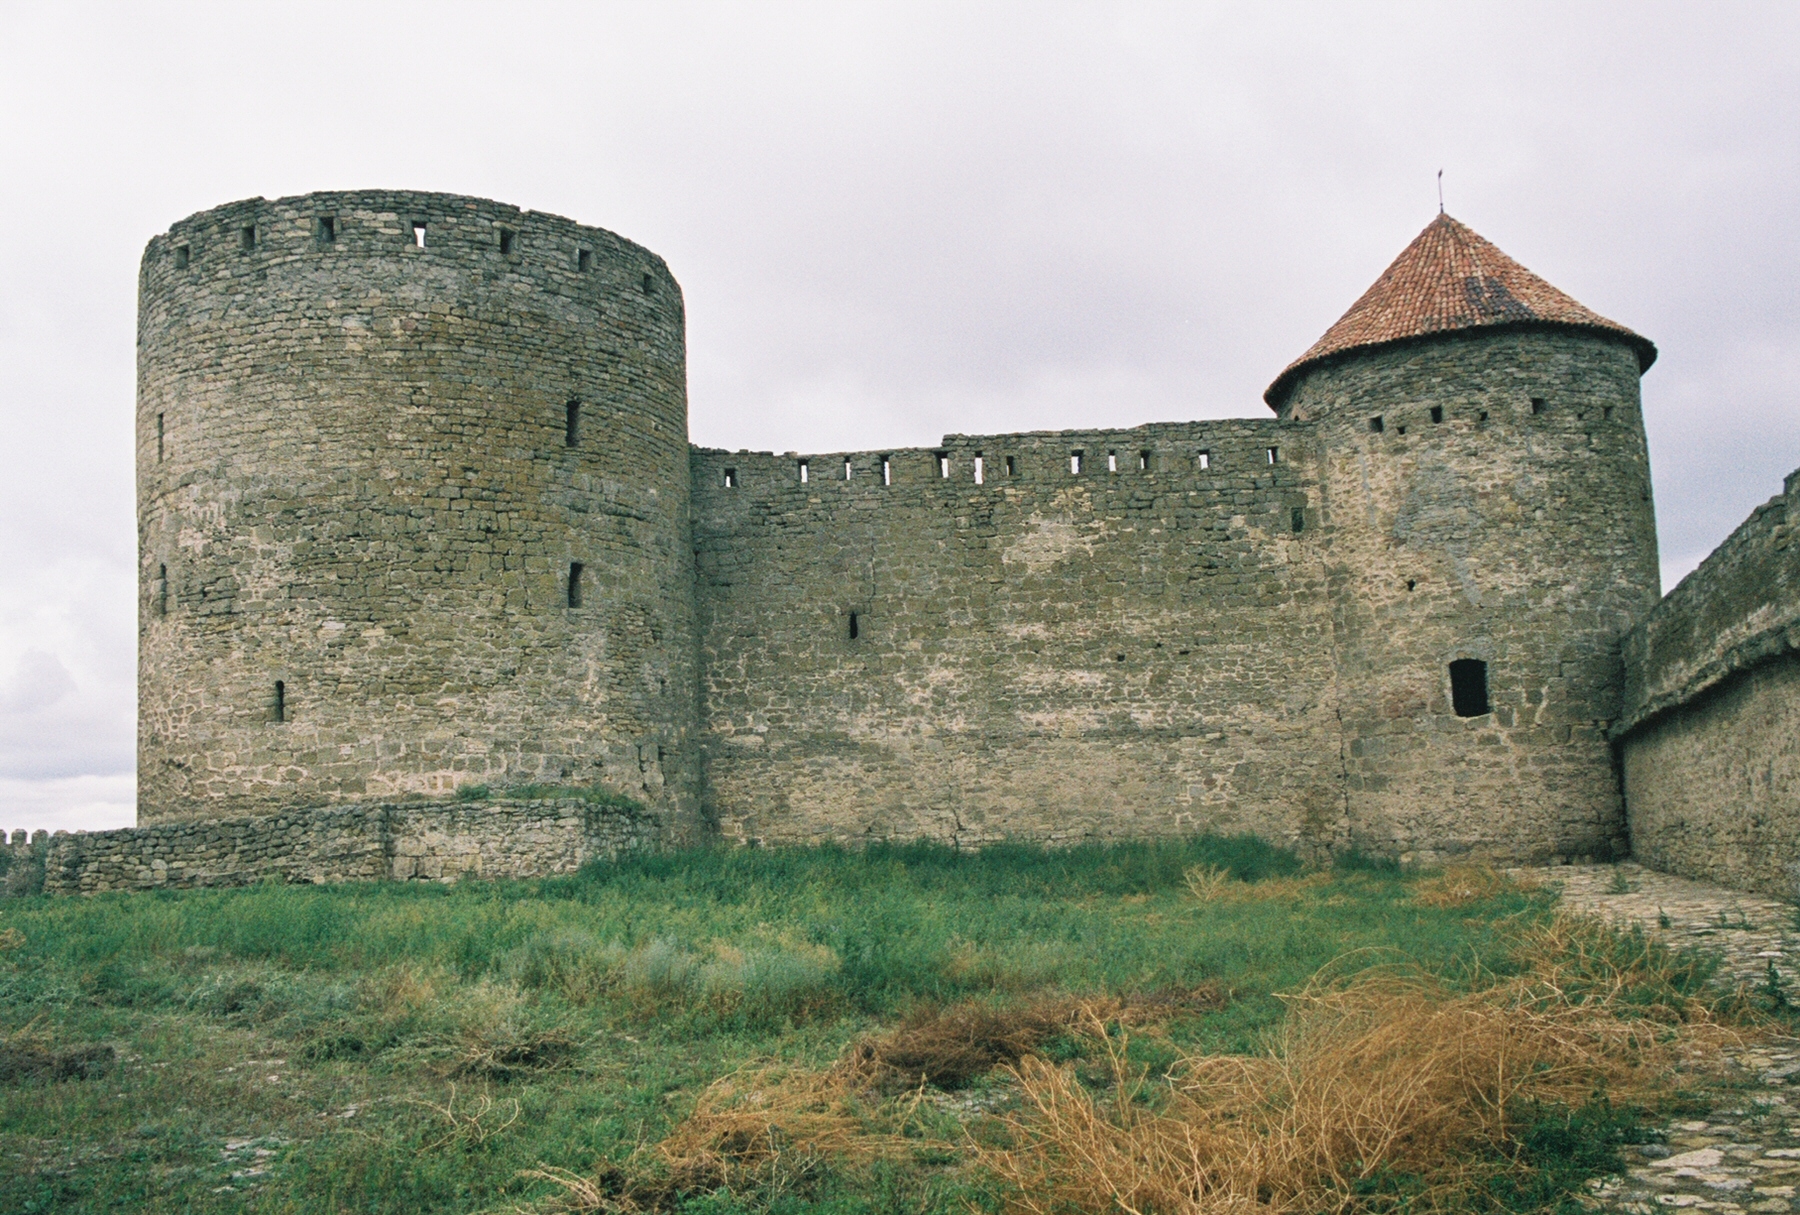
Tower 1 is actually just the northeast corner of the Garrison Yard’s curtain wall. The 1955 plan does not accurately show its present day configuration. Currently, the curtain is much thicker than depicted on the plan and has a stairway up to Tower 2 and the wall-walk. [Fig 20] On the top of the wall near Tower 1, there is a wide platform and three cannon embrasures that open to the east. [Fig 21]
The outside face of this curtain wall on the east side shows evidence that a plaque was mounted here at some point about 5 m up the wall. The stonework along the northern stretch of this east curtain wall (~12 paces) is more eroded than that found further to the south, suggesting a different construction phase. Since the length of this stonework corresponds to the width of the now missing gun platform on the inside of the Garrison Yard, it seems likely that this is further evidence that significant rebuilding in this part of the fortress has obscured its earlier plan.
East Curtain Wall
With the exception of its very northern extent (see Tower 1 above), the east curtain wall of the Garrison Yard is relatively thin and lacks cannon embrasures. It does have a narrow wall-walk that connects Towers 2 and 3 [Fig 22], and then another narrow wall-walk connecting Towers 3, 4, and 5. Note that there is a missing link in the wall-walk that would allow passage past Tower 3 in either direction. [Fig 23] It is unclear whether a wooden bridge continued the wall-walk behind Tower 3 or whether one had to enter Tower 3 from the wall-walk to gain access to the next stretch of wall-walk. If the latter is correct, the arrangements for entering Tower 3 at wall-walk level are also unclear. Tower 3 does have a large door that opens into space on its north face above the Small Ditch. Could this have facilitated access to and from the wall-walk? [Fig 22]
Along the east curtain’s wall-walk, musket loops open to the east. [Fig 23] It seems likely that this stretch of thin curtain predates the modification of the fortress for cannons.
Between Towers 4 and 5, the inner face of this curtain has four built-in shelves and a sink drain, indicating a possible kitchen building that previously was built up against the inside of the curtain at this point. [Fig 24]
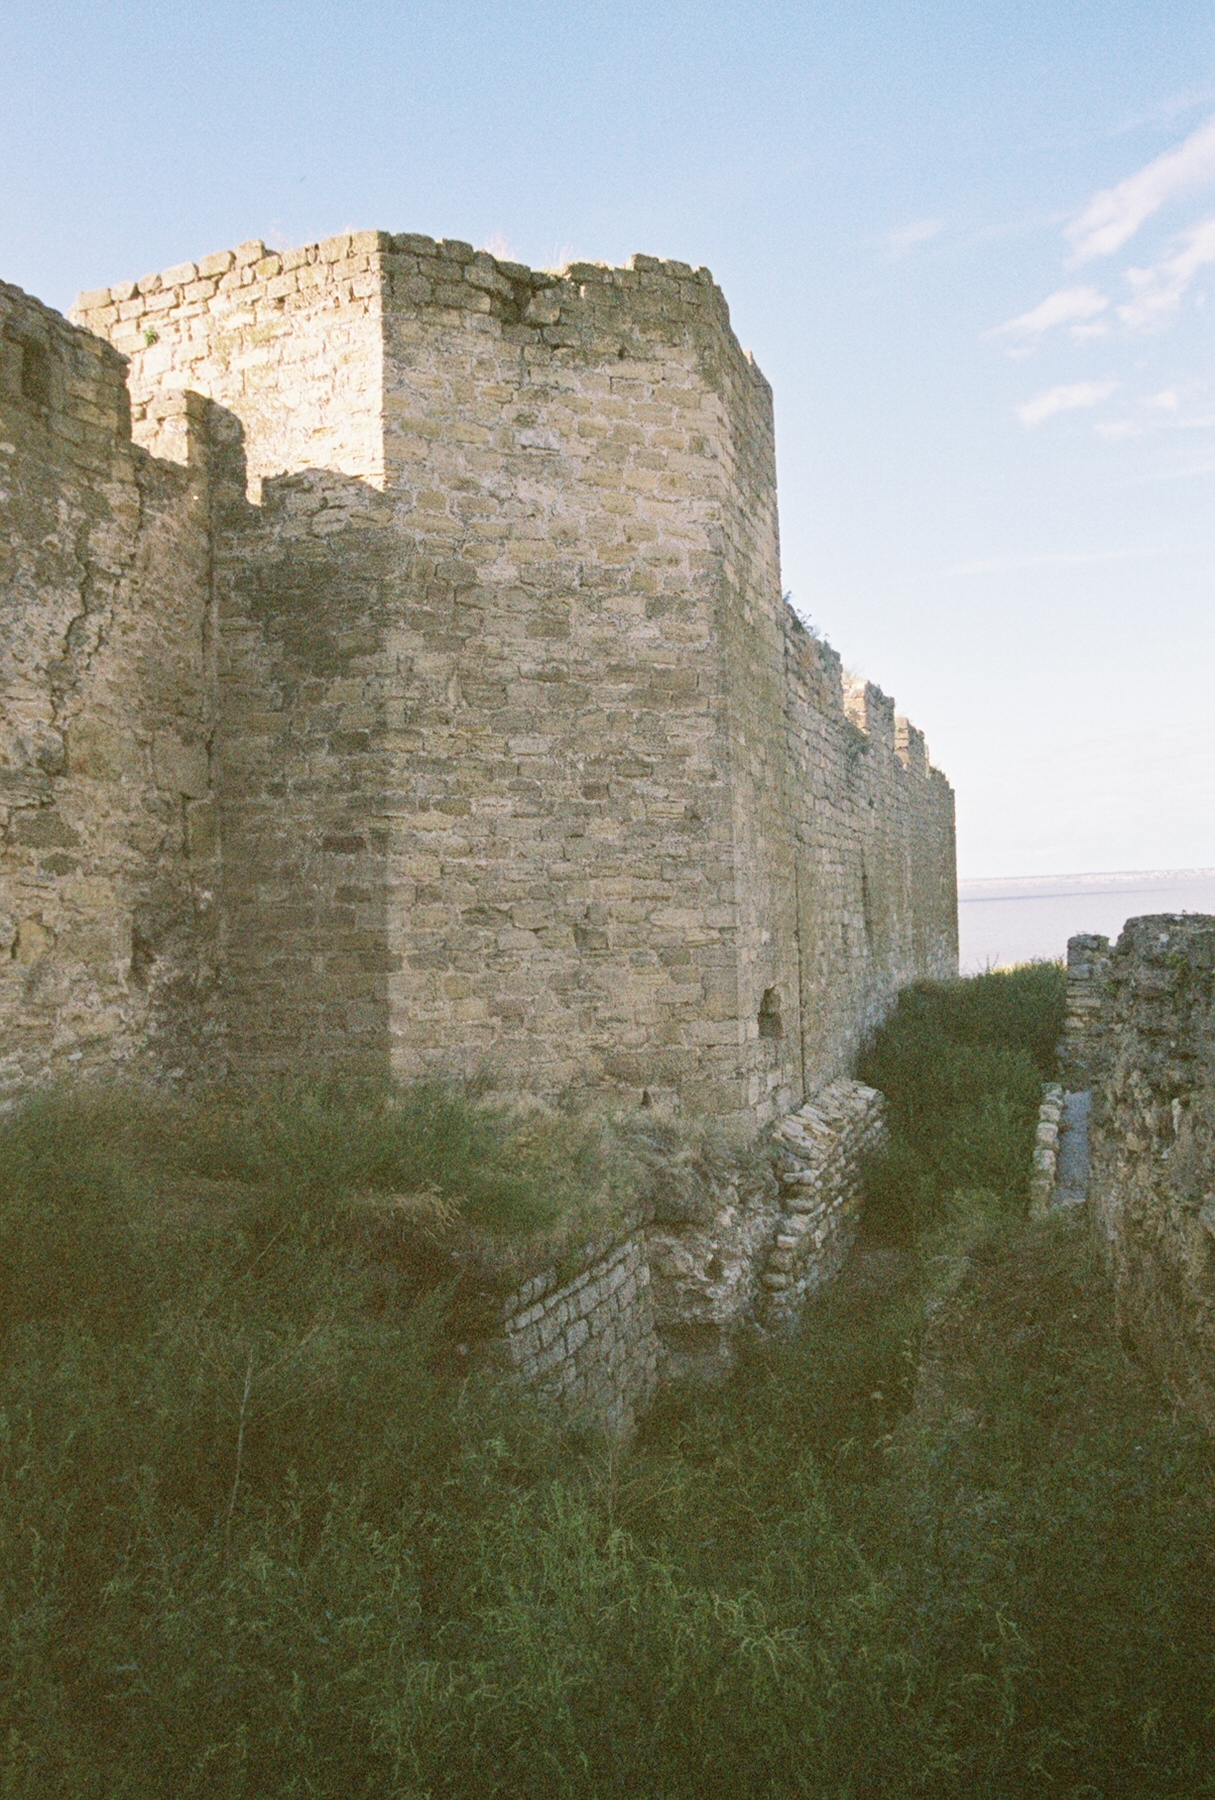
Tower 2
This solid tower is octagonal and appears to have been reconstructed to support and defend against cannons. [Fig 25] It is surmounted by two cannon embrasures opening to the northeast and southeast. A stairway down to the Garrison Yard has been added 7 to allow access up to Tower 2’s internal stair that leads up to its gun platform. [Fig 21] Alternatively, one could access the wall-walk to the north or pass through a covered passage at the back of Tower 2 [Fig 20] to connect to the wall-walk heading south toward Tower 3.
Based on Ottoman documentary evidence, we are tentatively assigning the name “Steward Tower” (Kethüda Kulesi) to this tower.
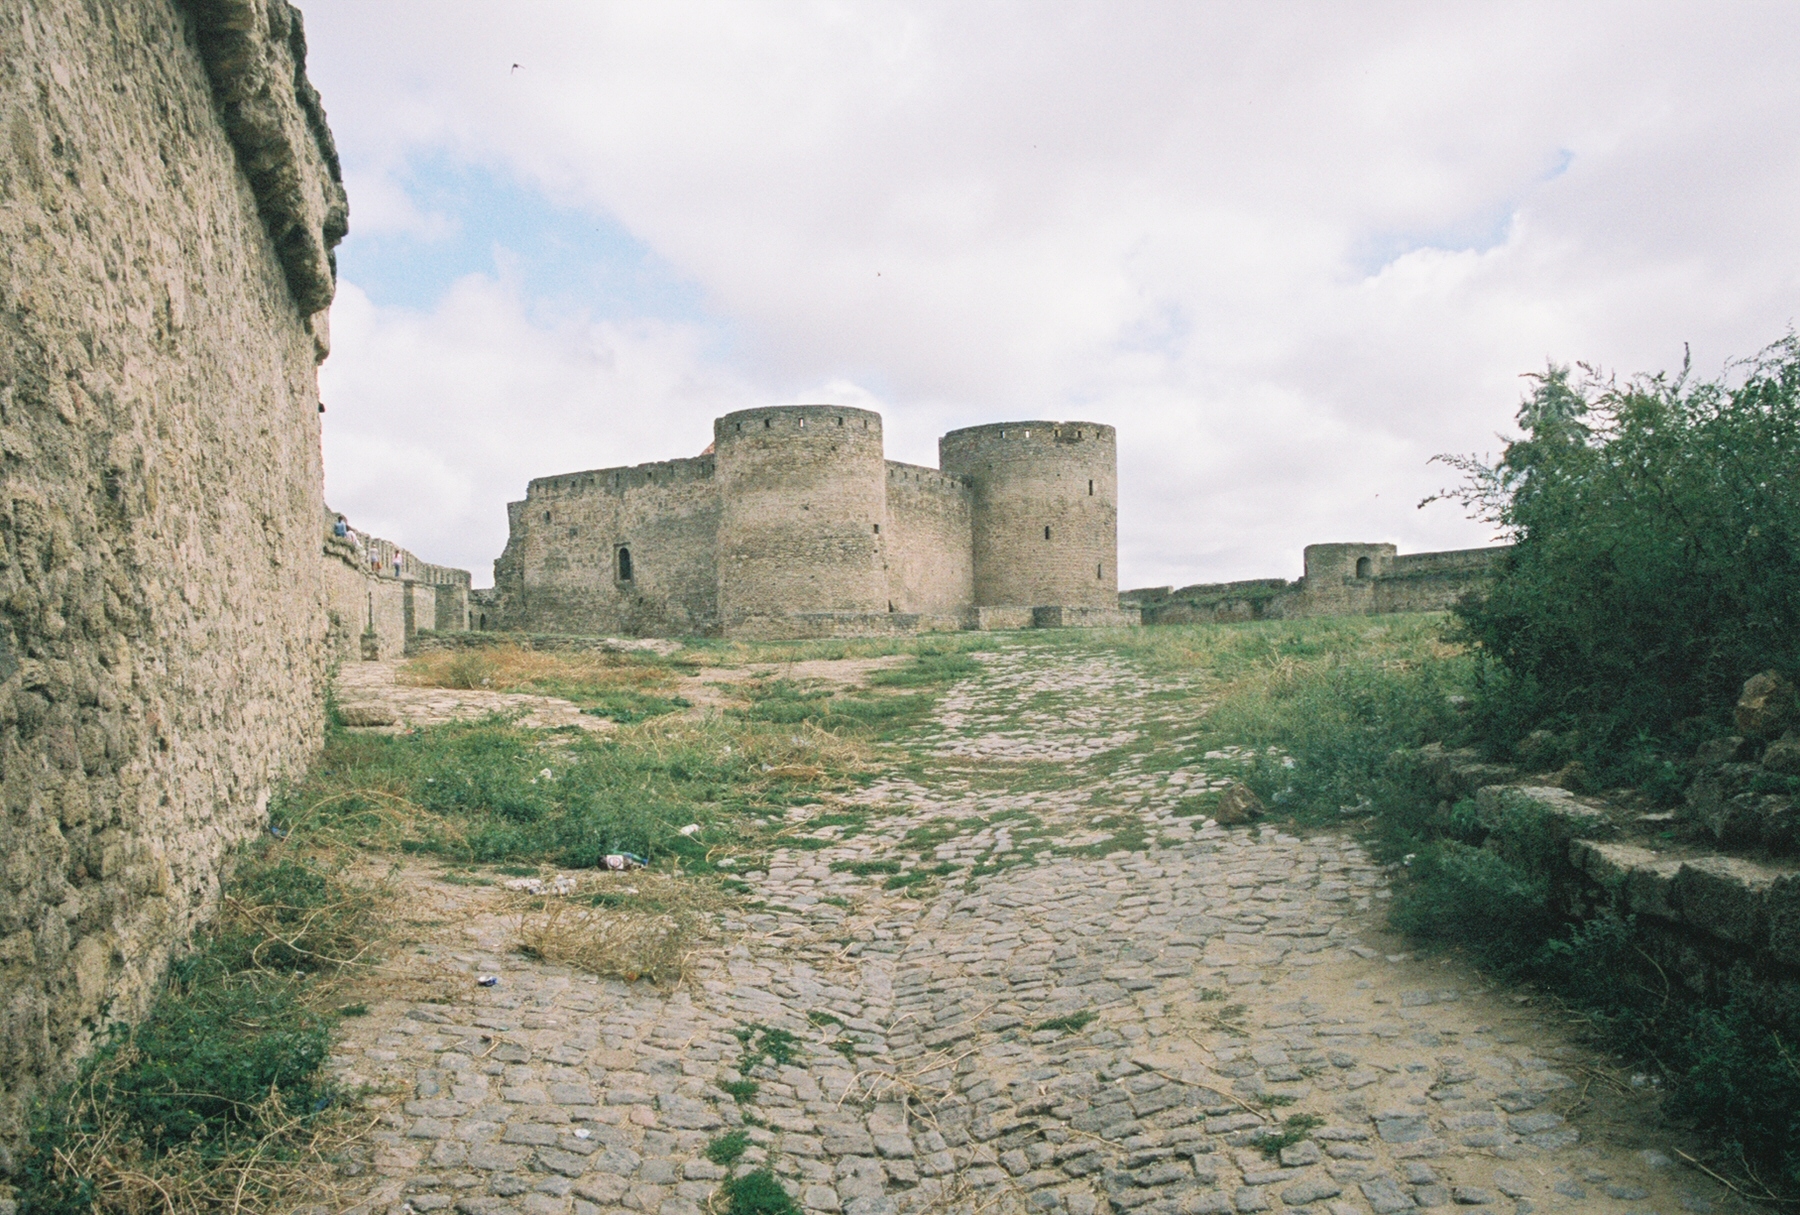
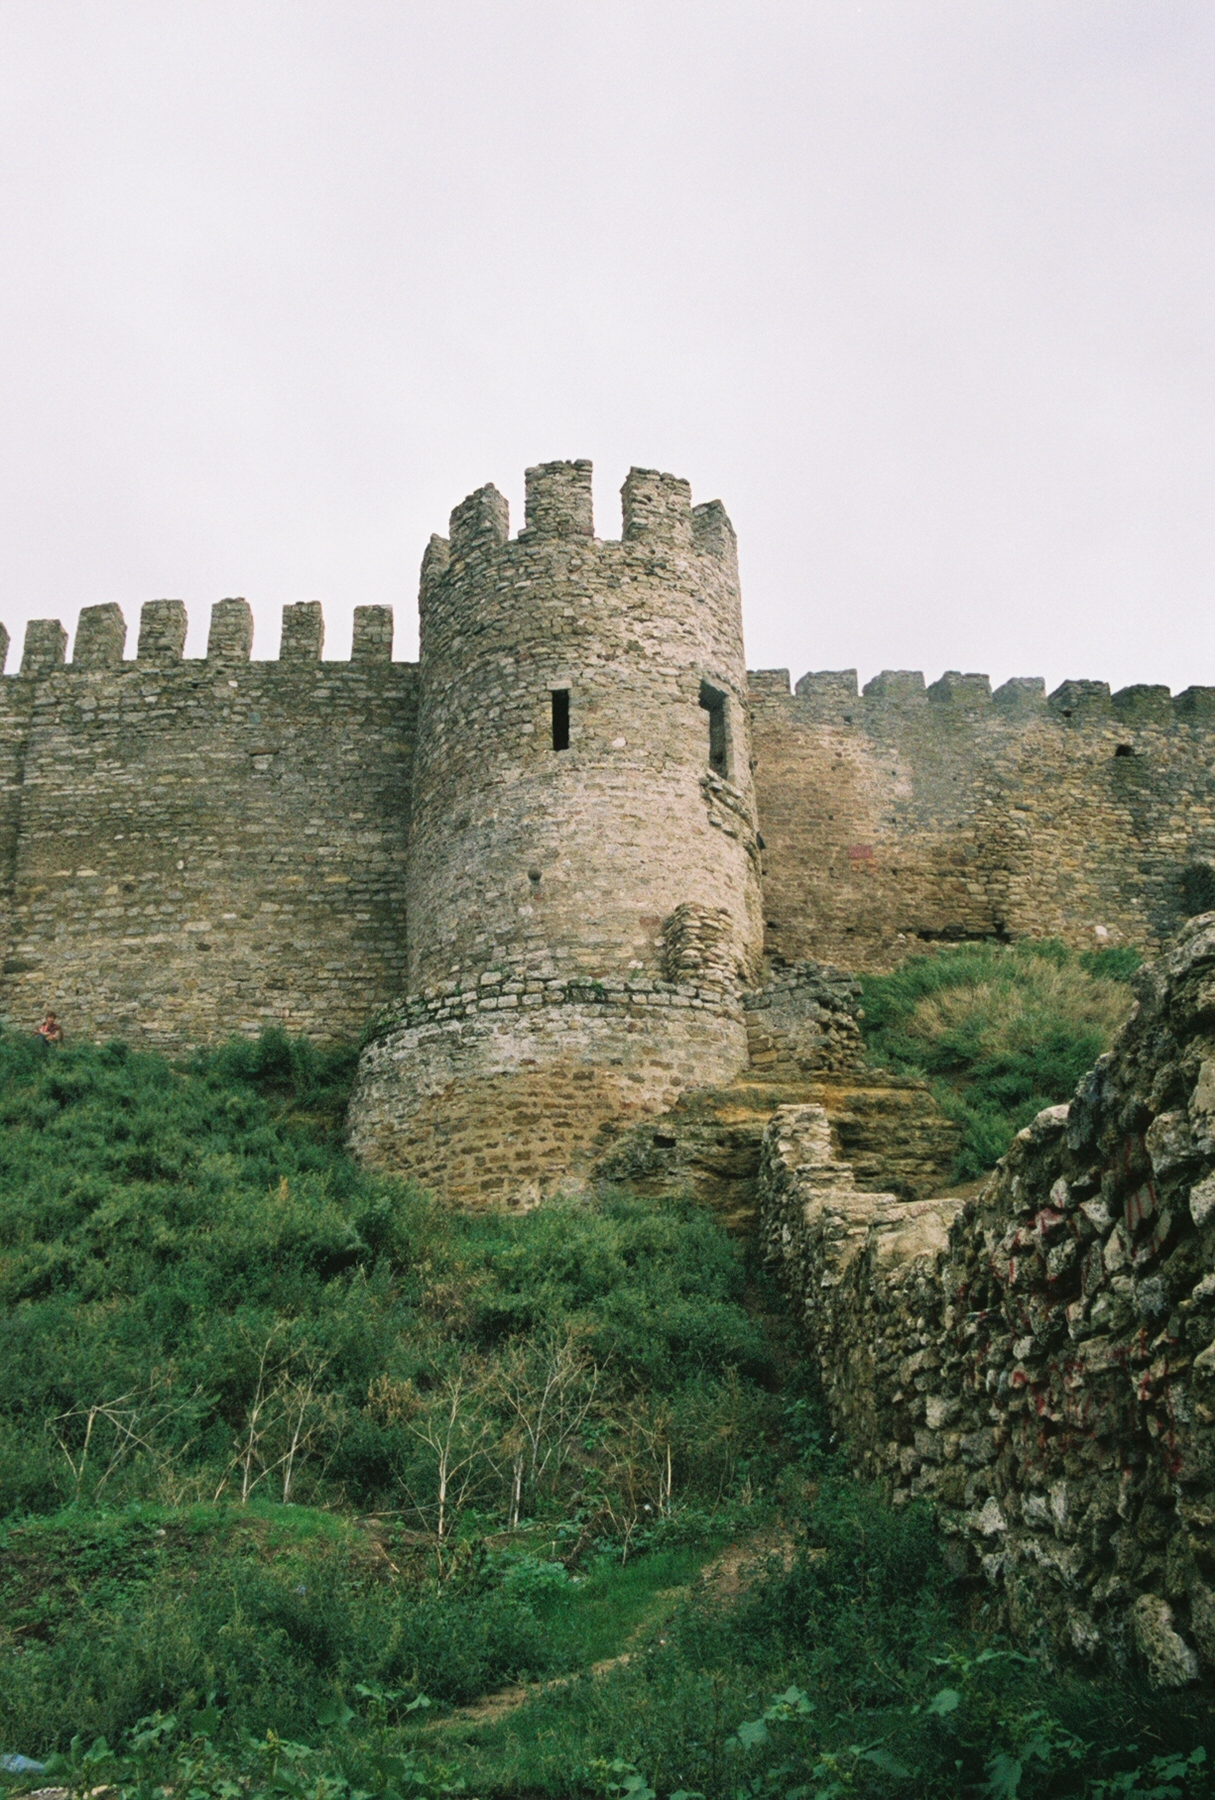
Tower 3
As noted above, the wall-walks from the north and south do not connect behind Tower 3. [Fig 23] Entrance into this tower was presumably obtained via a wooden staircase up from the Garrison Yard into the first floor opening at its back—unfortunately we were unable to obtain a long enough ladder to enter this doorway. Unlike its neighbors to the north and south (Towers 2 and 4), this tower is square and hollow and does not appear to have been reconstructed to mount or defend against cannons. This anomaly is probably related to the existence of a similarly hollow half-wall tower (Tower 3A) in front of it to the east that protrudes into the Ditch and descends all the way to the Ditch’s bottom. [Fig 22]
Tower 3A has four potential internal floor levels, the lowest of which has an opening on its south side into the Ditch (see below). Was this a postern gate allowing clandestine access to the Ditch and the estuary? It is possible that Tower 3A provided underground access into the basement of Tower 3, although we have been unable to verify this.
Given the hollow nature of Tower 3, it could have been occupied, at least more so than the solid towers converted into gun platforms. Therefore, it may be a candidate for a tower with a name. Based on Ottoman documentary evidence, we are tentatively assigning the name “Guardian Tower” (Hafız Kulesi) to this tower.
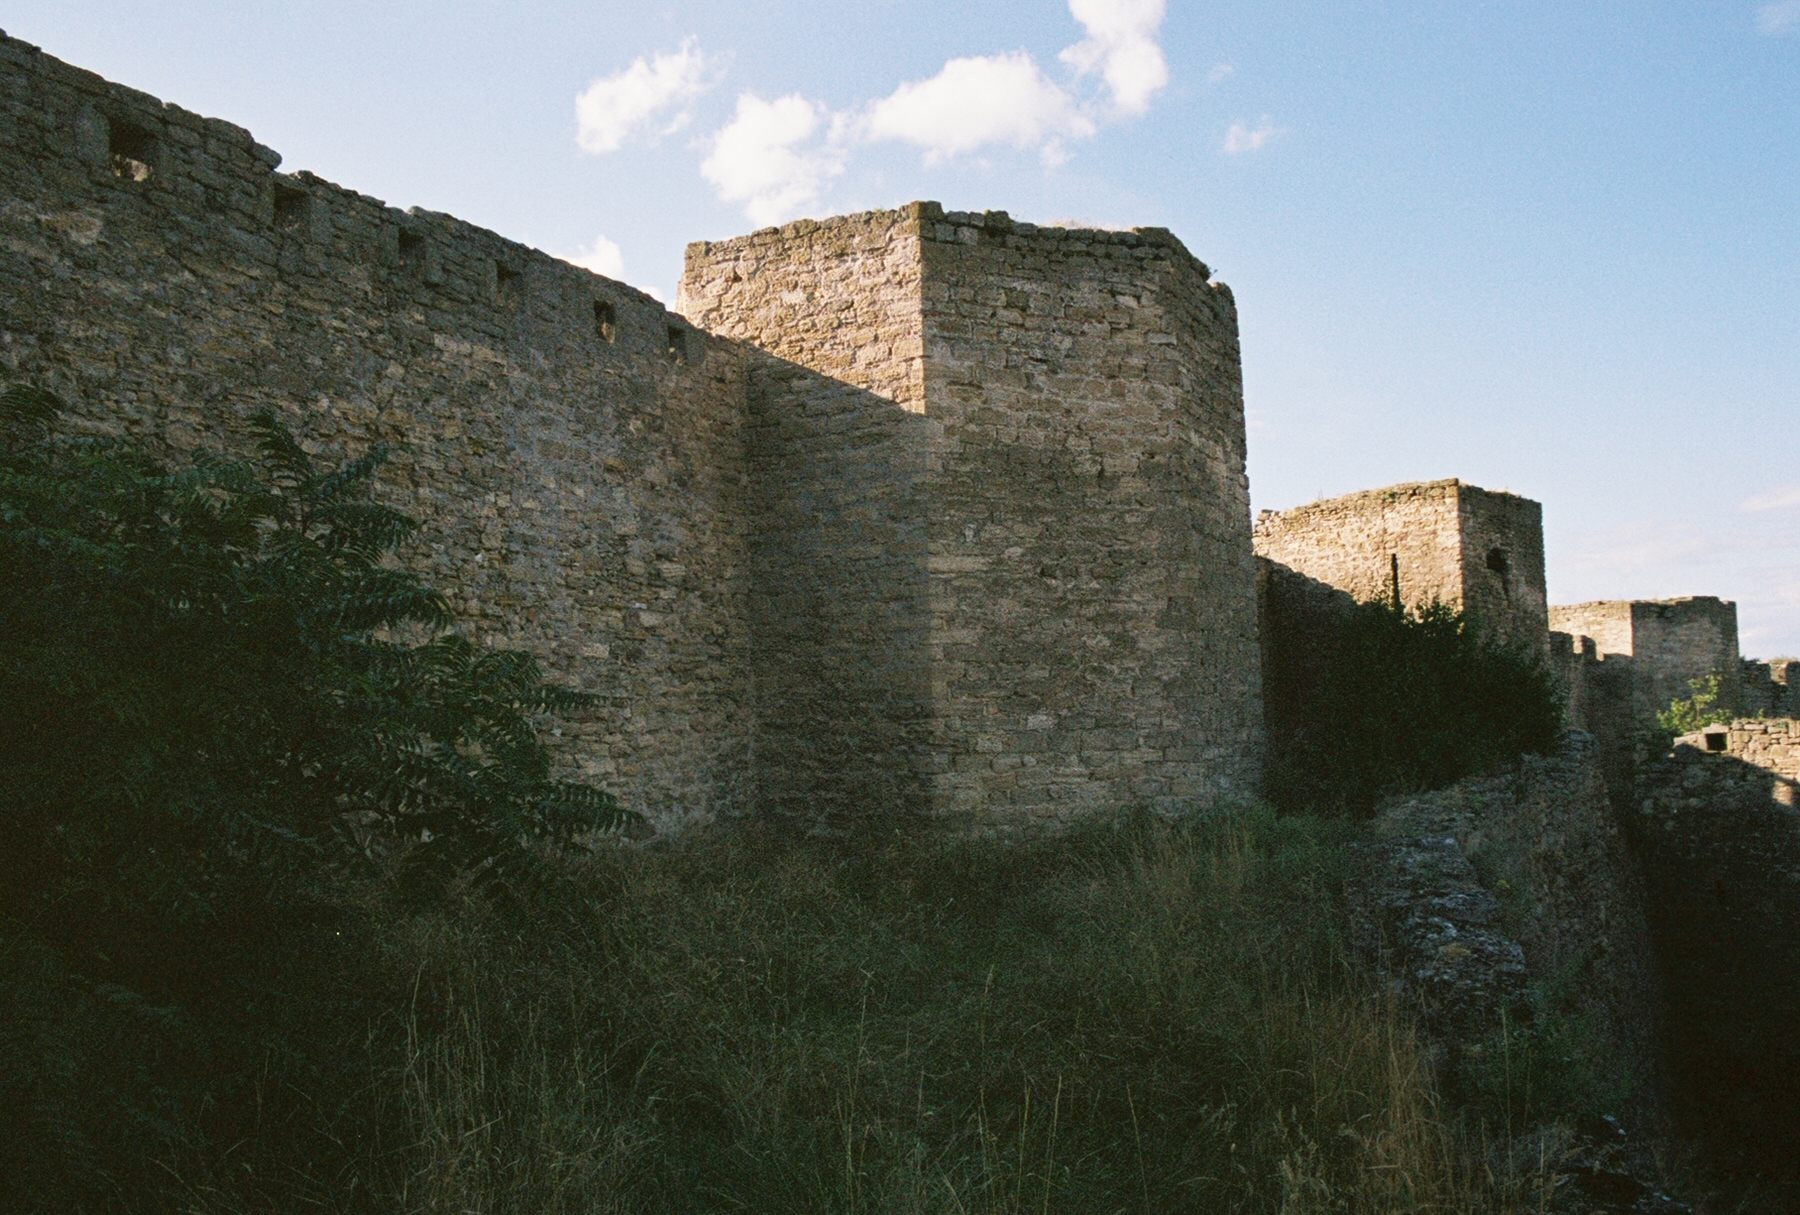
Tower 4
Like Tower 2, this solid tower is octagonal and appears to have been reconstructed to support and defend against cannons. [Fig 26] It is surmounted by two cannon embrasures opening to the northeast and southeast. There is, however, no stairway connecting this tower to the Garrison Yard down below, nor is there an internal stair that leads up to its gun platform. Access to and from Tower 4 apparently moved along the wall-walks in either direction.8 [Fig 24]
Based on Ottoman documentary evidence, we are tentatively assigning the name “Wheel Tower” (Çarh Kulesi) to this tower.
Tower 5
Like Towers 2 and 4, this solid corner tower appears to have been reconstructed to support and defend against cannons, albeit in the shape of half an octagon. Its sole cannon embrasure covers Tower 6, the main gate into Akkerman. Access to this tower was via the east curtain wall-walk to the north or via the south curtain wall-walk to the west. Based on Ottoman documentary evidence, we are tentatively assigning the name “Agha Tower” (Aga Kulesi) to this tower.
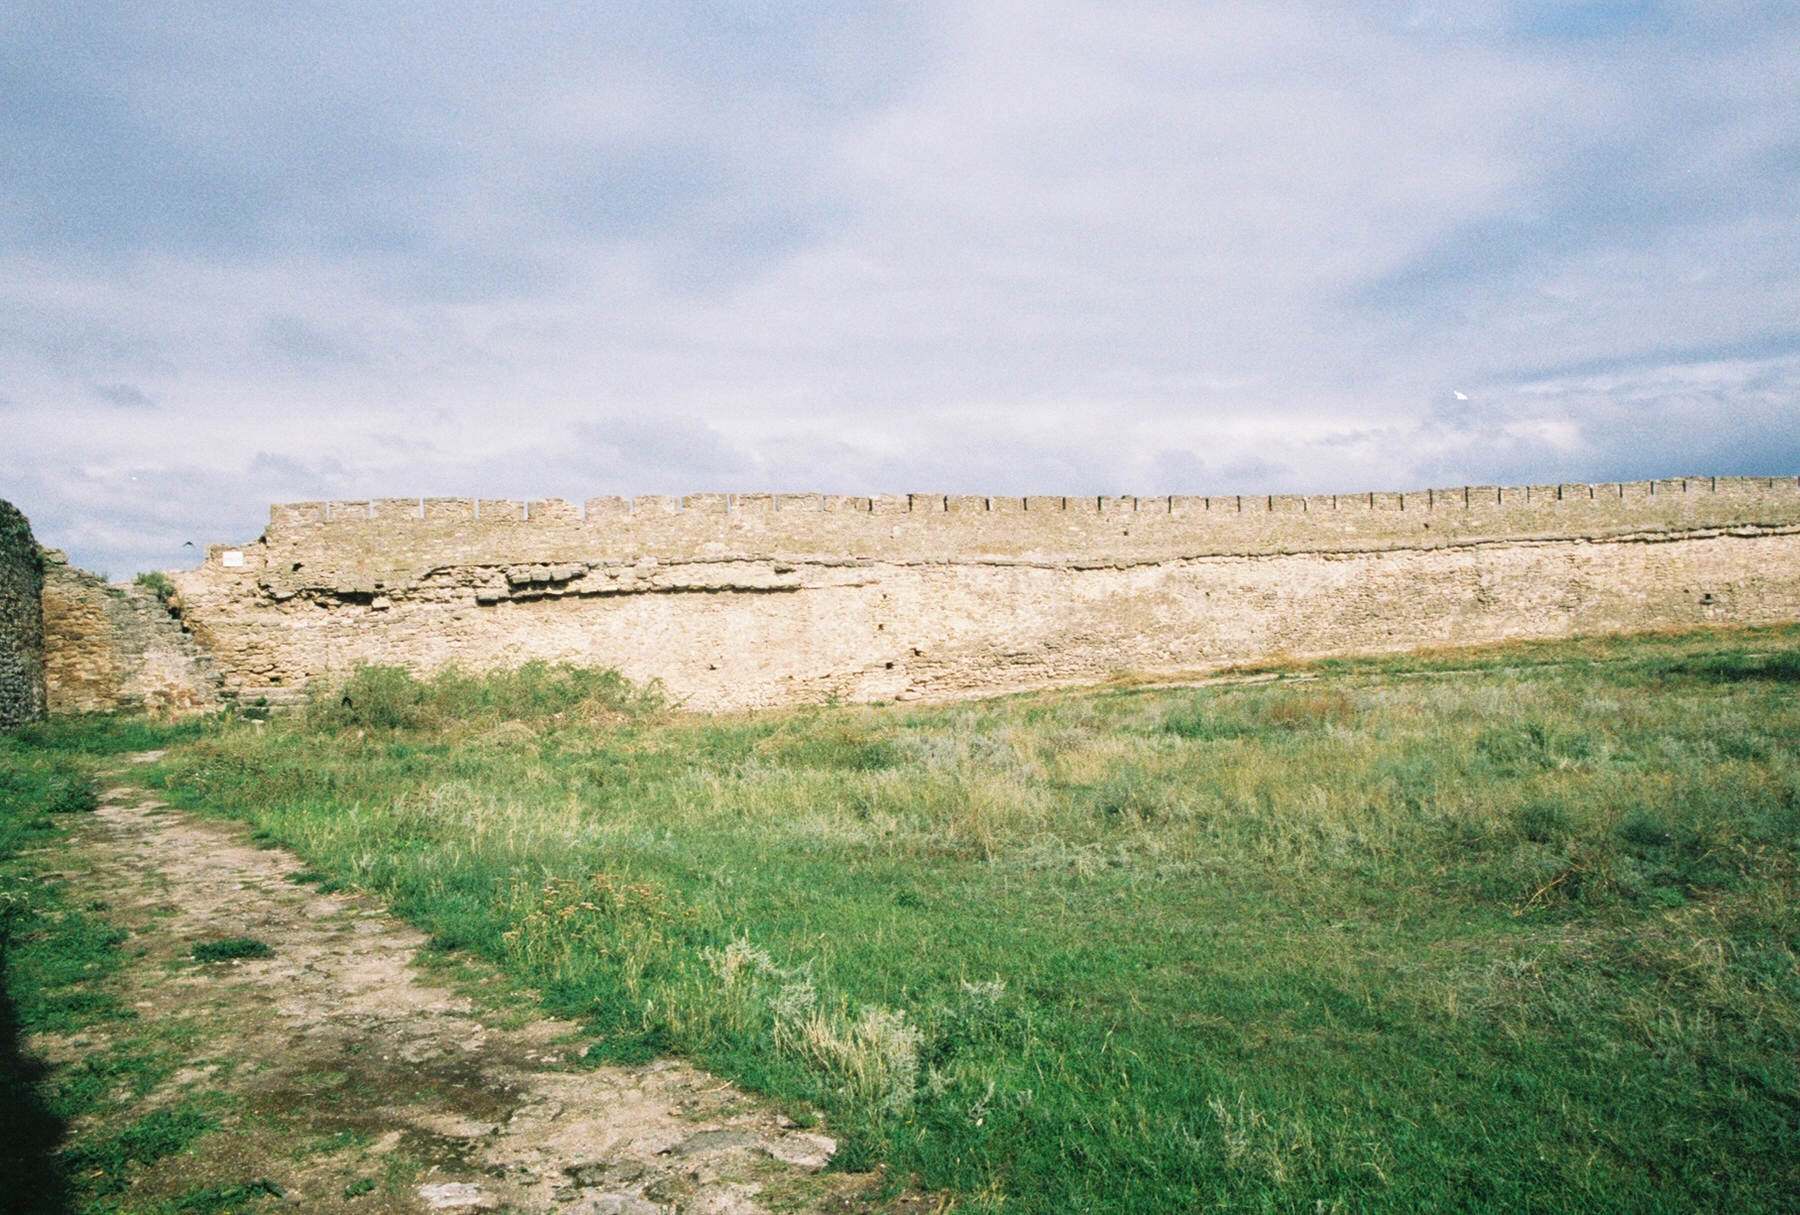
South Curtain Wall
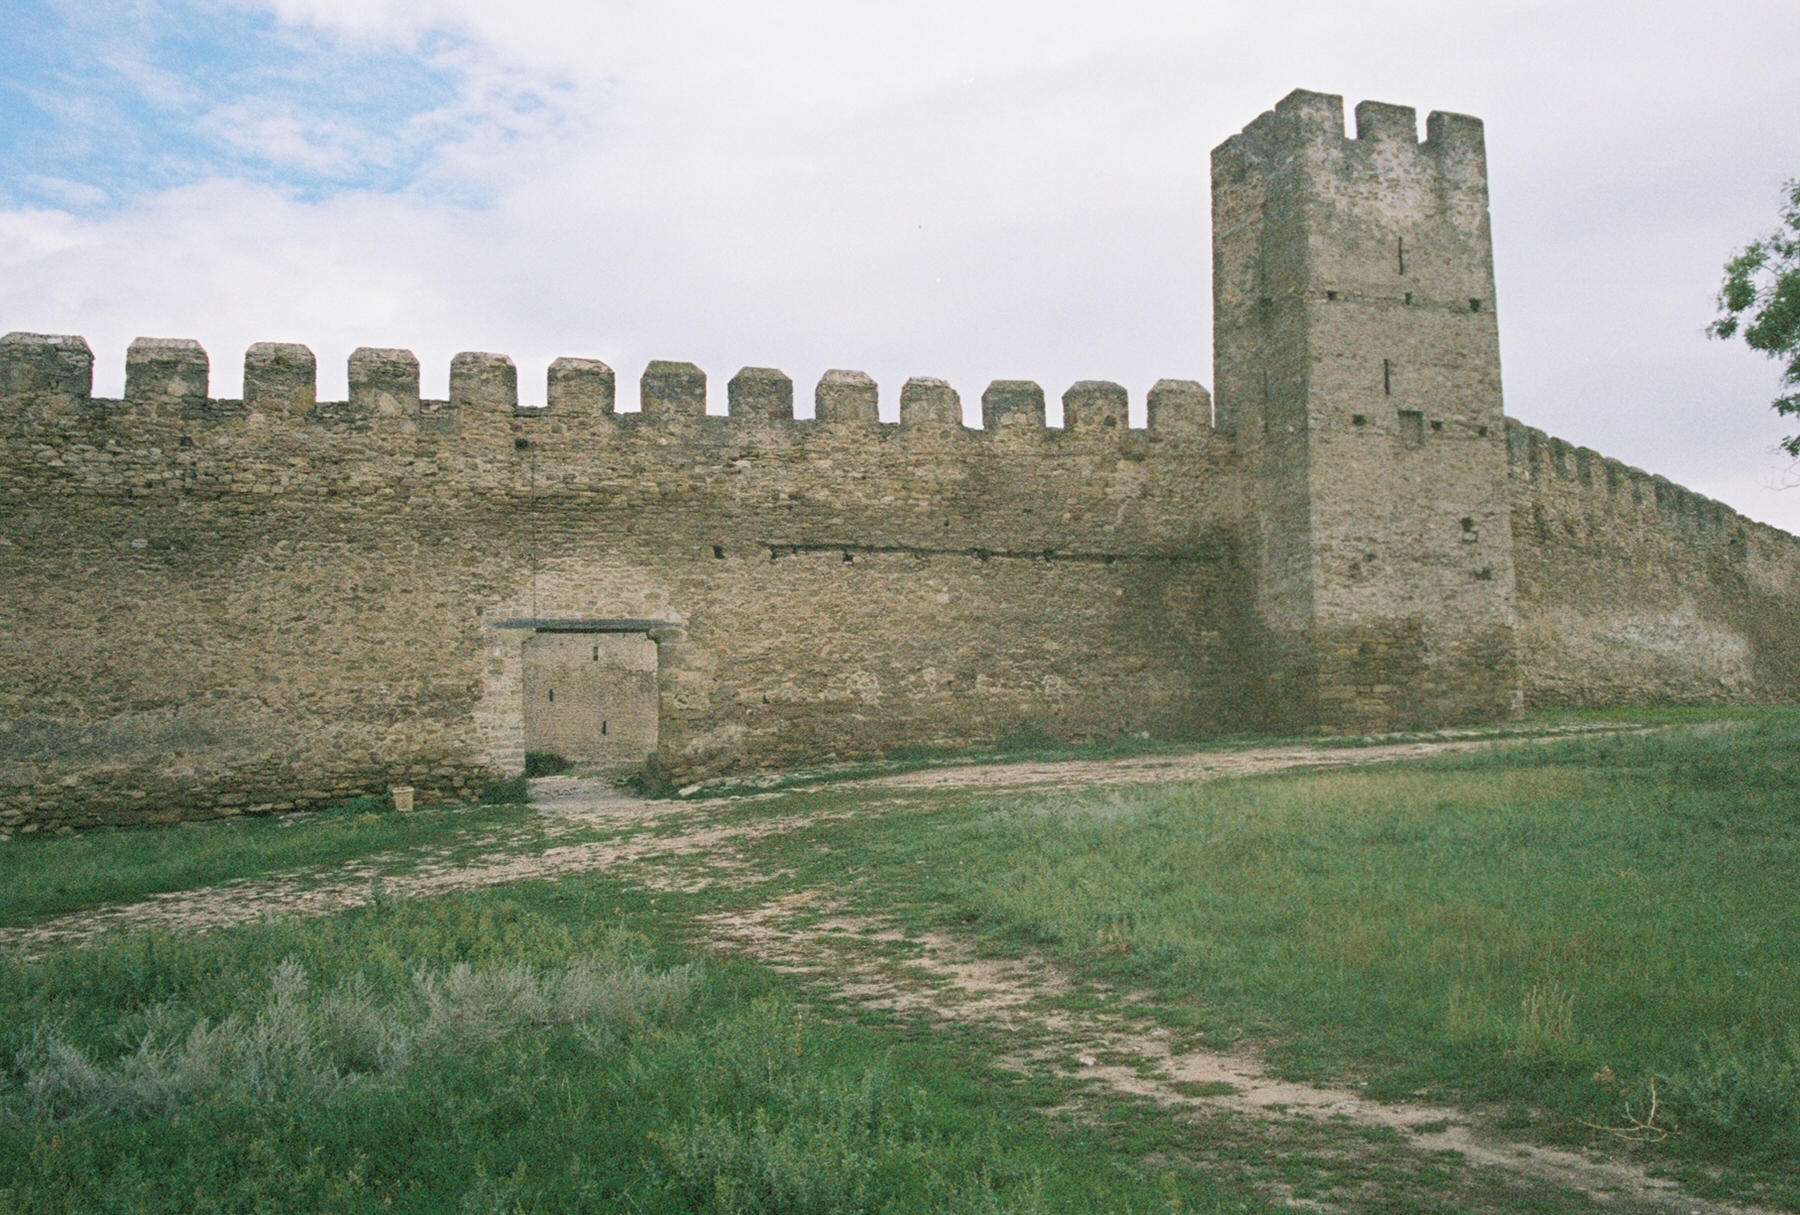
The thin south curtain wall separates the Garrison Yard from the Civil Yard. Its wall-walk is very thin and provides musket loop openings to the south near its eastern end and then old-fashioned (reconstructed?) crenellations close to Tower 26 on its east side [Fig 27] and between Towers 26 and 24 to the west.
Near its eastern end, the inner face of this curtain has two stairways built into its structure that allow descent from the wall-walk to a height of about 2 m above the current ground surface of the Garrison Yard. [Fig 28] On the curtain wall located between these stairs is a chute that exits the curtain about 3 m high, opening into the Civil Yard near to the main gate of the fortress.9 Along its western half, the inner face of this curtain shows no features whatsoever.
Near the middle of this curtain wall on its north face, an L-shaped stair (not shown on the 1950s plan) ascends to its wall-walk near Tower 26.
The only notable features on the outer face of this curtain are the chute opening (see above), the projection of Tower 26 into the Civil Yard, and the evidence of a roof line that would have covered a structure between Tower 26 and the current gateway into the Garrison Yard at the curtain’s midpoint. [Figs 30 and 1]
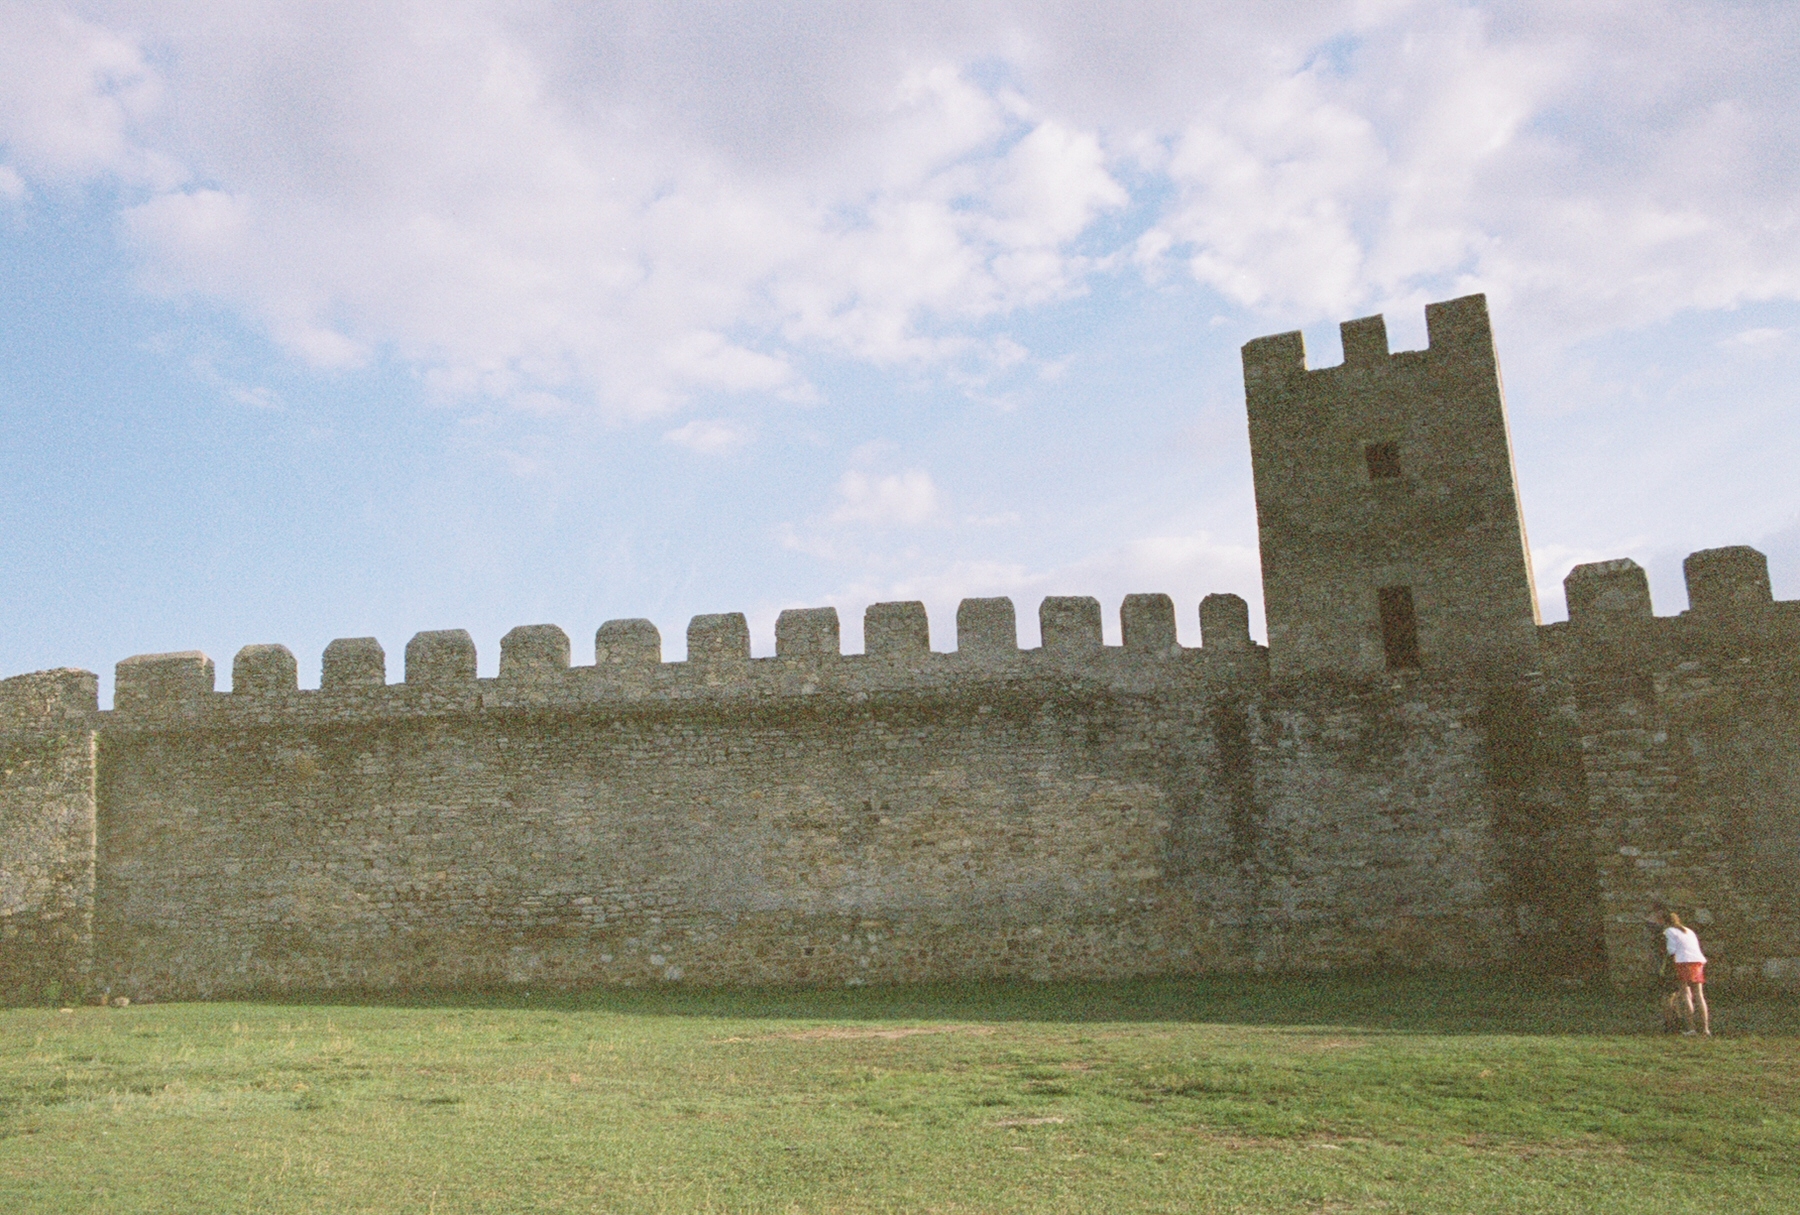
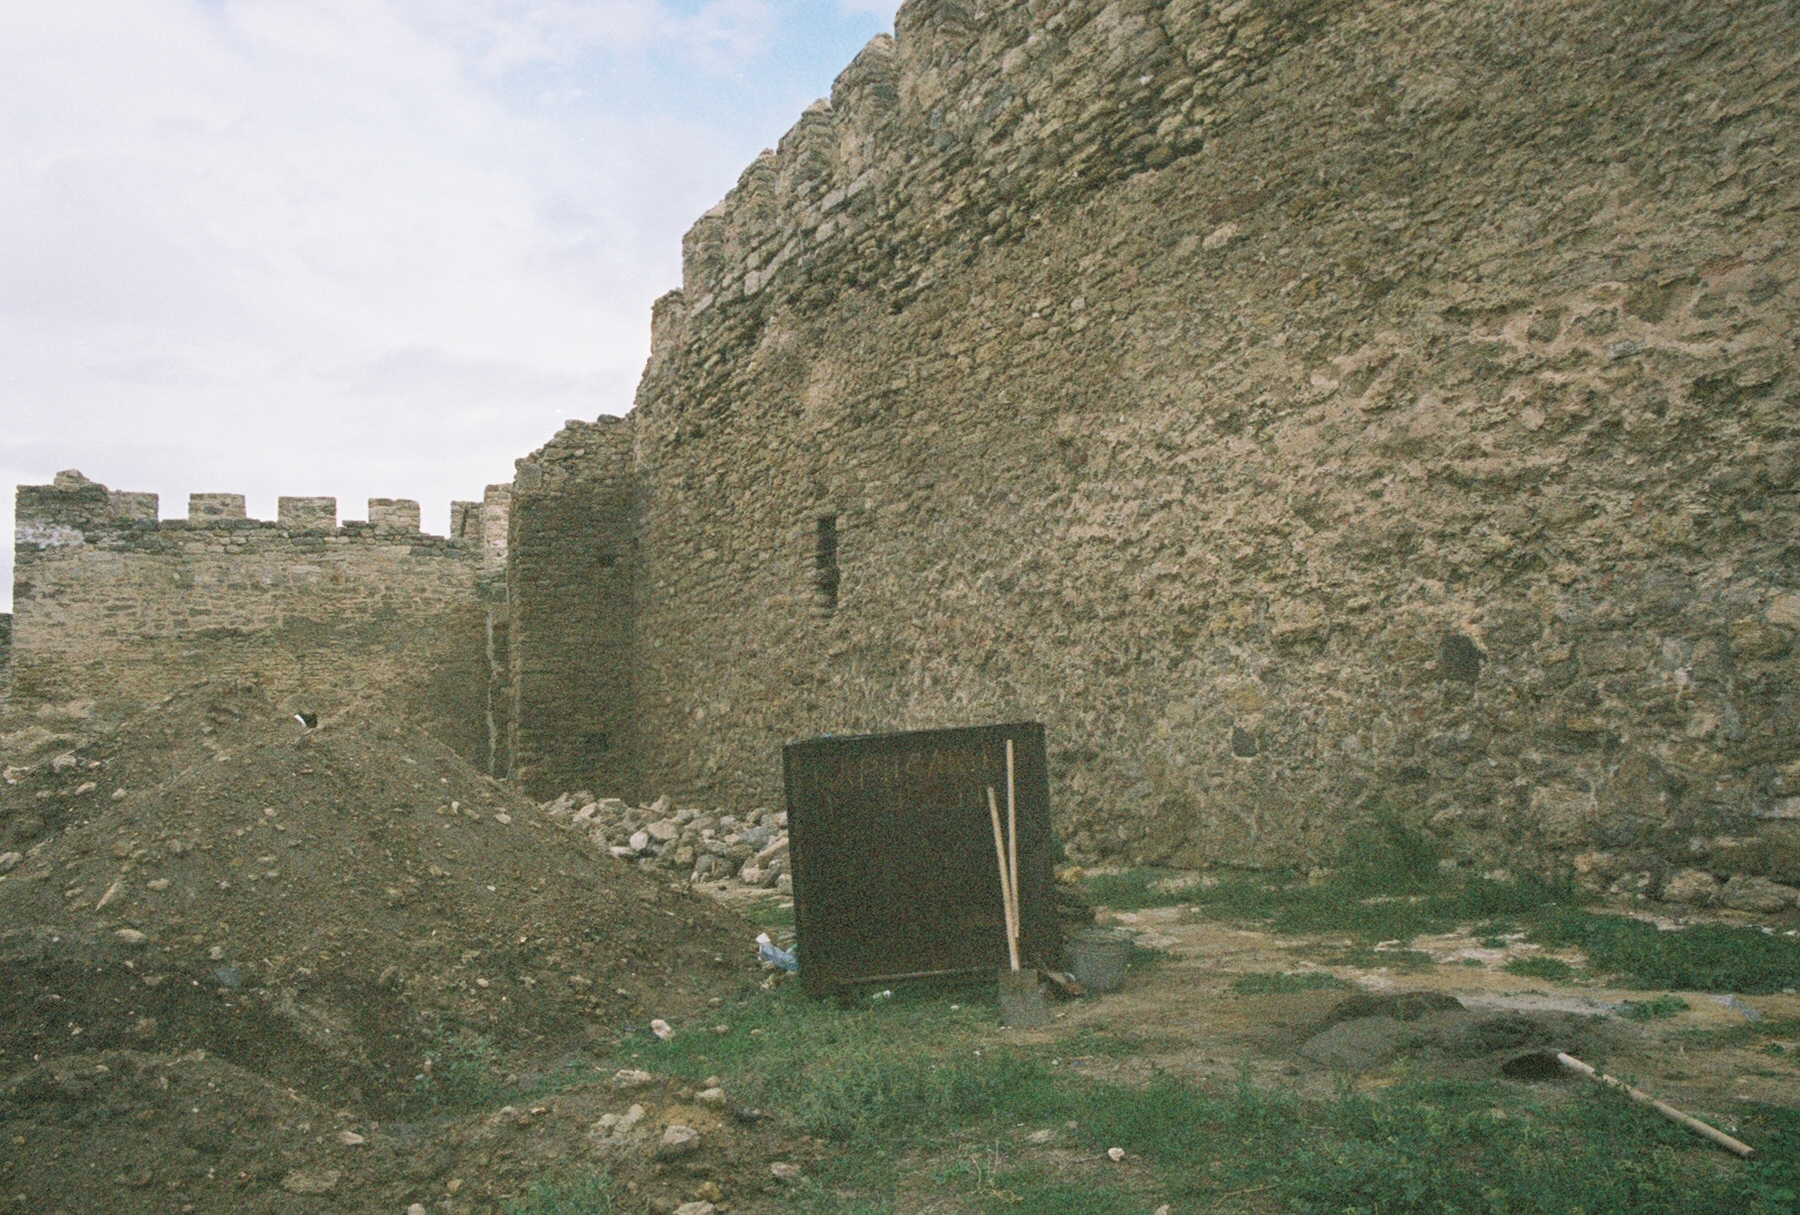
Tower 26
This square, hollow tower has four internal floors. [Figs 27 and 30] The lowest floor is the tallest in height and has no internal features (probably a storage space accessed via a ladder through the floor above it.
The next floor up has three arrow loops, one in each outer wall to the east, south, and west, and a doorway that opens into the Garrison Yard at the level of the south curtain wall’s wall-walk. It is from this vantage point that one can view the current internal order of this tower. On the outside faces of this floor level, putlog holes may indicate that a wooden hoarding previously projected out from this level of the tower. A drawing by Carlo Bassoli (p. 42, fig. 11) shows someone on a ladder doing something to the south external face at this level. An external depression in the tower’s stonework at this point may have held a plaque. Maybe the drawing is showing someone inspecting a plaque on this tower.
The next floor up has three smaller loops (east, south, and west) and a small window facing north. Finally, the top floor at roof level has crenellations all around it.
The simple appearance and impressive height of this tower suggest that it may still retain its original disposition. Located at the geographical center of Akkerman, it would not have been very exposed to attack after the Civil Yard was constructed. Its simple internal plan suggests a building used mostly for storage and probably as a lookout post. It may be a candidate for a tower with a name. Based on Ottoman documentary evidence, we are tentatively assigning the name “Tower with Inscription” (Kitabeli Kule) to this tower.
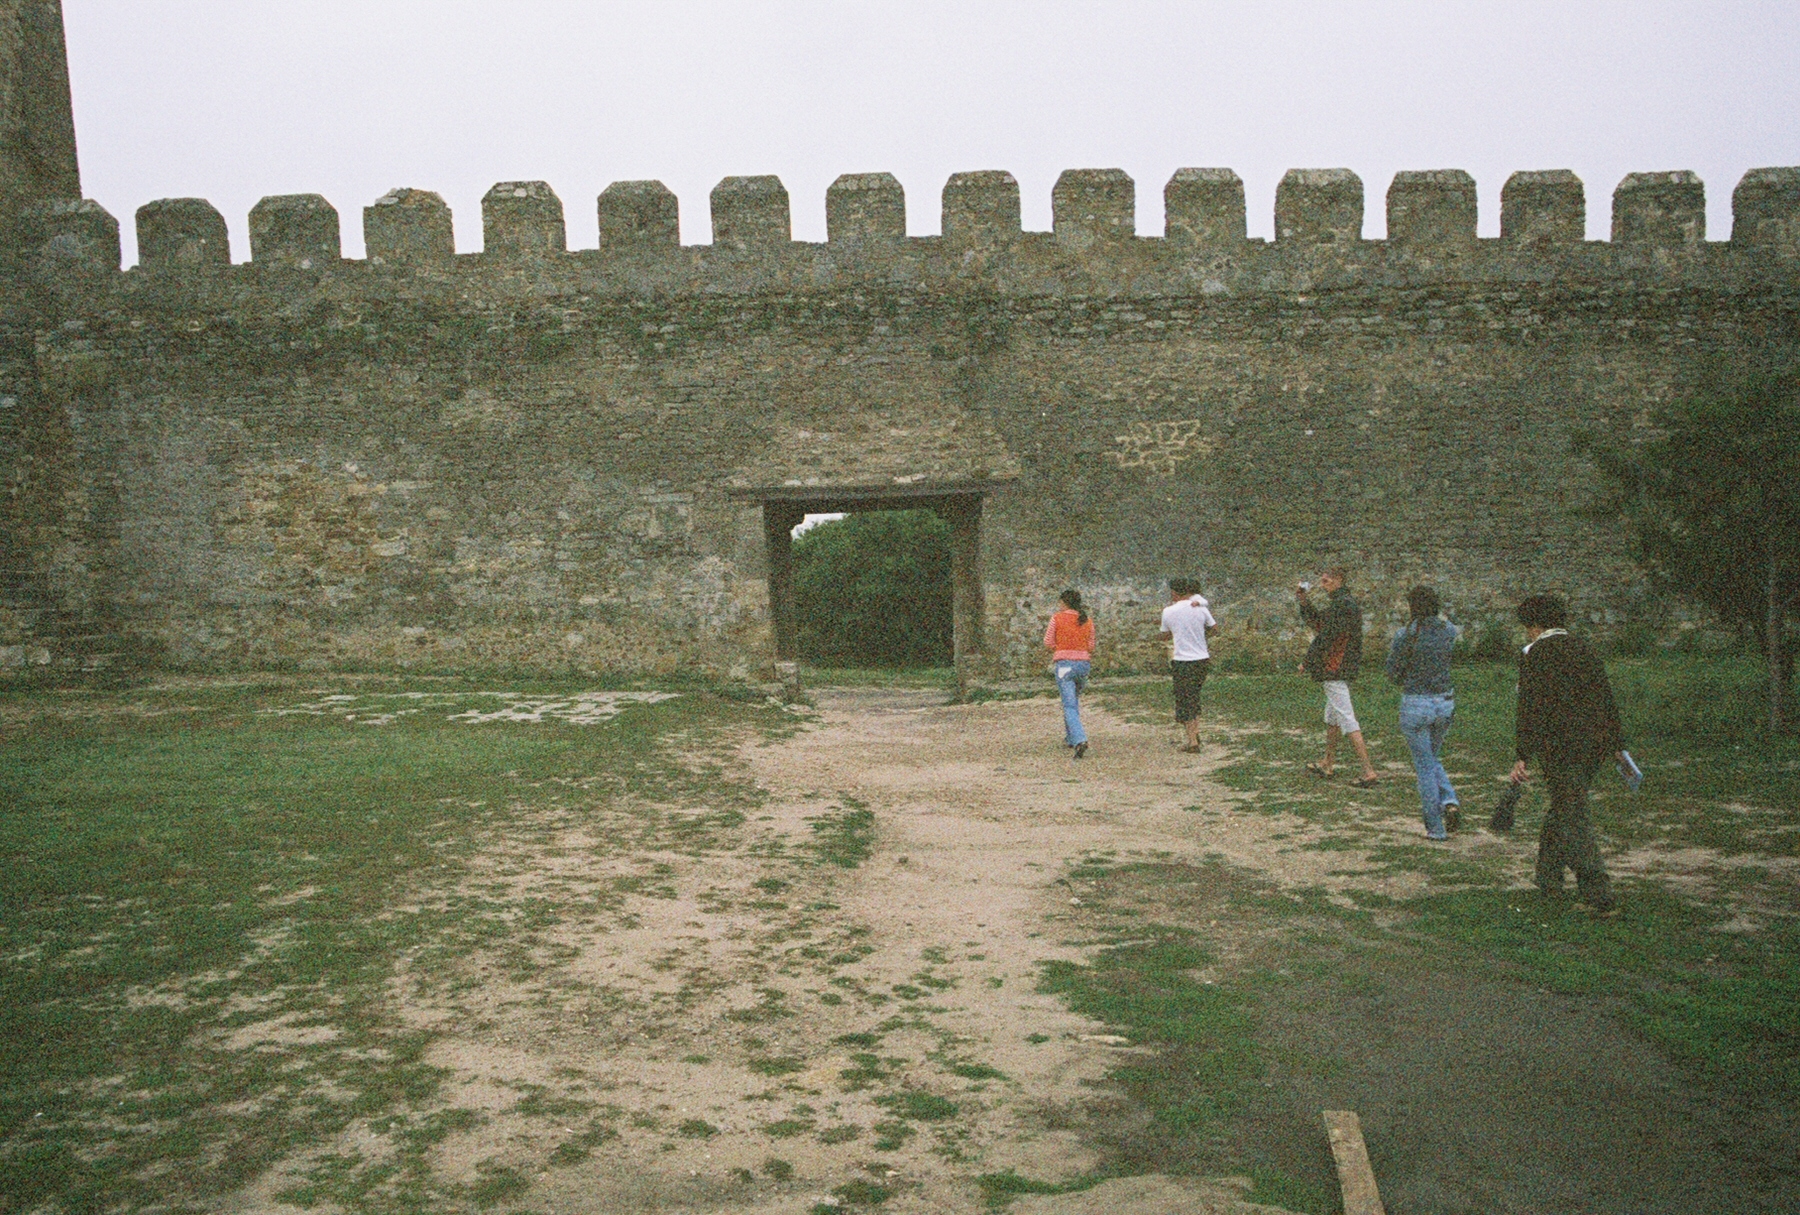
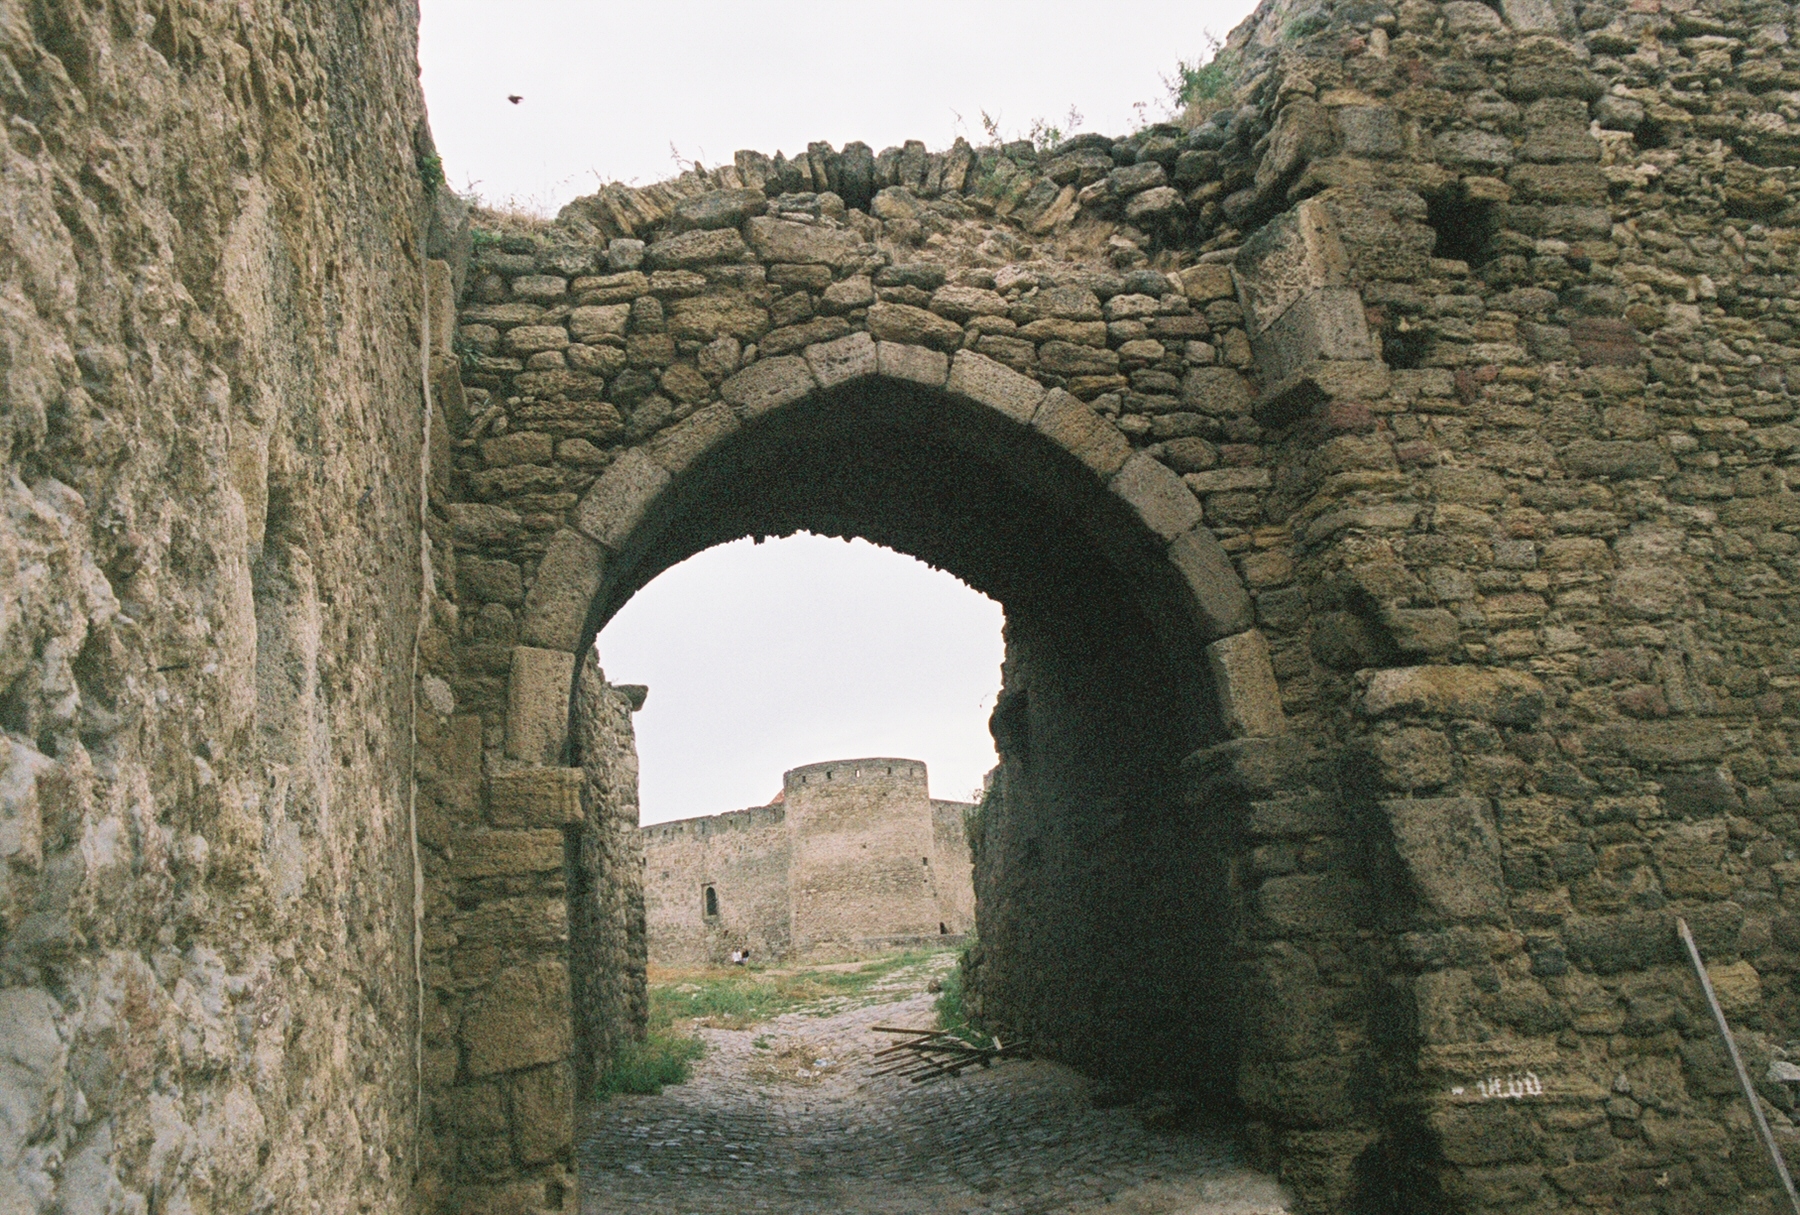
Current Middle Gate
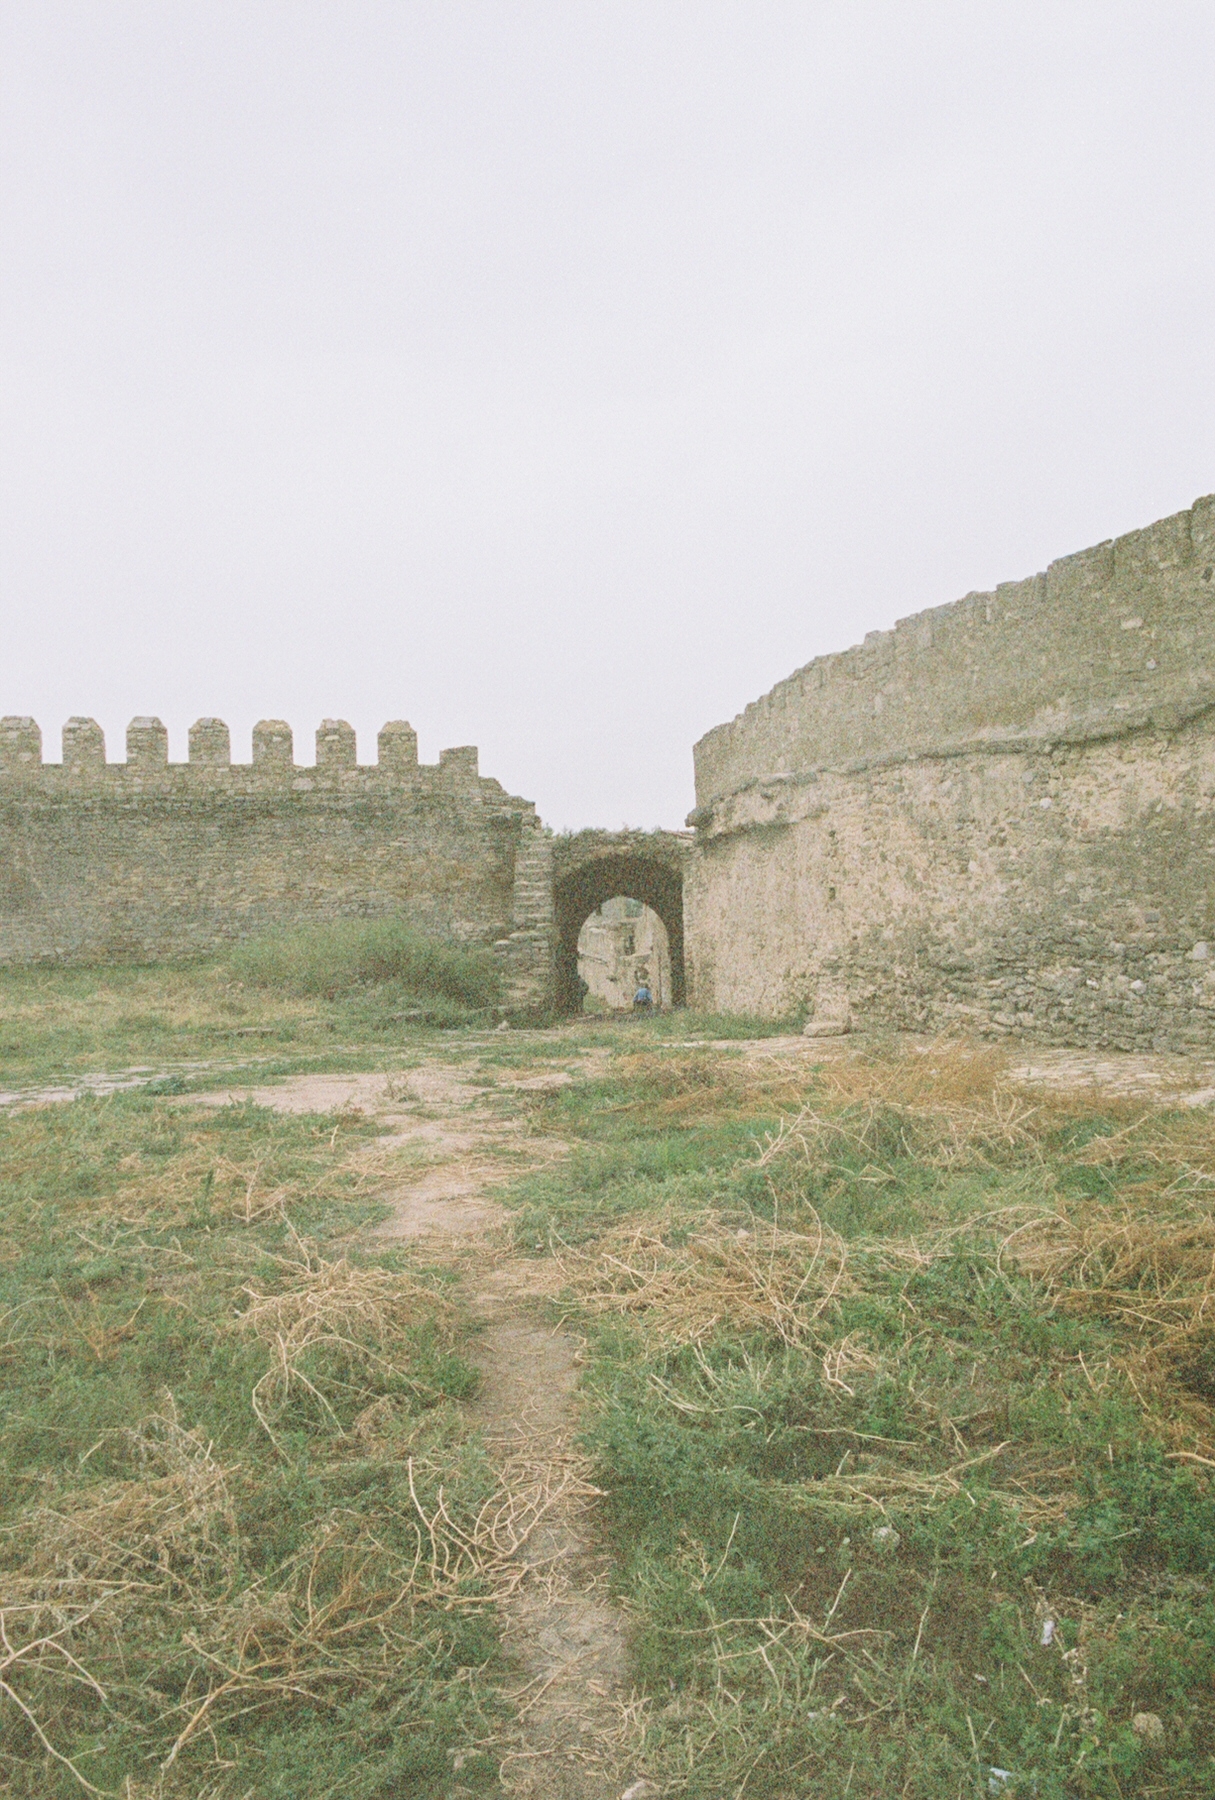
The current middle gate between the Civil Yard and the Garrison Yard is located in the middle of the Garrison Yard’s south curtain wall, just to the west of Tower 26. [Fig 30] This opening is clearly a late insertion with no defensive or notable architectural features. It does not even have a gate that could be closed. [Fig 31] Its creation was most likely intended to provide easy access between the wards, probably at a date when the defense of the entire fortress was dependent on the outer defenses holding (i.e. the Ditch and earthworks beyond). In other words, whereas early on the Garrison Yard may have been held against attackers who had obtained access to the Civil Yard, later it was probably acknowledged that Akkerman was lost if its outer defenses failed.
Tower 24: Original Middle Gate
Tower 24, located at the SW corner of the Garrison Yard, was the original Middle Gate from the Civil Yard into the Garrison Yard. [Fig 32] Its location at the farthest point from Tower 6, Akkerman’s main gate to the outside world, was probably a defensive consideration that left would-be attackers exposed to defenders along the Garrison Yards’ south curtain wall while they traversed the distance between the two gates. [Fig 1] At the same time, this location was closest to Tower 22, the Water Gate to the Port Yard, and would have allowed relatively quick access from the shoreline (where boats beached or docked) to the fortress’s innermost areas. [Fig 33] This gate was eventually made redundant by the new, undefended gate into the Garrison Yard (see above).
Based on drawings from the 1950s (p. 94, fig. 50), this gate/tower has been extensively reconstructed. Externally, the gate is notable for its double arch appearance. [Fig 34] The gate was apparently blocked by a large wooden door backed by a drawbar, whose sliding slot on the east side actually penetrates the structure’s wall into the Civil Yard. [Fig 35] There is no evidence of a portcullis gate that would have descended in grooves to add a further obstruction. Within the gate’s entrance passage, three arches support the tower above, with the innermost now missing. At the back of the gate (within the Garrison Yard), a stairway leads up to the upper floor of the tower and the wall-walk of the south curtain. [Fig 36] Based on Ottoman documentary evidence, we believe this tower was commonly referred to as the “Middle” (Orta Kapı) or “Small Gate” (Küçük Kapı).
West Curtain Wall
The west curtain wall survives between Towers 24 and 25 and is reconstructed between Tower 25 and its intersection with the NW Tower of the Citadel. The surviving section has a vestigial wall-walk (now almost impassible at its southern end where it approaches Tower 24) with musket loops opening to the west and covering the Port Yard beyond. [Fig 37] The recently reconstructed section to the north has a new stairway up to its wall-walk which sports (reconstructed) old-fashioned crenellations. [Fig 38] In the northern corner made by this reconstructed curtain and the Citadel, three reconstructed arrow loops have been inserted into the wall’s thickness, overlooking the shoreline below.
Backing the northern section of this curtain wall, within the Garrison Yard, there is a large stone foundation that peters out as it approaches the west side of the Citadel. [Fig 39] This might be the remains of a gun platform that connected the west curtain wall to the Citadel. The existence of such a platform may be corroborated on a section drawing from the 1950s survey of the fortress (p. 84, fig. 44u), as well as the contour lines depicted on the main plan of the fortress. [Fig 1] If this platform existed at the level of the original first floor entrance into the Citadel, then it mirrored the situation on the Citadel’s east side where a gun platform backed the north curtain wall of the Garrison Yard (see above). This configuration may have been contemporaneous with the blocking of the Citadel’s ground level entrance on the west.
Tower 25
Based on Ivanenko’s 1950s drawings (p. 94, fig. 50), this tower has seen extensive reconstruction, possibly as much as two-thirds of its circumference on the west and north sides. Its foundations are much larger in circumference than the reconstructed upper floors. [Fig 40] Was the original tower much larger, or were its walls much thicker than have been reconstructed?
The door into this tower from the west curtain’s wall-walk was blocked by drawbars. This entrance allowed access into the tower’s first floor room, which had three loops and a door (on the southwest side) that exited to the Port Yard’s wall-walk (see below). [Fig 41] This latter feature is part of the tower’s reconstruction and may not be original. Below this level, there was a storage room with no openings through the tower’s walls, while above this level an upper floor has been reconstructed with fake crenellations surmounting the tower. From the outside, there is a decorative stone cannonball in the fabric of this tower.
This tower clearly allowed defensive access to the Port Yard, either via the wall-walk connecting the Garrison Yard’s defensive circuit to the Port Yard’s Tower 28 (at the end of the ‘Barbican’) or via a stairway down to the Port Yard (p. 132, fig. 82). [Fig 42] The location of the draw-bar slots are key, since they may have been intended to isolate this tower from access to the Garrison Yard in the event that the Port Yard was captured by assailants.
Given the interconnecting nature of this tower between the two wards, it was probably tied heavily to garrison-related duties (e.g. patrols and communication).
7 According to Şlapac (p. 98, fig. 54a and 54b), this stair was part of the original plan of the tower, though it was not part of the plan of the fortress made in 1955.
8 Note that in Şlapac (p. 91, fig. 50b), Tower 4 has been incorrectly labeled “Tower 5”.
9 This may have been the chute for a latrine located near this point, or possibly a simple refuse chute to provide quick disposal through the curtain wall to an area inside the Civil Yard that was just within the fortress’s Main Gate. One suspects that a wagon was positioned here to catch this refuse and take it out of the Main Gate to be discarded outside the fortress.
top of page
View all images
index
back
next
|
