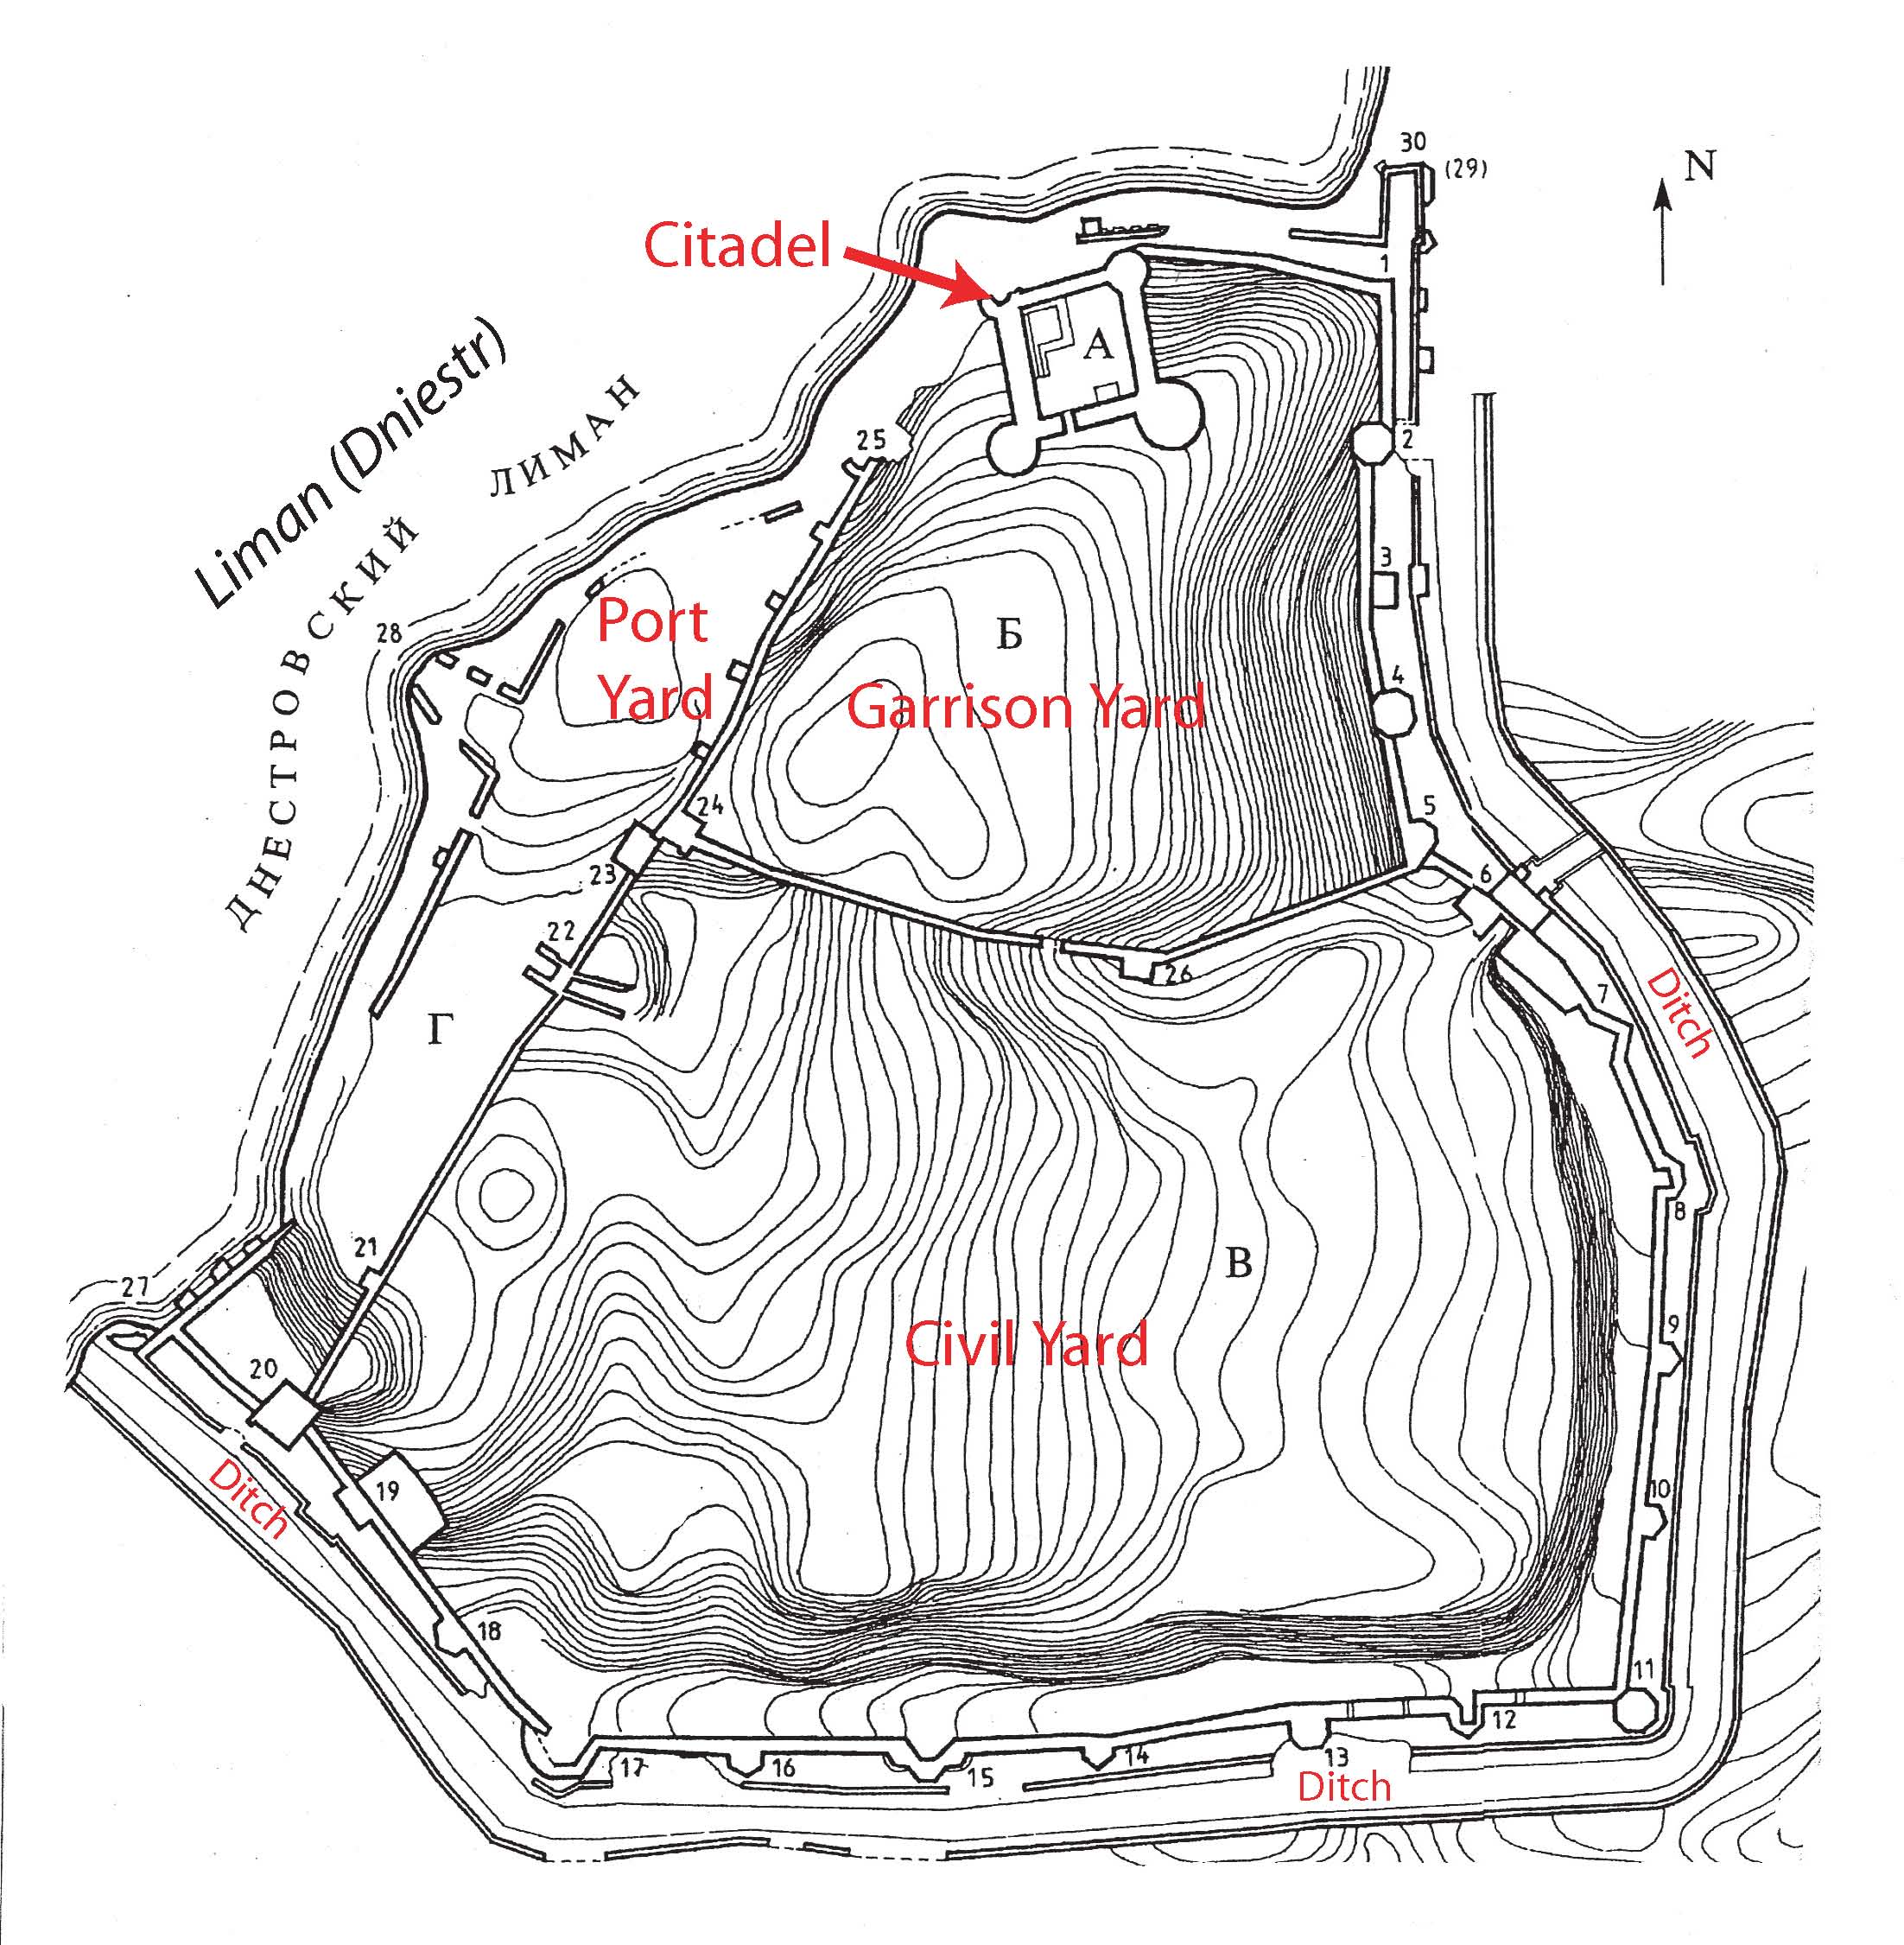
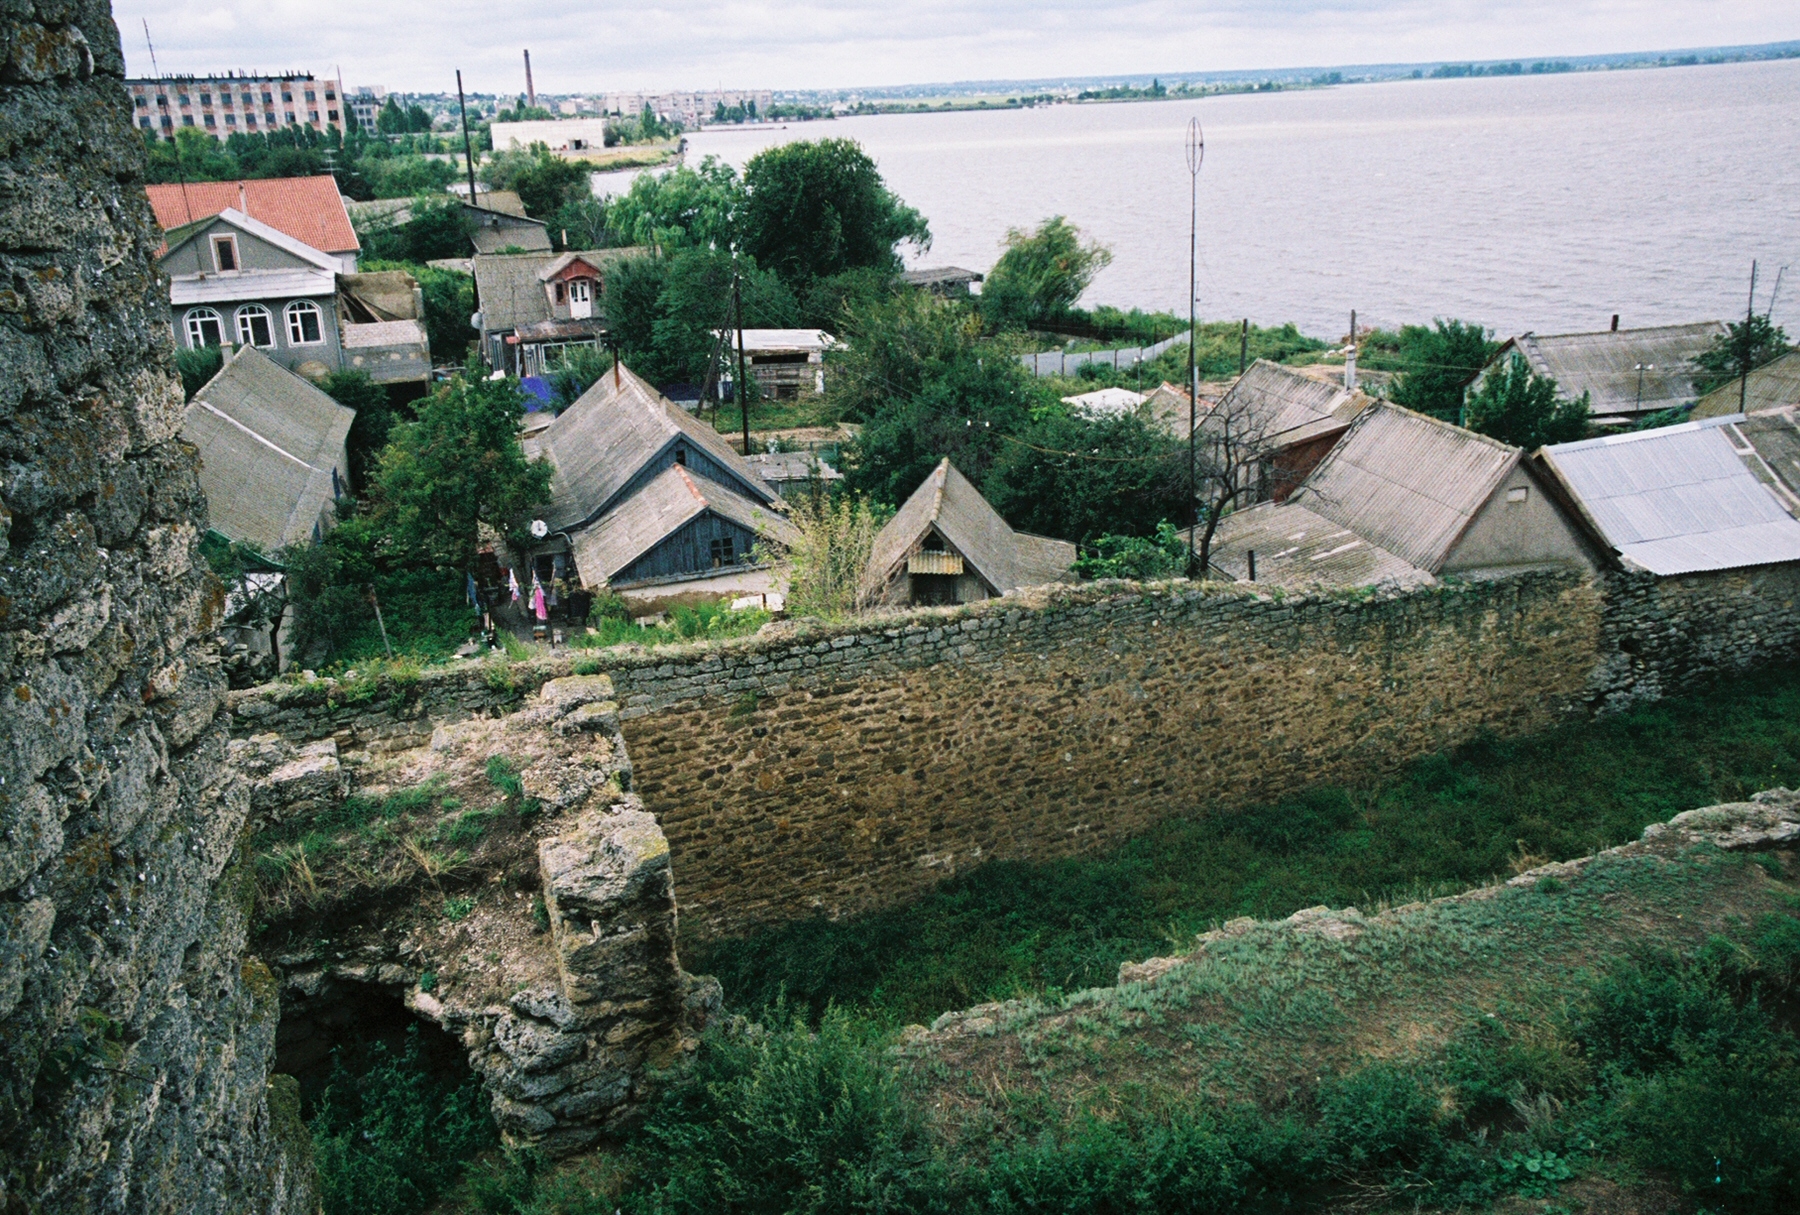
The Civil Yard
The Civil Yard is the fortified enclosure that defends the Garrison Yard on its south side, forming an outer ward to Akkerman. Whereas the Garrison Yard was closely tied to the administrative center (and high-status residences) housed in the Citadel, the Civil Yard was probably the economic center for the local community—the equivalent of a fortified town nestled up against the lord’s castle. Given its extensive dimensions, the Civil Yard probably functioned as an urban settlement, with numerous free-standing buildings (now gone) clustered along thoroughfares that crisscrossed the ward from gate to gate (see some of the old plans discussed below). While next to nothing survives of this community’s architecture, its surrounding curtain walls allow us to reconstruct some defensive developments.10
Tower 6: Main Gate
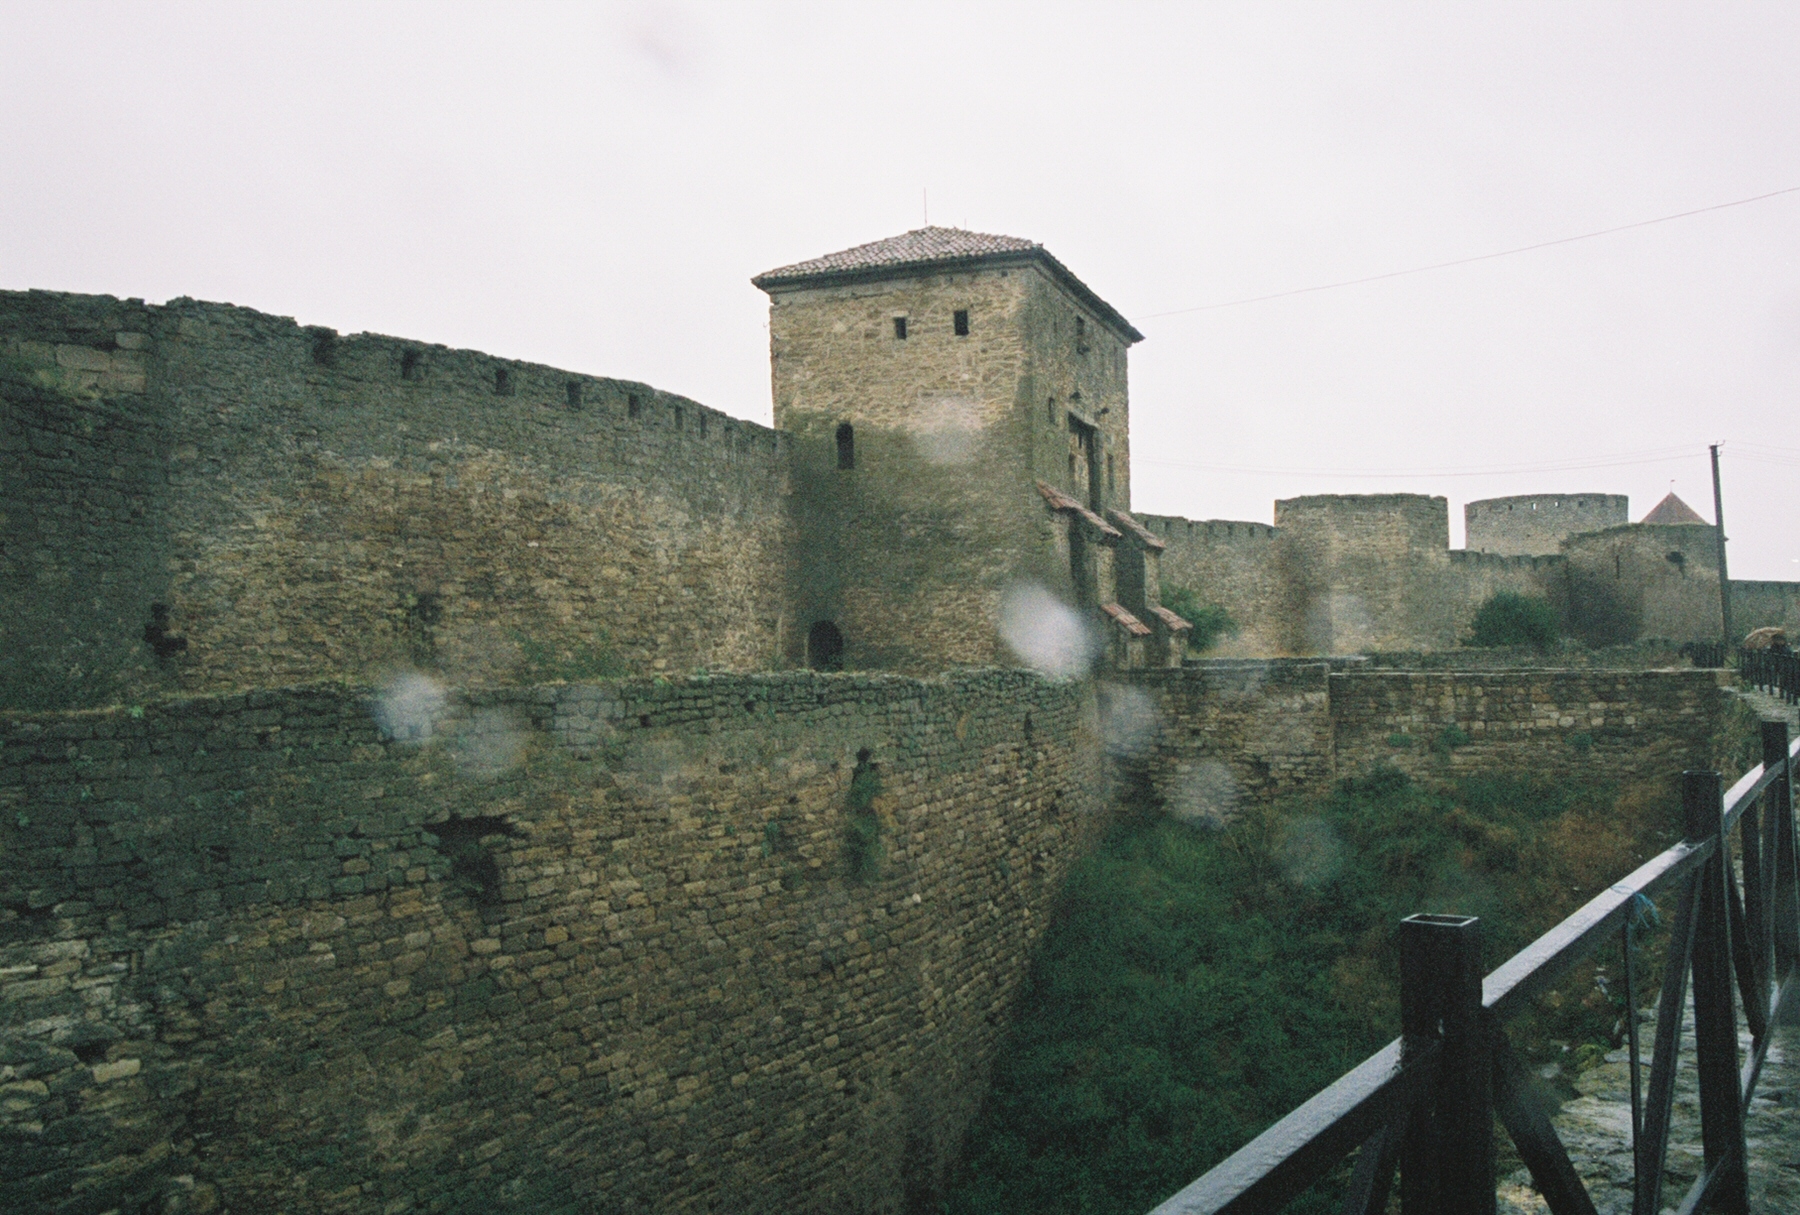
Tower 6, the main gate into Akkerman, sits on the east side of the fortress’s Civil Yard, and is approached by a large stone bridge across the deep Ditch. Its external face exhibits a number of features (though see below for a discussion of the gatehouse’s internal remains). [Fig 43]
At ground level these include the central passage into the Civil Yard, which is bracketed by double-shouldered buttresses decorated with roof tiles.11 Above this gateway, one can easily discern the recessed groove in which a portcullis slid up and down to block the gate. The remains of this groove at first and second floor level are now missing—clearly destroyed when the upper floors of the gatehouse were rebuilt (see below)—but just above the current top corners of this groove are two small holes that probably facilitated the chains that raised and lowered an earlier drawbridge.
At first floor level, there are three windows of various sizes (the central one is now blocked) and what appears to be a space to mount a plaque above the right side (north) shouldered buttress. At second floor level, there are three more small windows, as well as a key-hole gun loop (a circular opening with a vertical slit above it to allow gunners to more easily see their target) to the left (south). See below for a description of these features from within the tower.
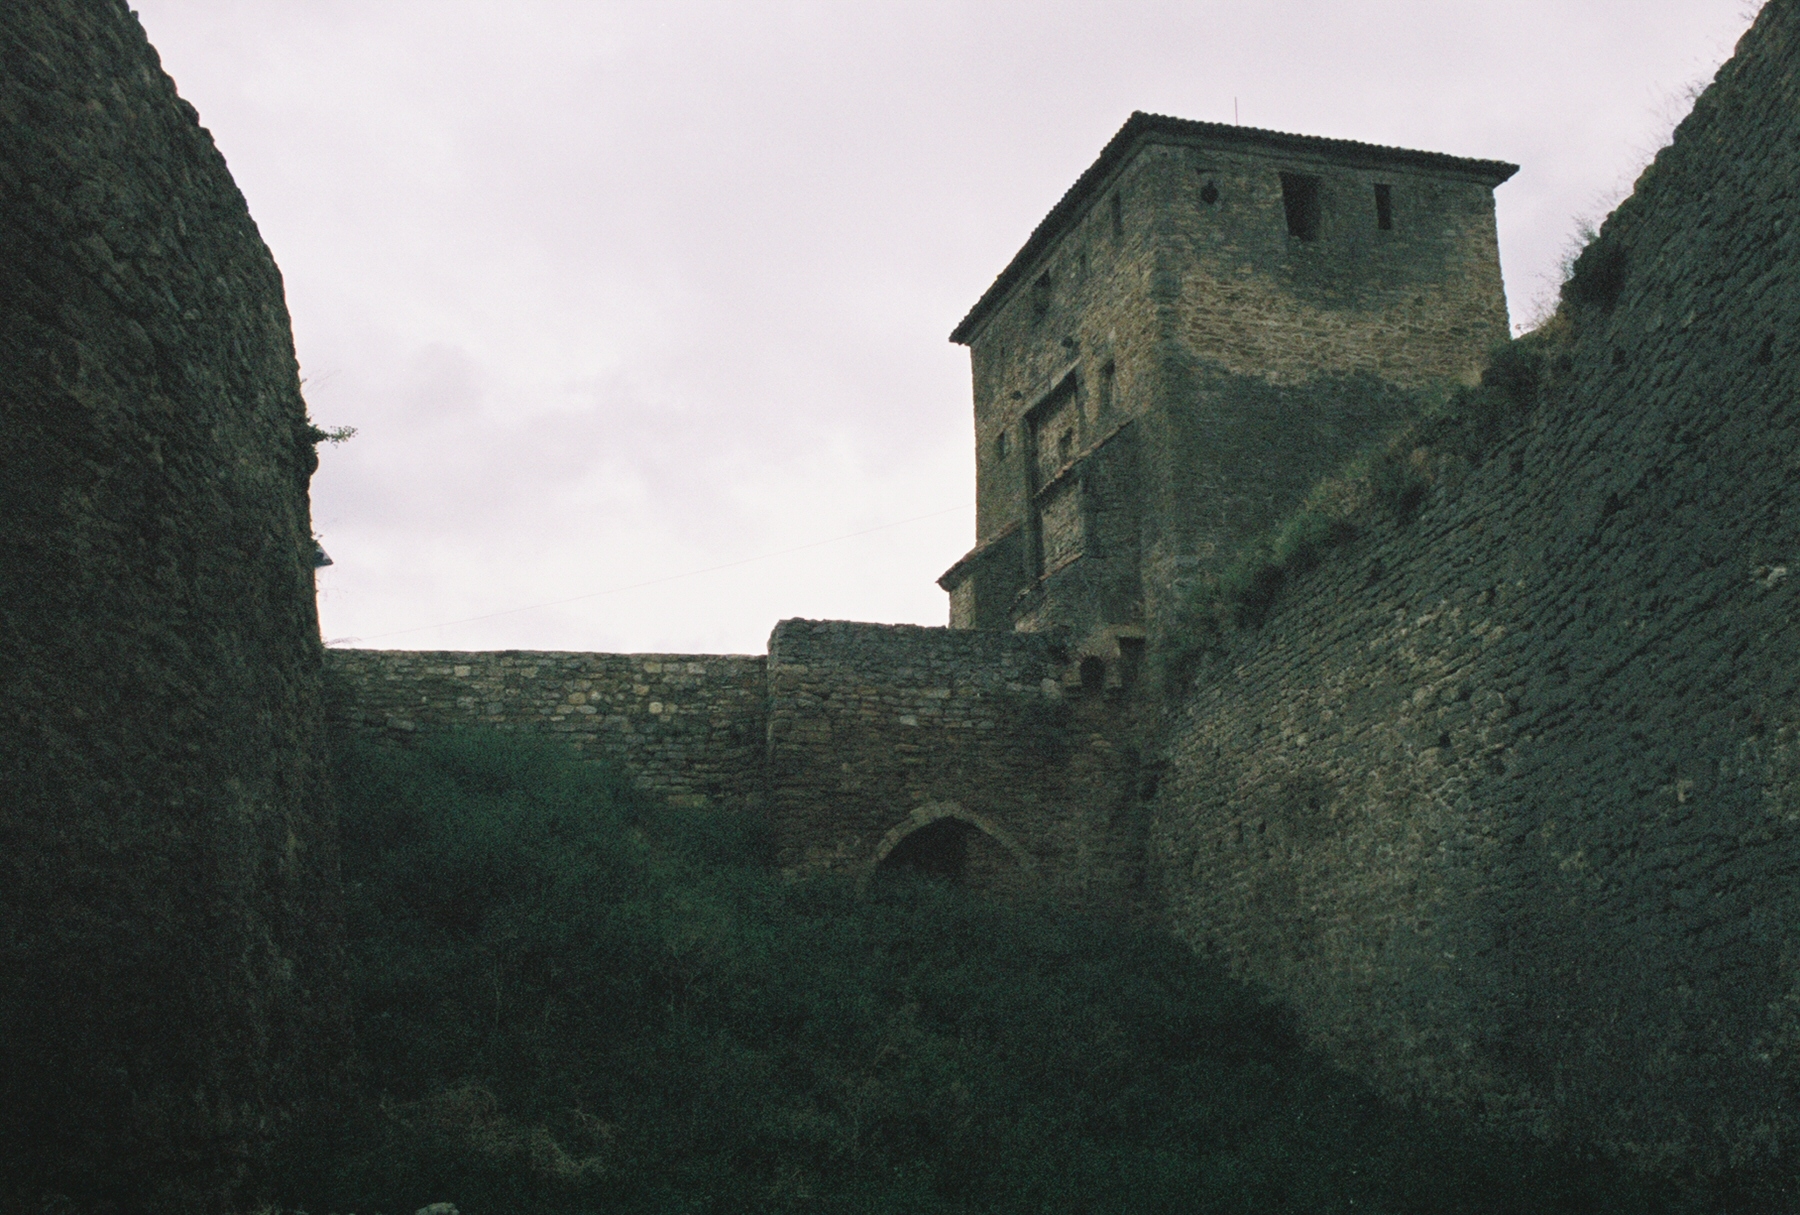
The north and south sides of Tower 6 face the Small Ditch. The north face has several features of interest. [Fig 44] At ground level, this includes a doorway (now blocked) at the bottom right that allowed passage from within the main gate into the Small Ditch. At second floor level, there is another key-hole gun loop, a doorway that opens into space, and a small window.
The south face also has several features. At ground level, there is another doorway that allows access from the main gate to the Small Ditch. [Fig 45] Above this, at first floor level, there is a “doorway” that opens into space, which may have provided access to the wall-walk heading south from Tower 6 along the east curtain wall of the Civil Yard (but see below). At second floor level, there are two small windows.
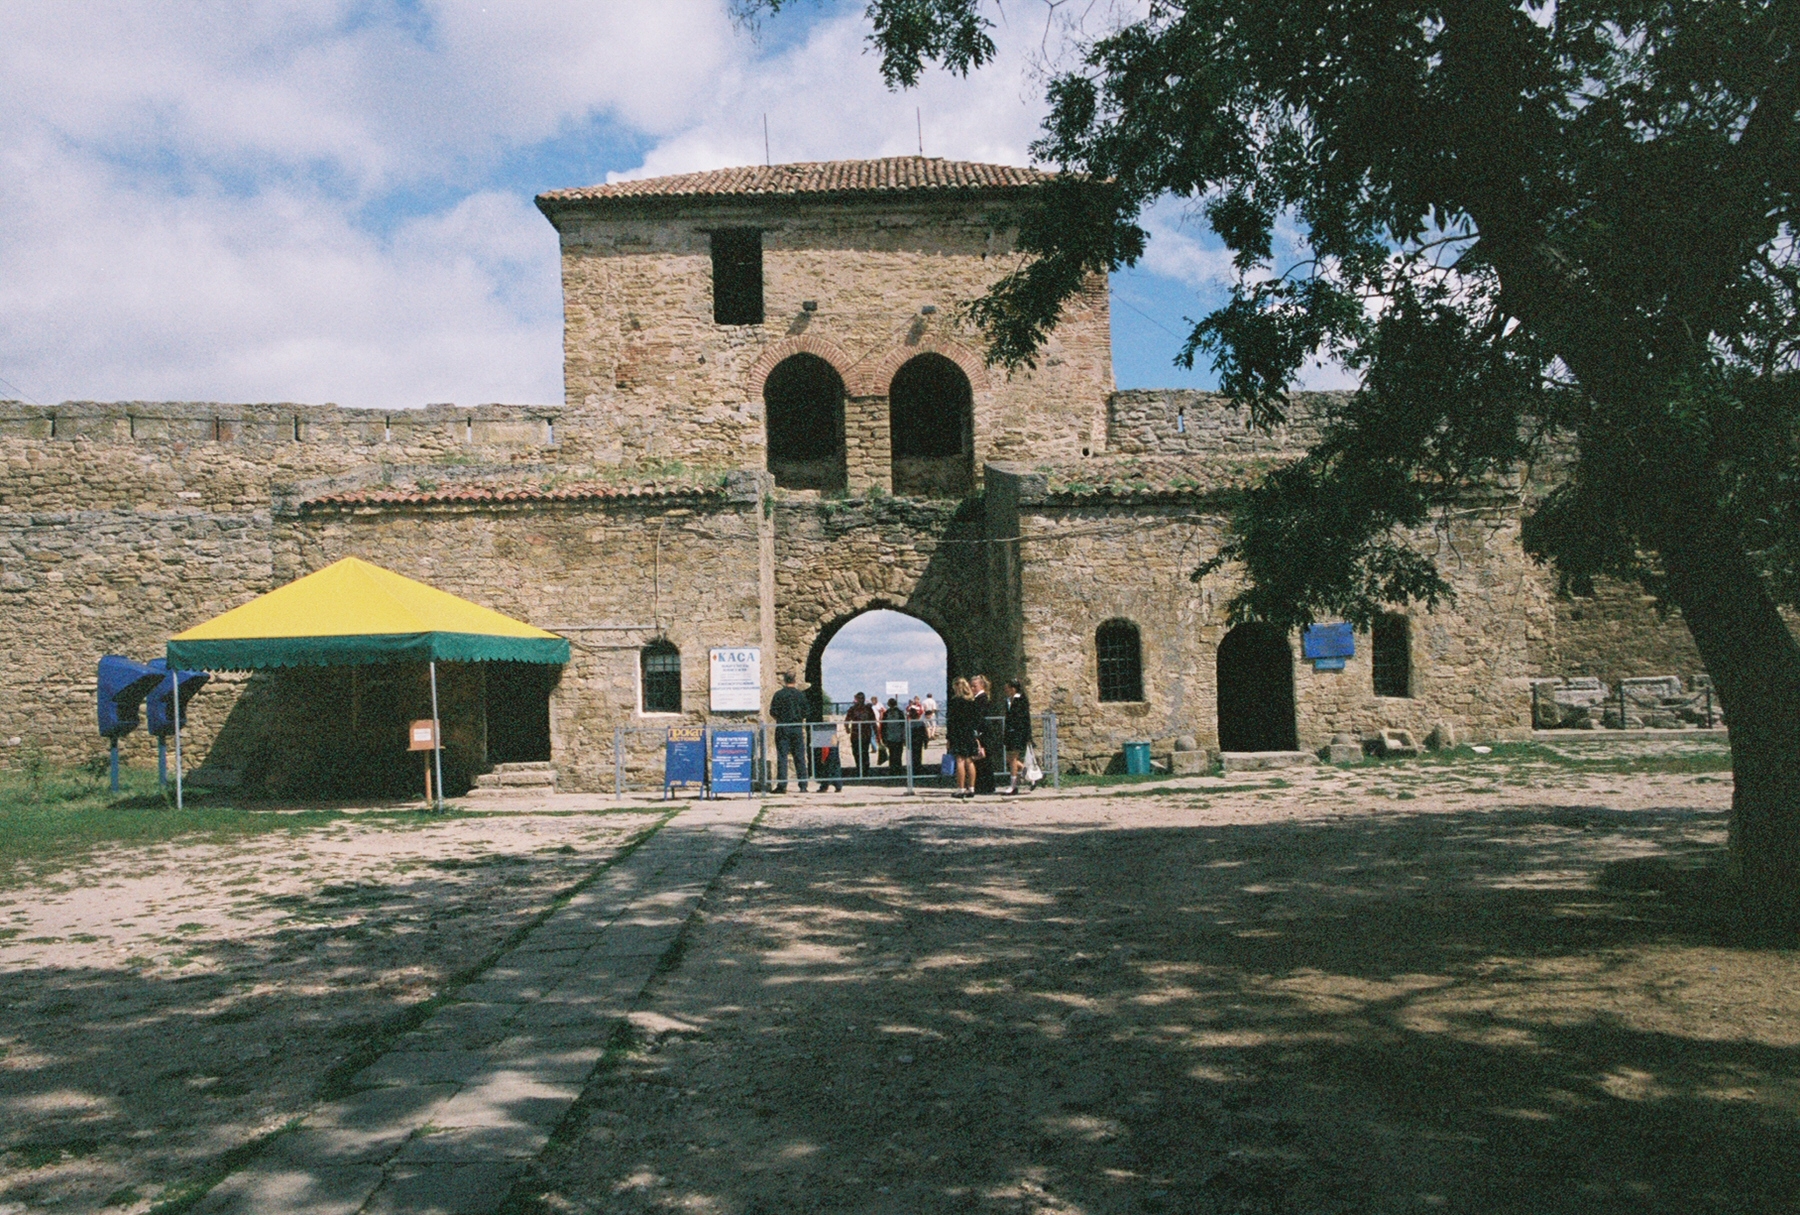
To enter the fortress, one would have had to pass through Tower 6’s central passage. This gateway was defended against attackers by a portcullis (see above), a set of doors backed by drawbars, and then a second portcullis at the rear of this passage.
The gate’s inner face also has numerous features. [Fig 46] These include guardhouses on either side at ground level that effectively extend the gate’s entrance passage. Above this, at first floor level, can be see an enigmatic pair of doors that currently open into space over the rear section of the gateway passage. Another doorway at second floor level also opens into space. It seems likely that a wooden floor previously covered the rear section of the gate’s entrance passage. Not only would this have bridged the gap between the guardhouses on either side, it would have also allowed the double doors to open onto this platform and simultaneously connect the stretches of wall-walk to the north and south of Tower 6.
Upon inspection, the internal areas of Tower 6 reveal at least one major episode of rebuilding—the first floor was clearly rebuilt with brick vaulting to withstand artillery. For example, the enigmatic pair of doors at the rear of the gatehouse (see above) now provides access to vaulted passages that end in the windows seen on the front face of the gatehouse. These passages likely housed cannons that aimed out over the approach to the fortress’s main entrance. The southern of these two passages further connects to another vaulted passage that extends to the first floor “doorway” seen on the tower’s southern face. This “doorway” is probably also a cannon embrasure, particularly given its orientation to the southeast and the main land approach to the main entrance.
Things are a little different at second floor level. While there is no clear evidence for rebuilding to withstand artillery, a number of pre-existing features in this topmost room have been modified—probably when the rebuilding of the first floor made certain elements obsolete.
On the north wall, as described externally, there is a small window to the left, a doorway opening out into space at center, and a gun loop that aims down the northern extent of the fortress’s Ditch to the right. The doorway may have previously given access to an external wooden hoarding. The east wall, as described externally, contains three small windows and a gun loop. Internally, however, it also has two (now blocked) upside-down, T-shaped slots that probably accommodated chains that worked either the original drawbridge or the front portcullis (see above). The south wall, as described externally, simply has two small windows that look out to the south over the Ditch. Finally, the west wall, as described externally, is home to the doorway that provides access into this room (presumably via ladder). However, it also has a single, internal, vertical groove near its middle that probably accommodated the rear portcullis’s chain.
Based on Ottoman documentary evidence, this tower was commonly referred to as the “Great Gate” (Bab-i kebir).
East Curtain Wall
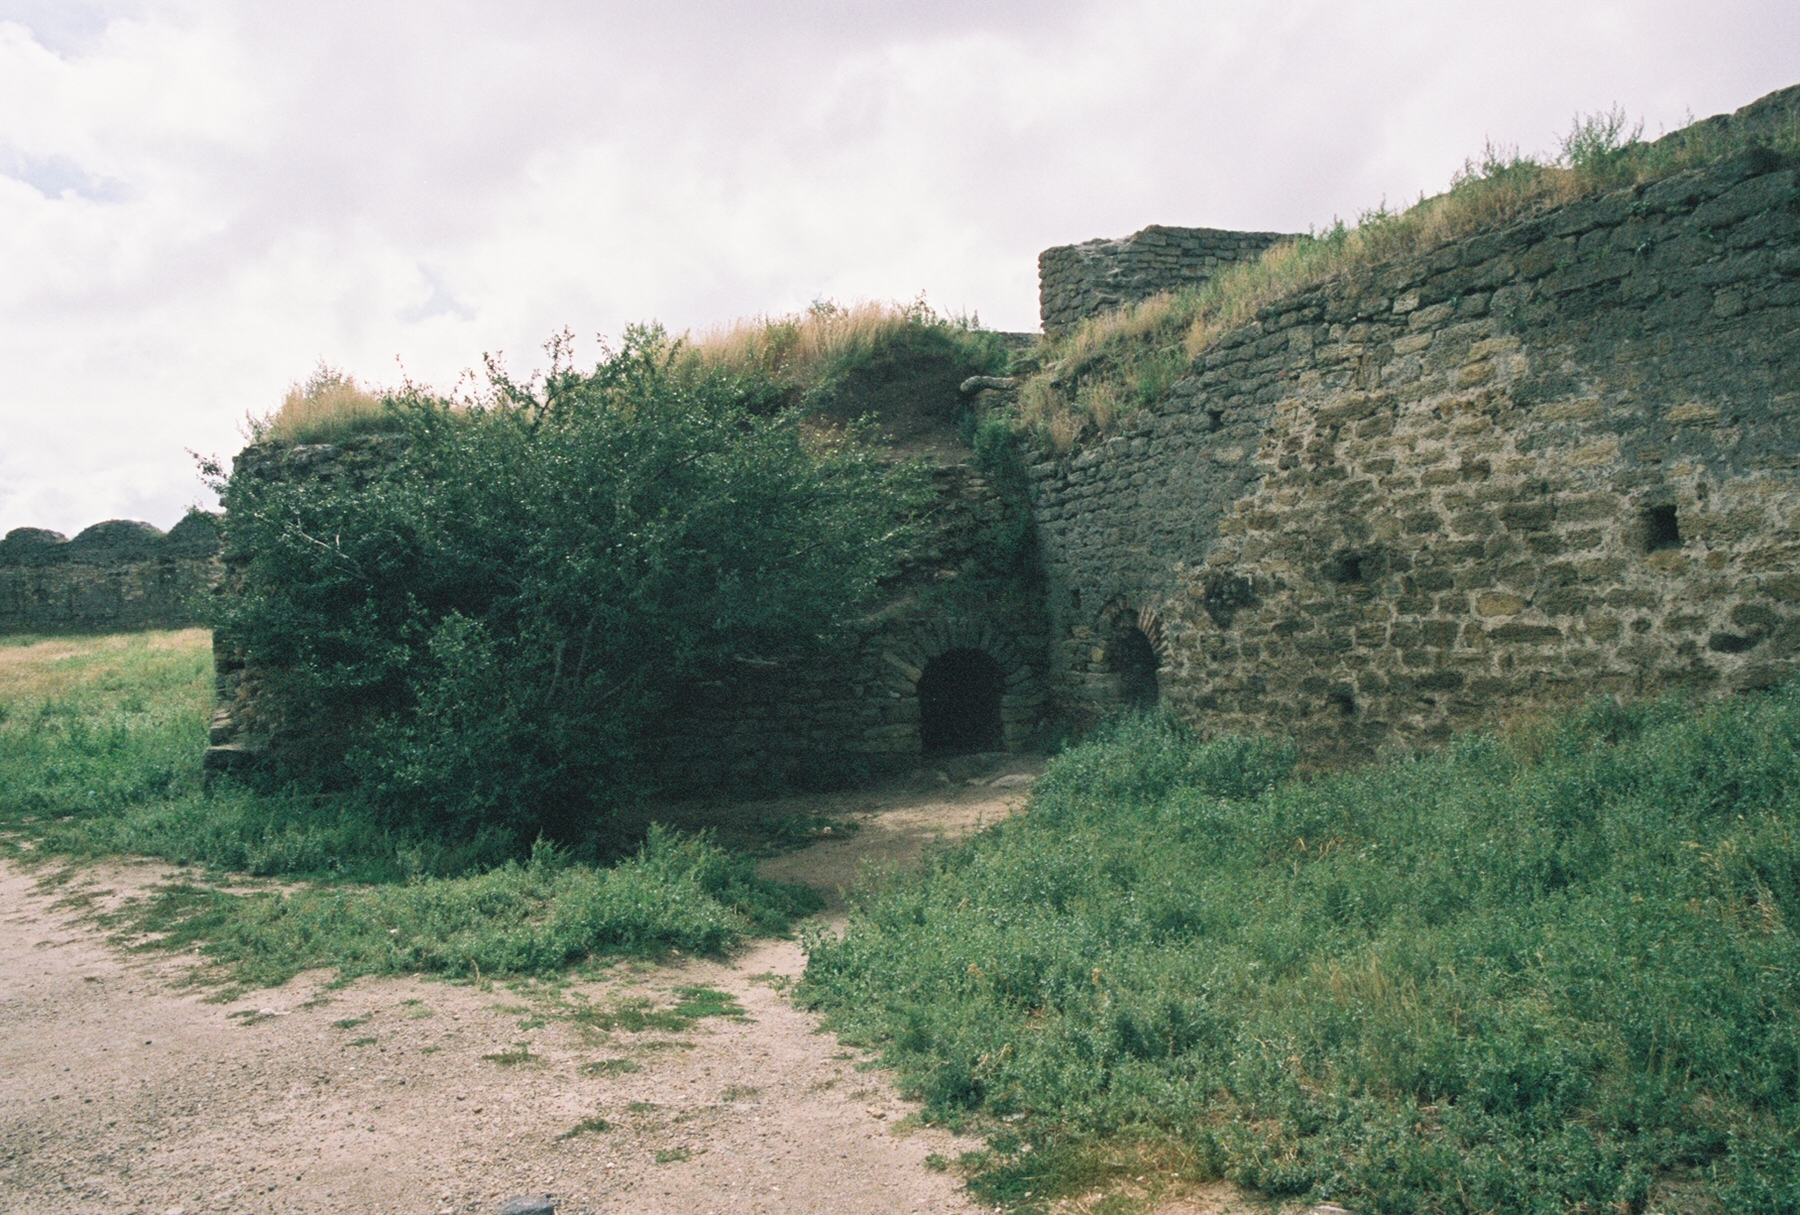
The east curtain wall of the Civil Yard has musket loops along its wall-walk between Towers 6 and 7 [Fig 47], as well as between Towers 8 and 9. At ground level, between Towers 6 and 7, there are two arrow loops through the curtain wall that are currently being used to inaccurately mount small cannons. Further to the south, this curtain wall is backed by the partial remains of casemate-like structures that might have housed ammunition stores and supported gun platforms above. [Fig 48]
Tower 7
Not so much a tower as an angle projection of the curtain wall [Fig 1], this structure is mounted by a staircase up to its gun platform. [Fig 47] Like the situation around Towers 11 and 17 (see below), this tower eventually formed the central point of an internal bastion that incorporated the neighboring Towers 6 (to some extent) and 8 and the curtain walls connecting them. Based on Ottoman documentary evidence, we believe this internal bastion was called the “Agha Bastion” (Aga Tabyası).
Tower 8
This open-backed, polygonal tower has a nice gun loop (with a brick-vaulted embrasure) at ground level and a cannon embrasure on its summit that points to the southeast. [Fig 49] In front of this tower on the outside is a half-wall tower (8A) that protrudes into the Ditch (see below). Based on Ottoman documentary evidence, we are tentatively assigning the name “Wooden Tower” (Tahtalı Kule) to this tower.
Tower 9
This is a polygonal tower, probably reconstructed from a square original.
Tower 10
This is a polygonal tower, probably reconstructed from a square original.
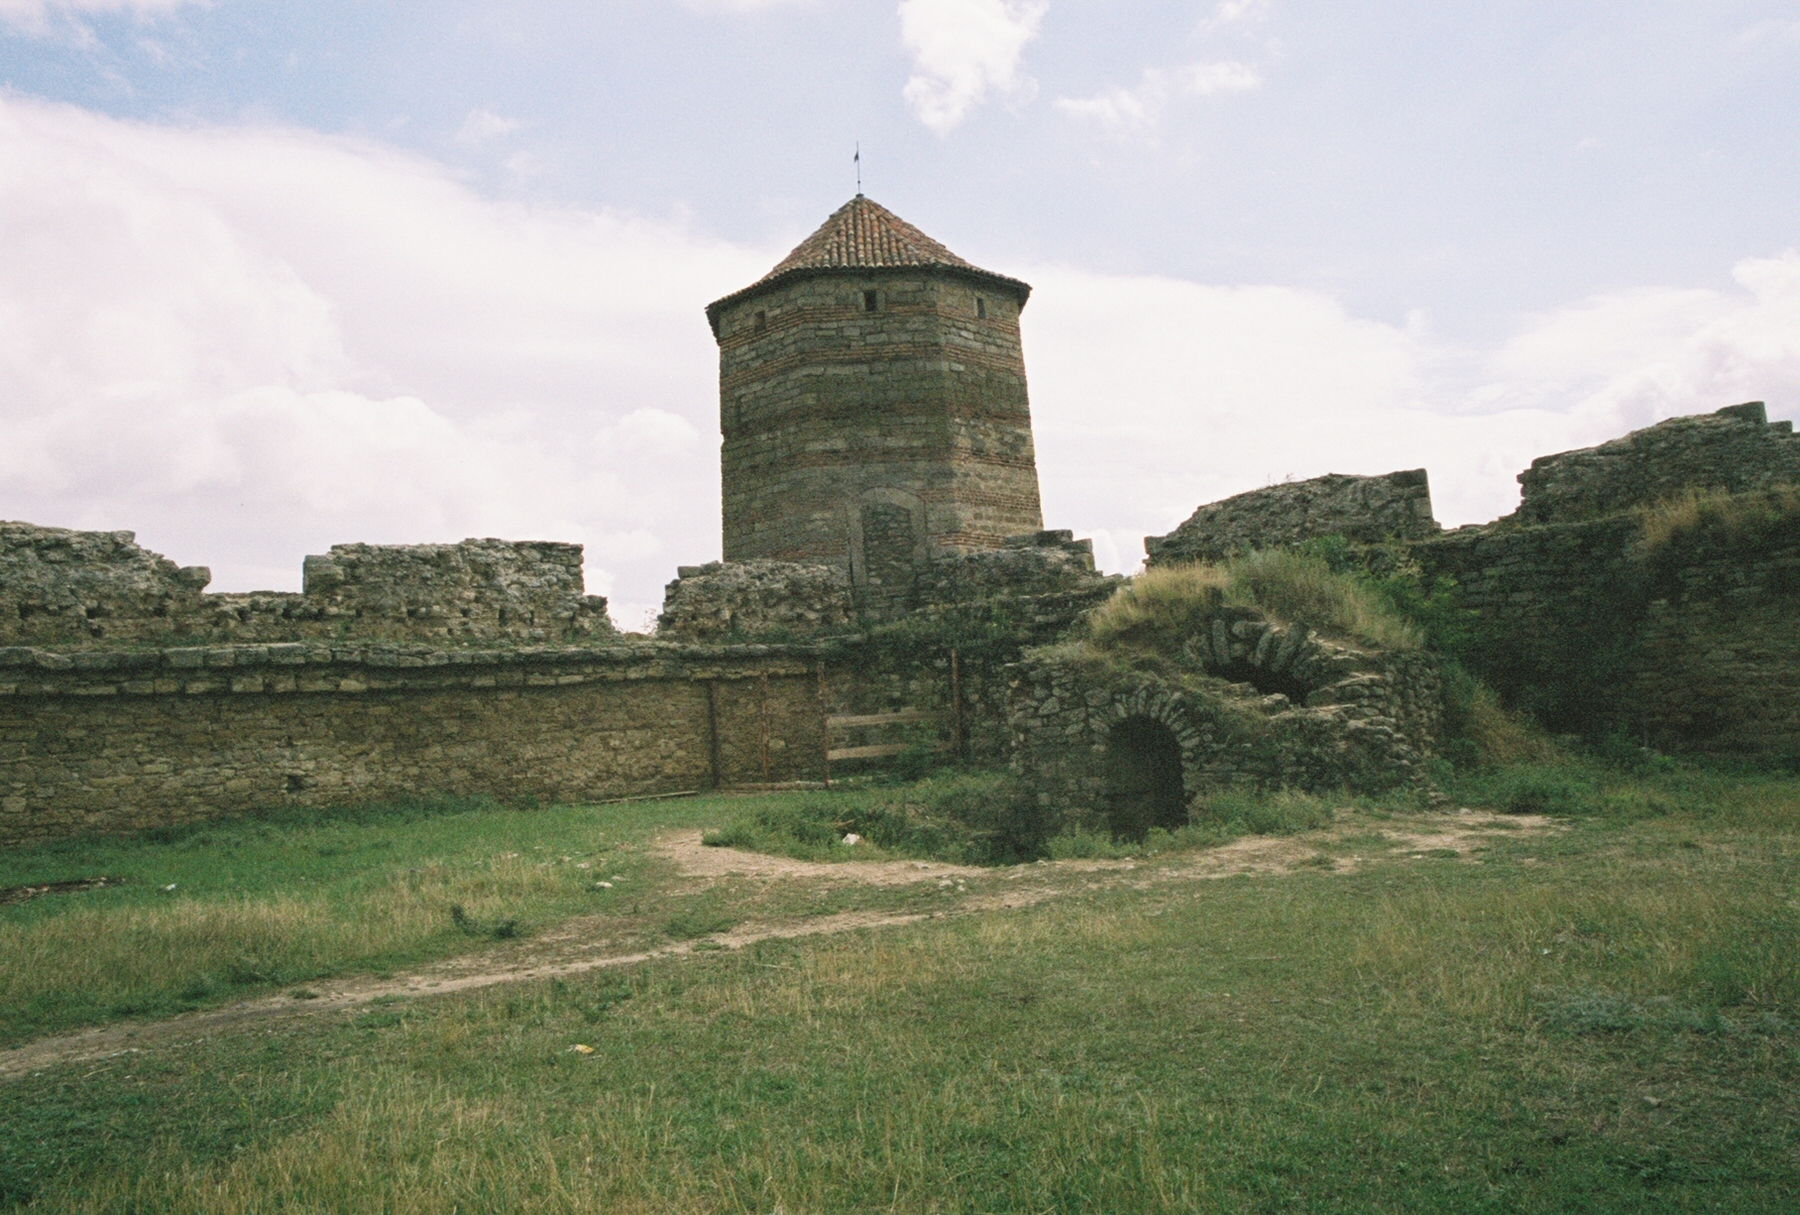
Tower 11
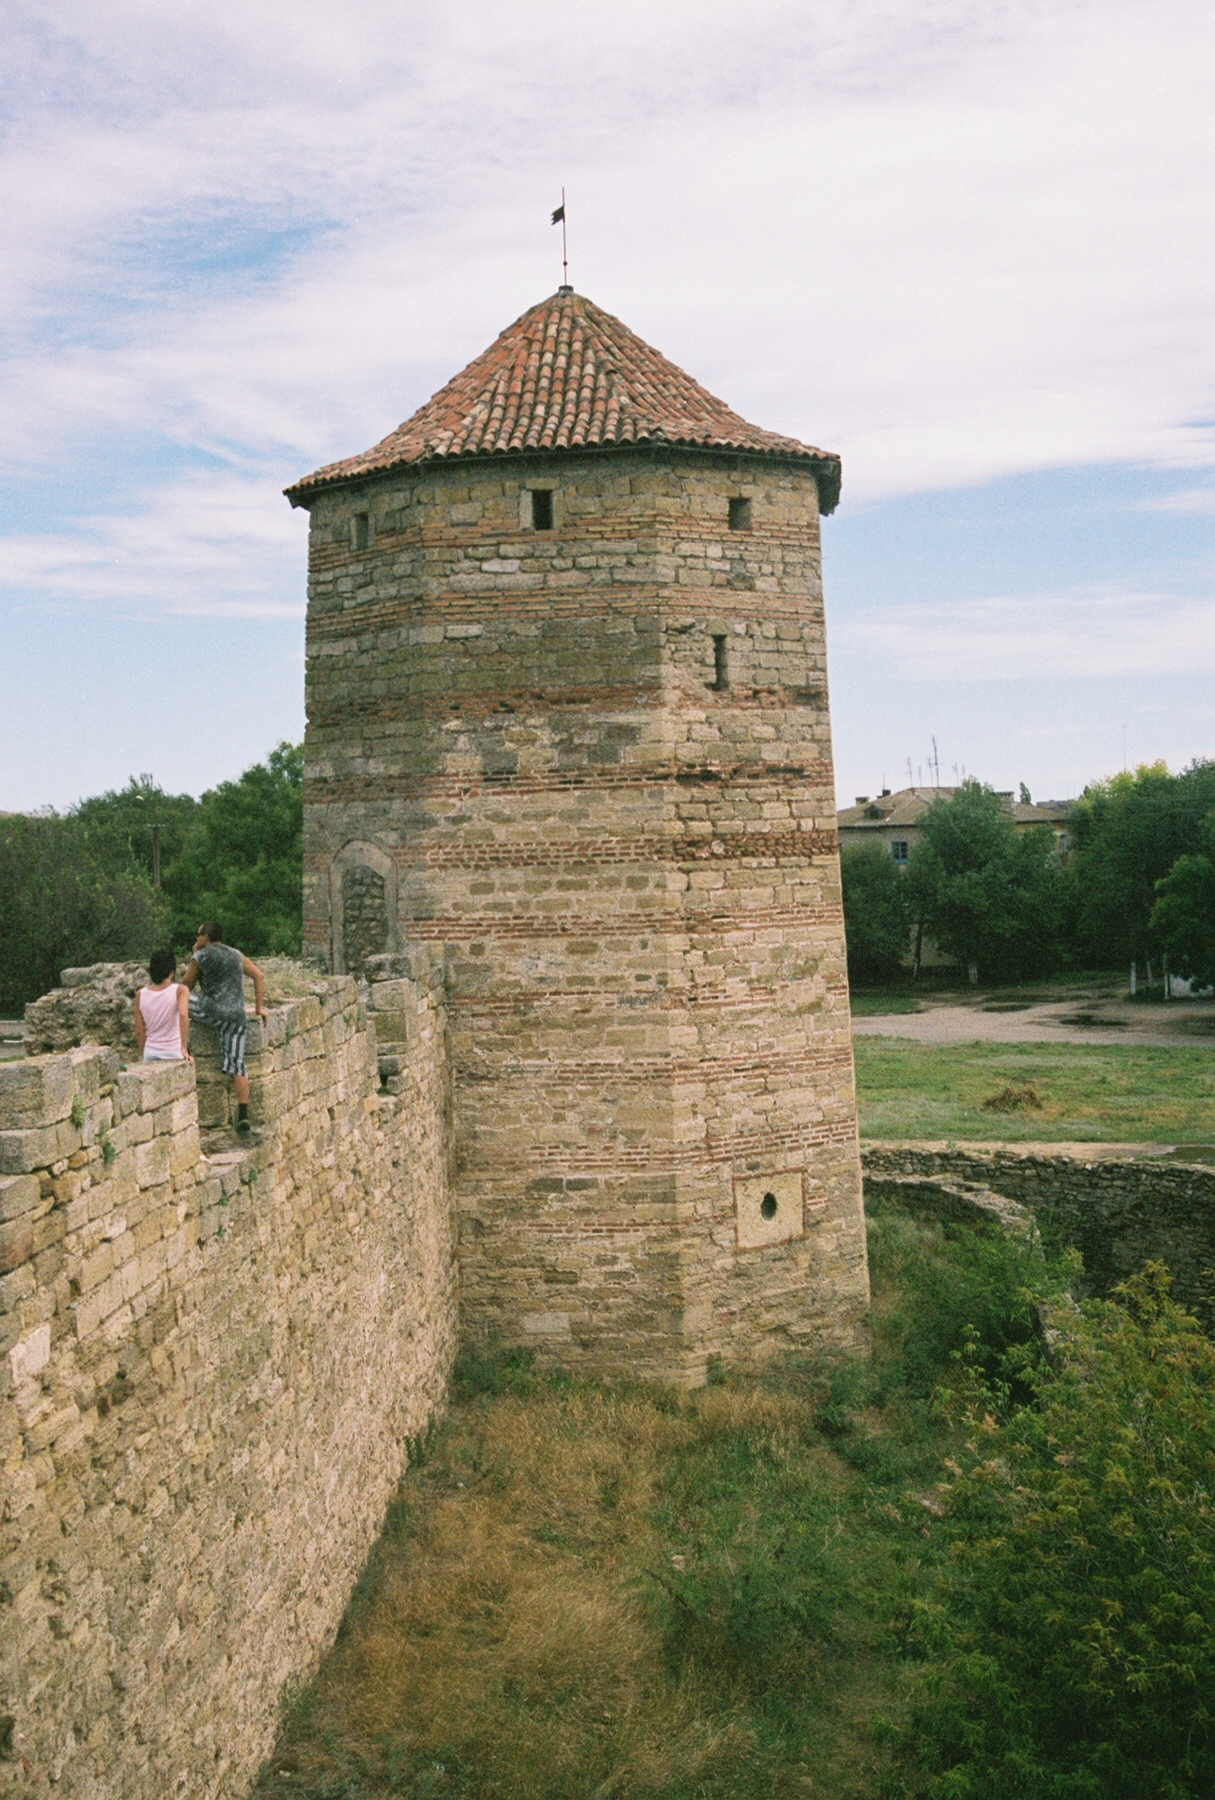
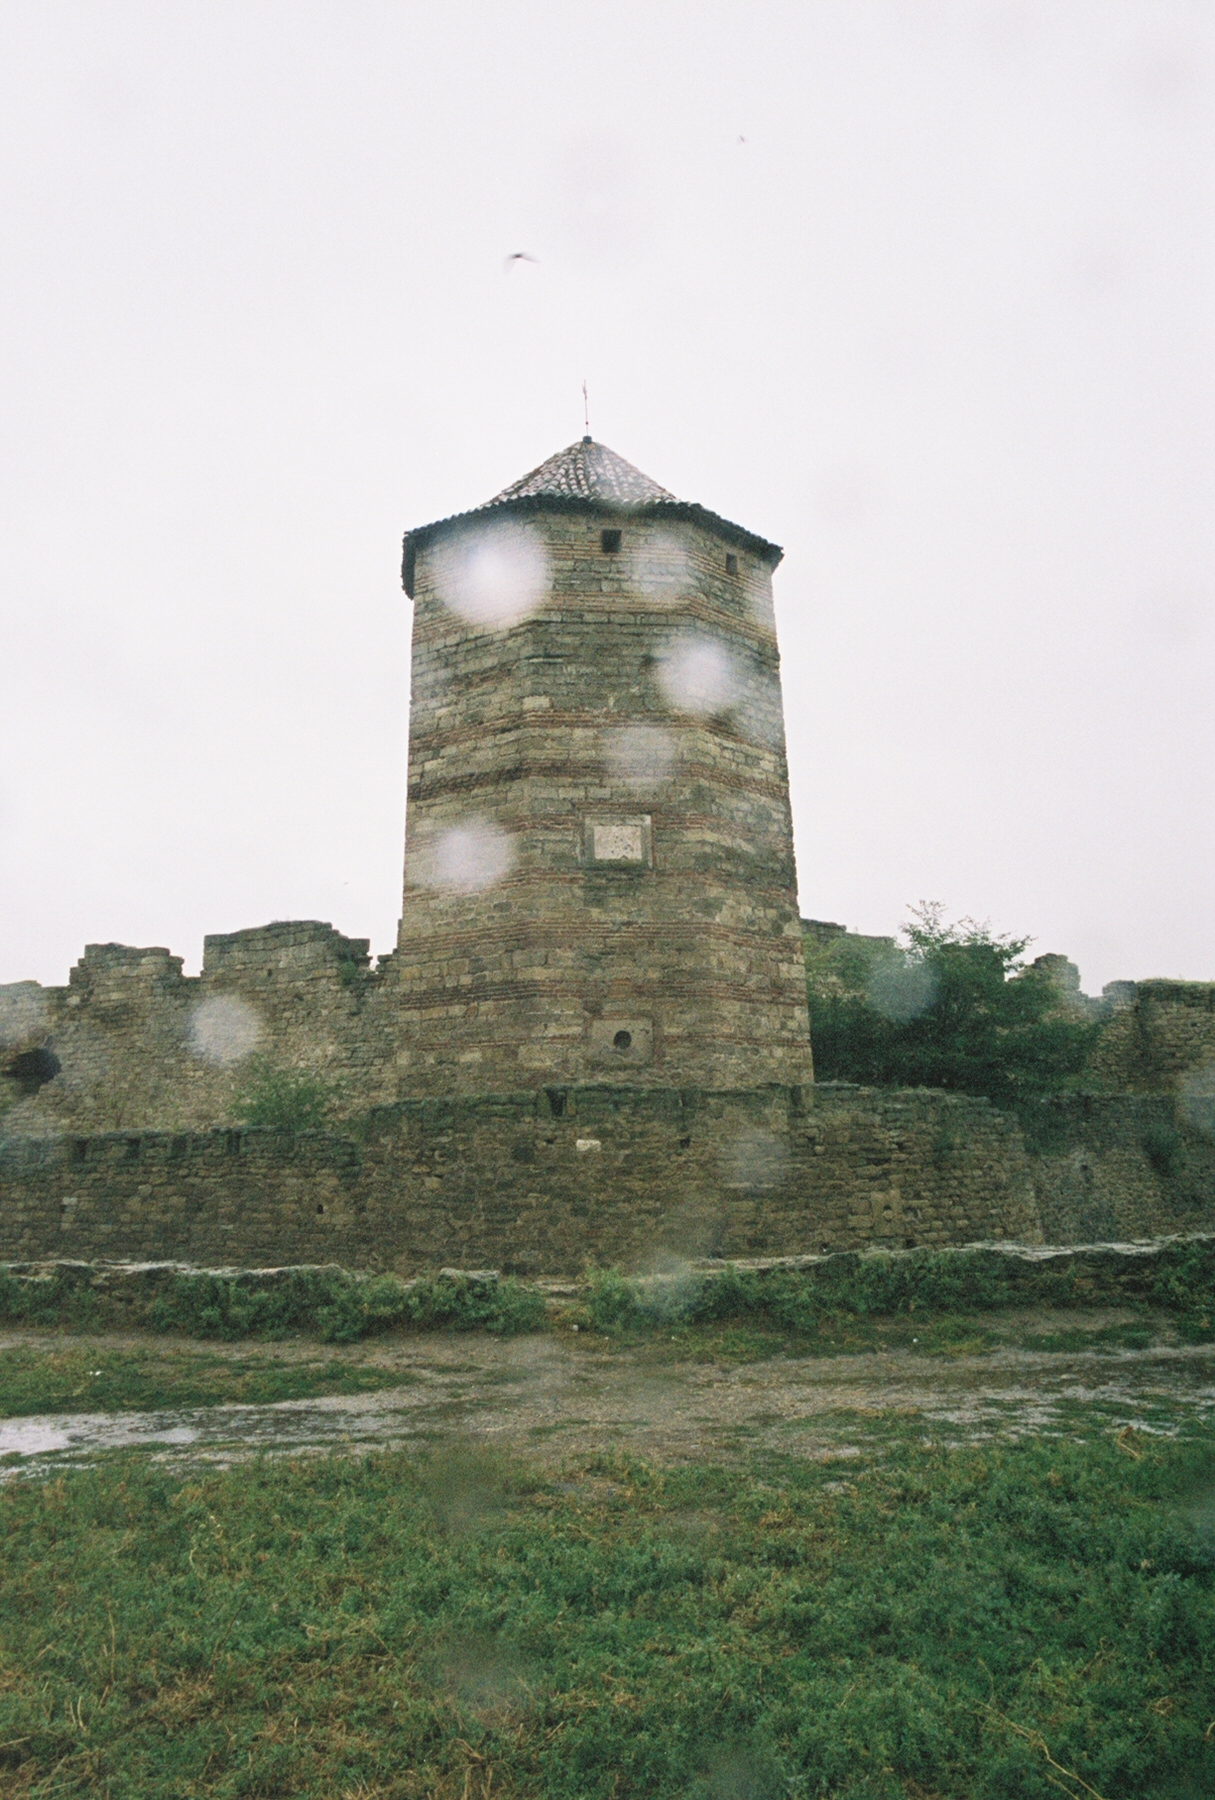
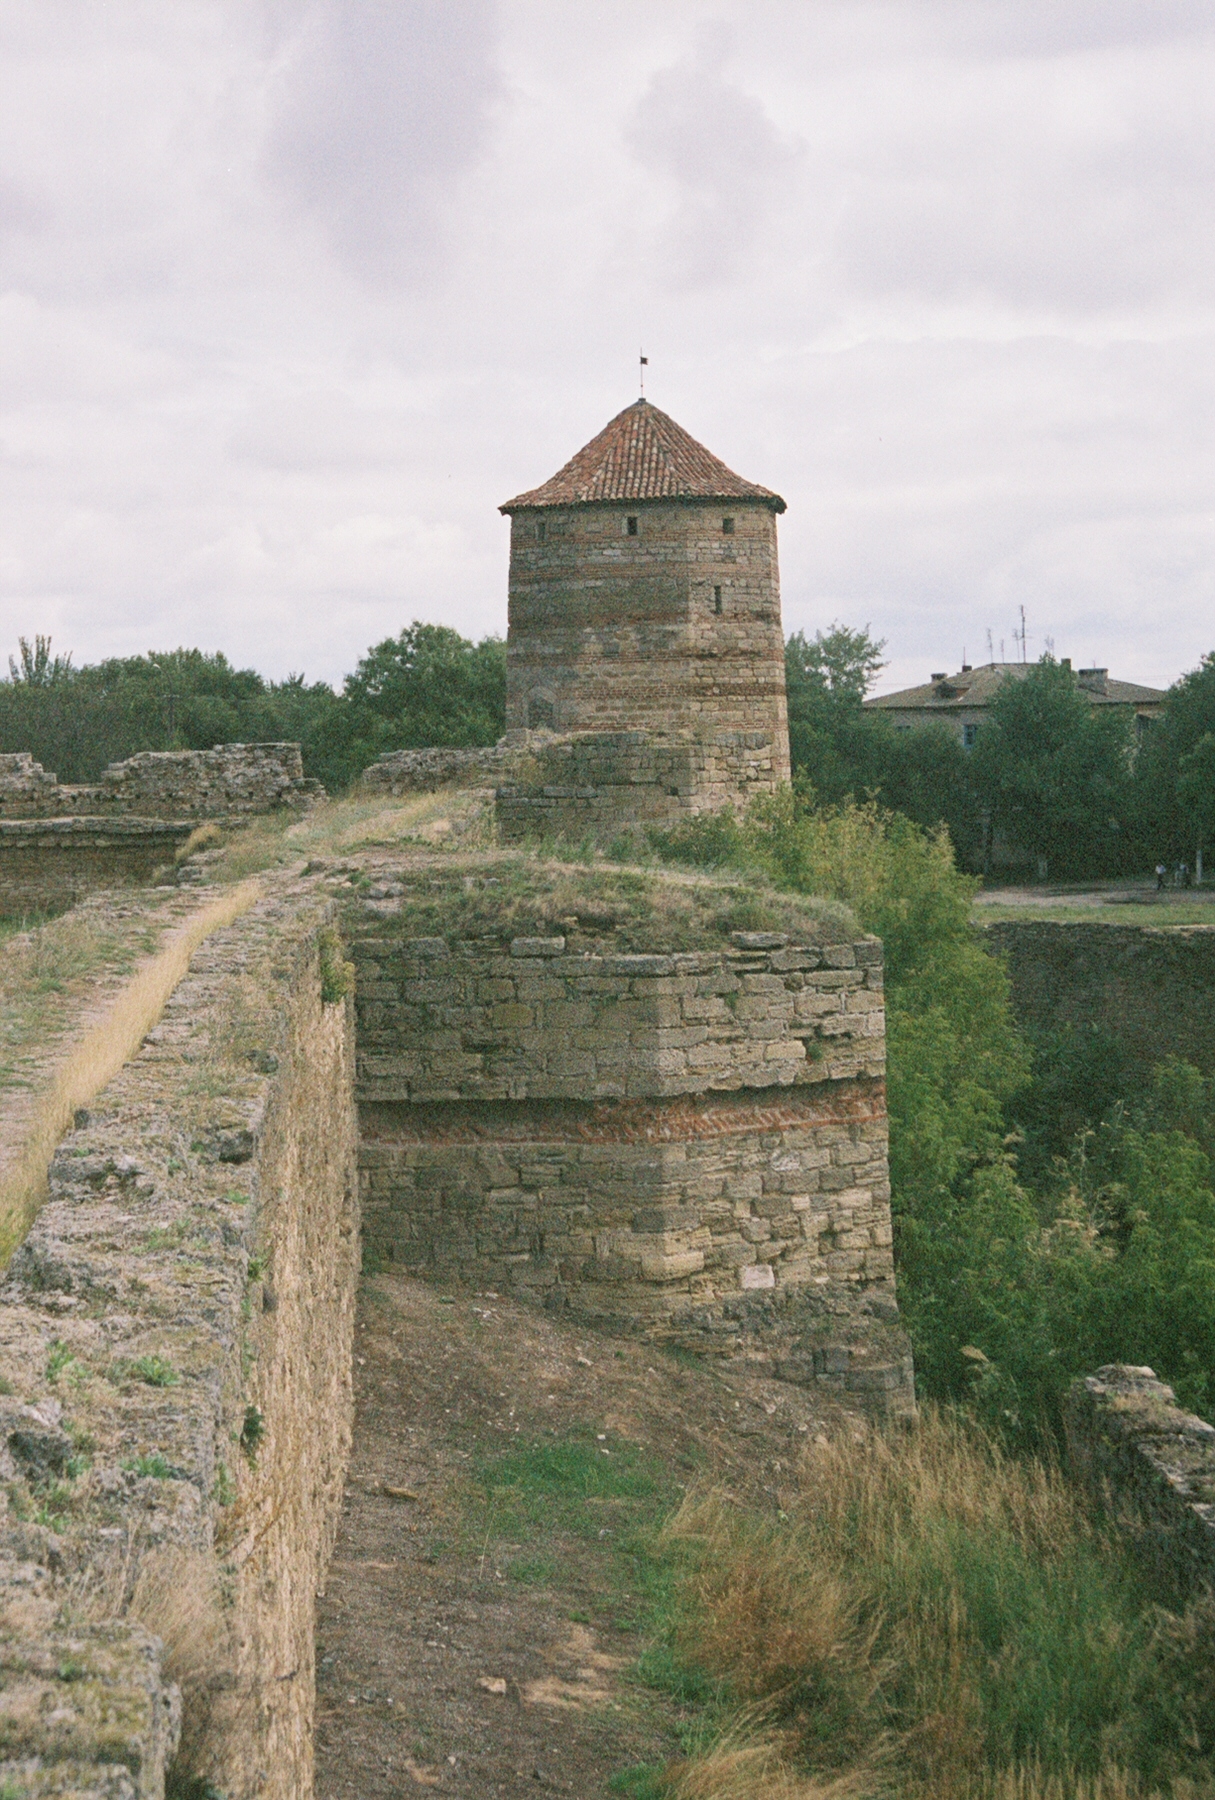
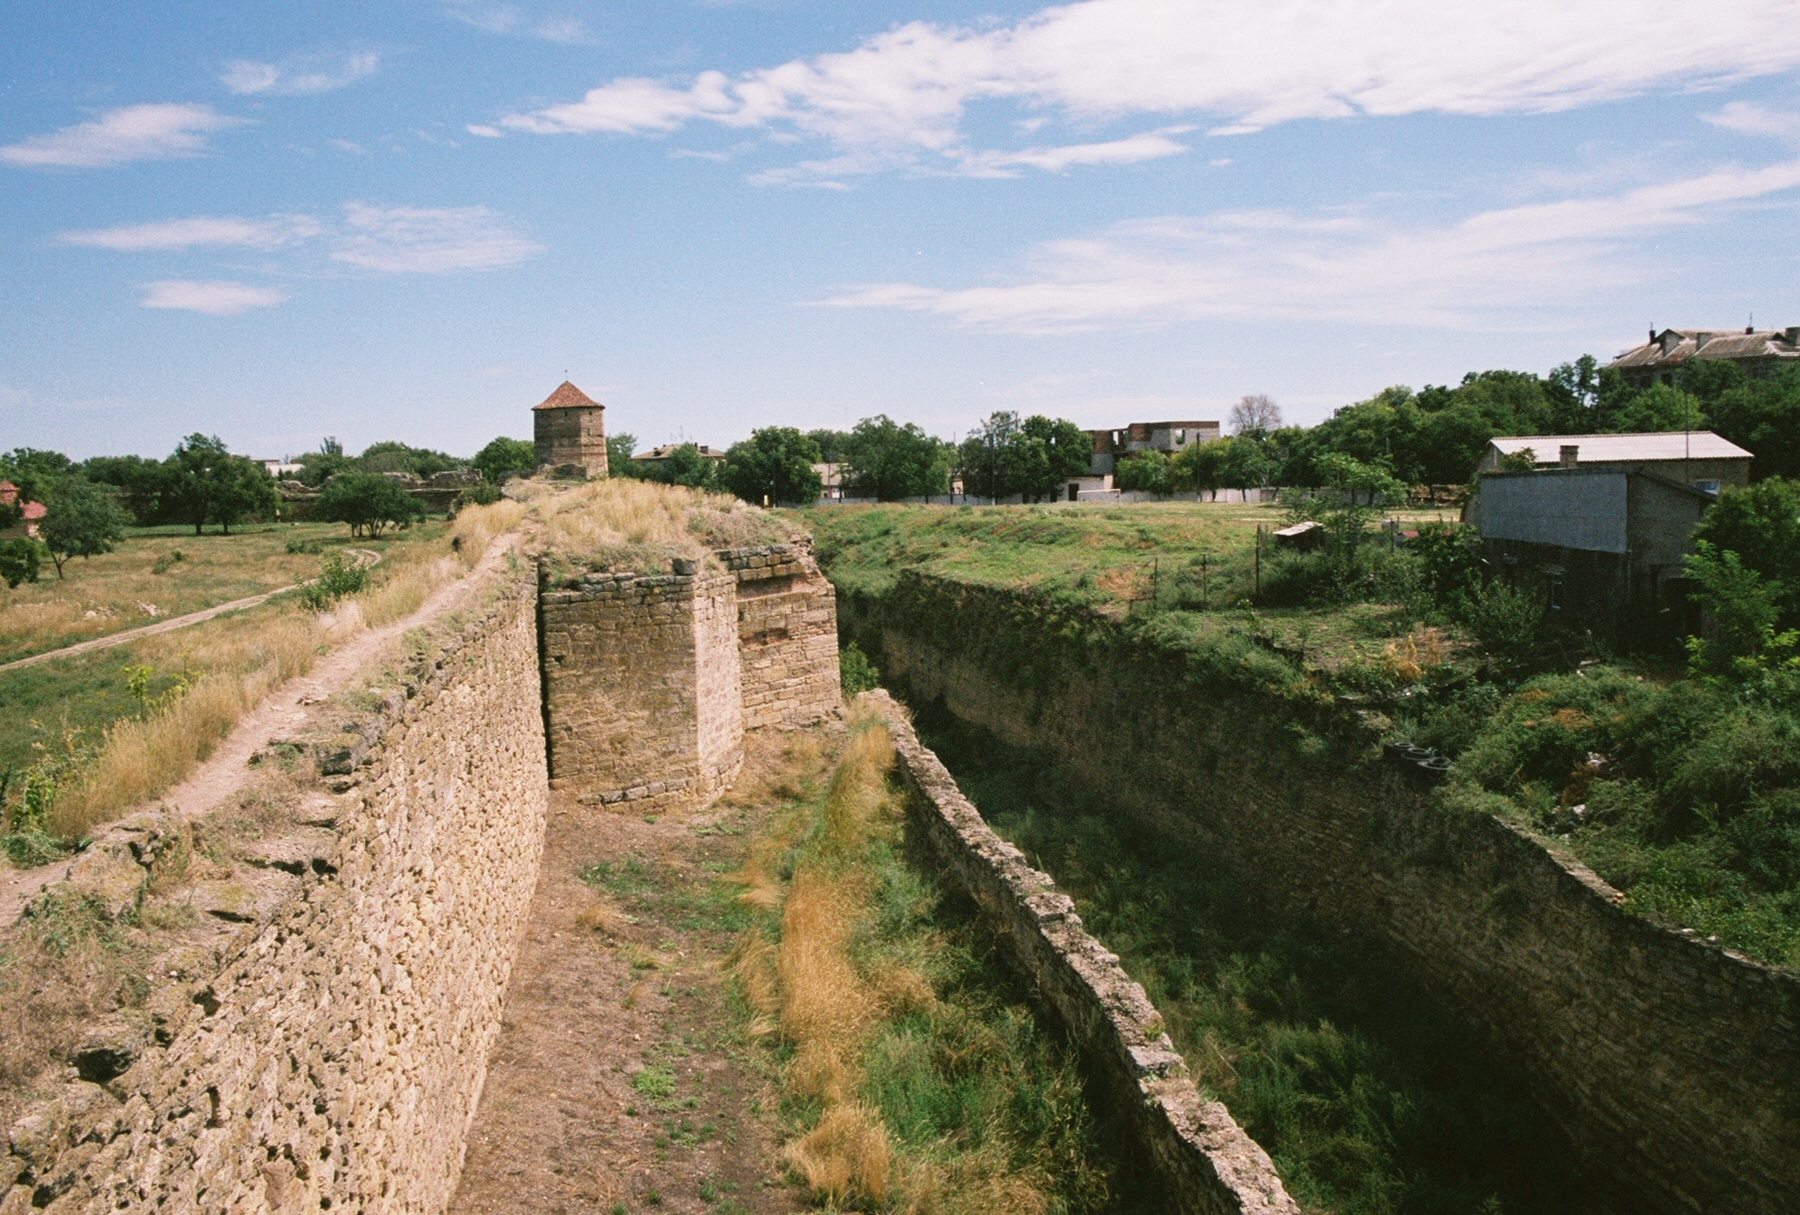
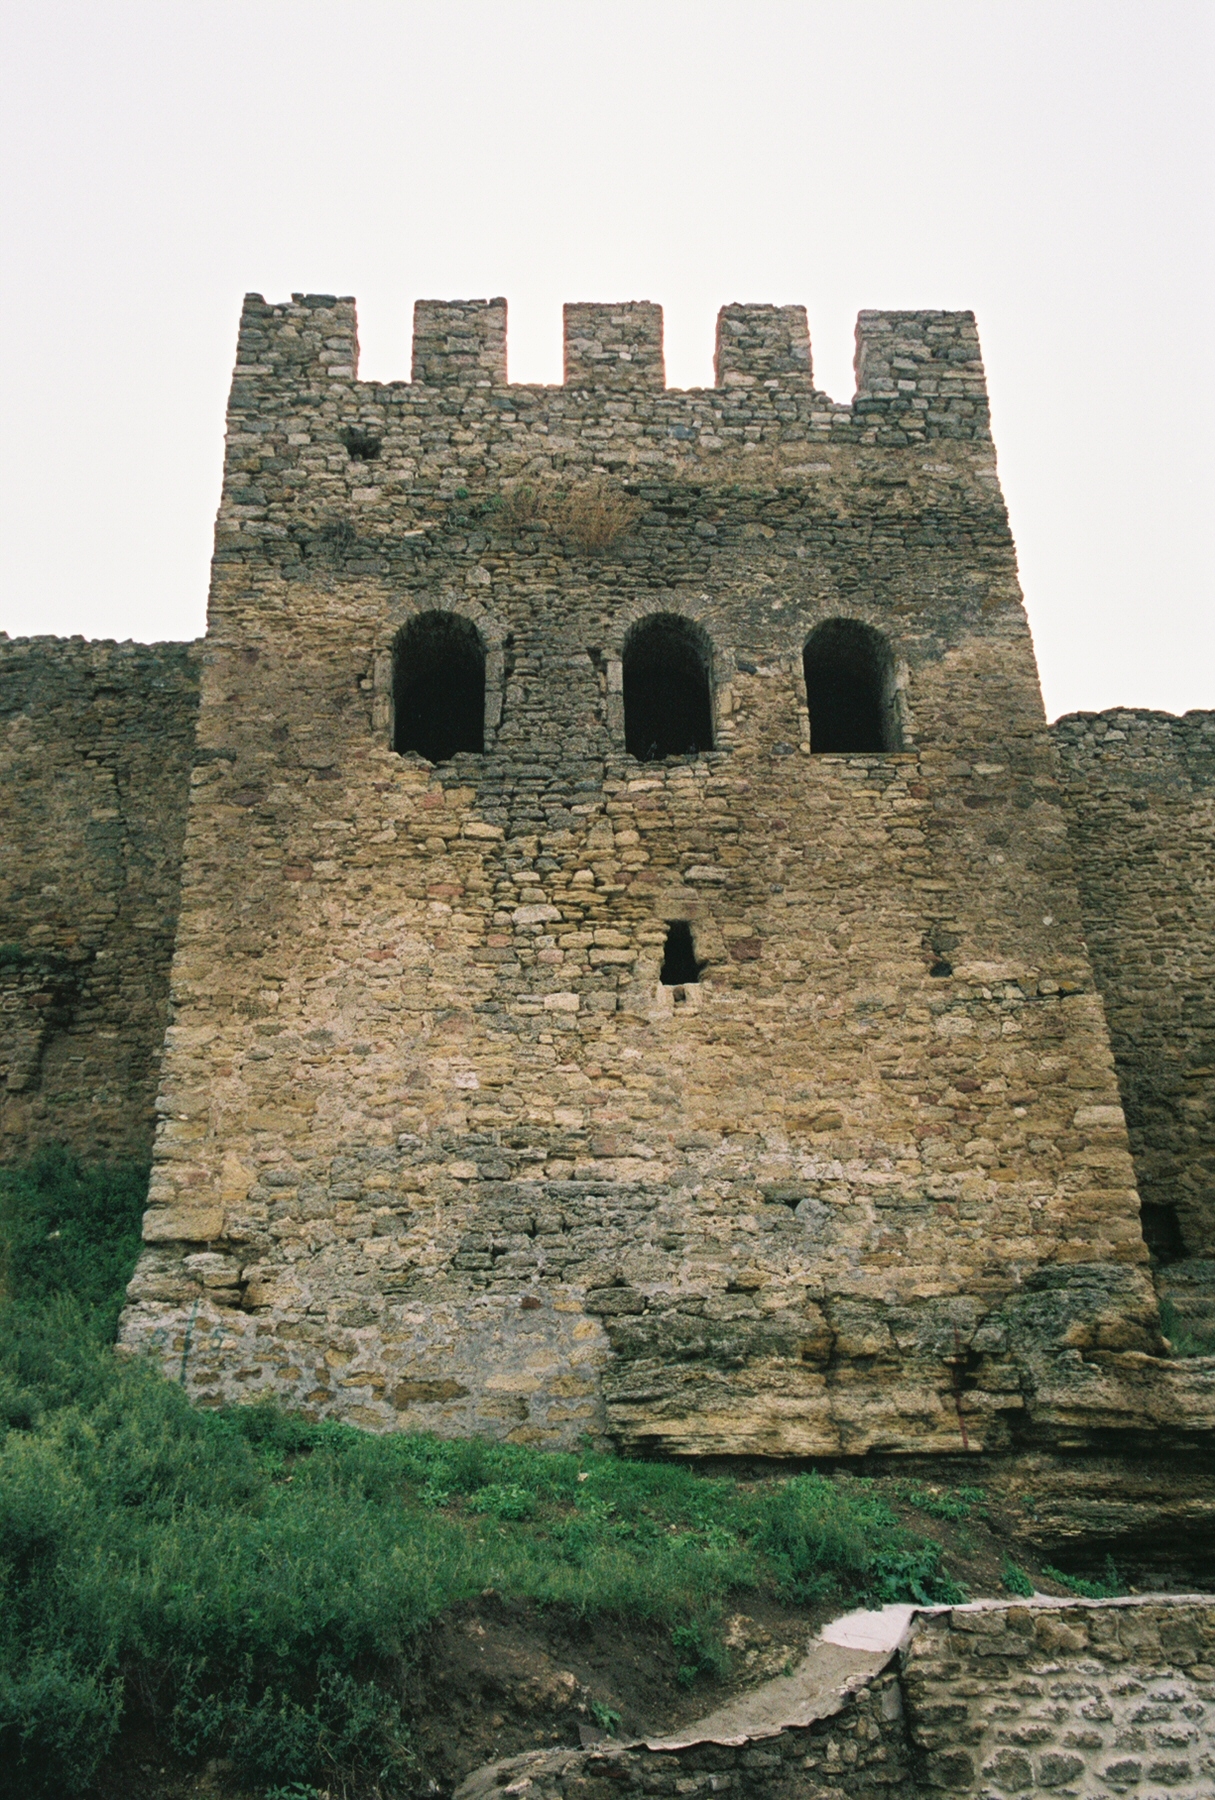
This large octagonal tower has beautiful banded masonry and probably predates the cannon embrasures found atop the curtain walls that flank it. [Figs 50 and 51] Like the situation around Towers 7 and 17 (see above and below), this tower eventually formed the central point of an internal bastion that incorporated the neighboring Towers 10 and 12 and the curtain walls connecting them. Based on Ottoman documentary evidence, this bastion was called the “Storeyed Bastion” (Katlı Tabya).
This tower was originally entered from a doorway (now blocked) from the wall-walk at first floor level. [Fig 50] Although its internal arrangements are currently inaccessible, it seems to have contained three floor levels. From the outside, one can see that it was defended by gun loops at ground level and musket loops on its second floor level. On its external southeast face, one can see the location where a plaque was mounted at first floor level. [Fig 52] This location was prominent to those who approached Akkerman from the southeast—the main land approach to the fortress. Based on Ottoman documentary evidence, this tower was commonly referred to as the “Storeyed Tower” (Katlı Kule).
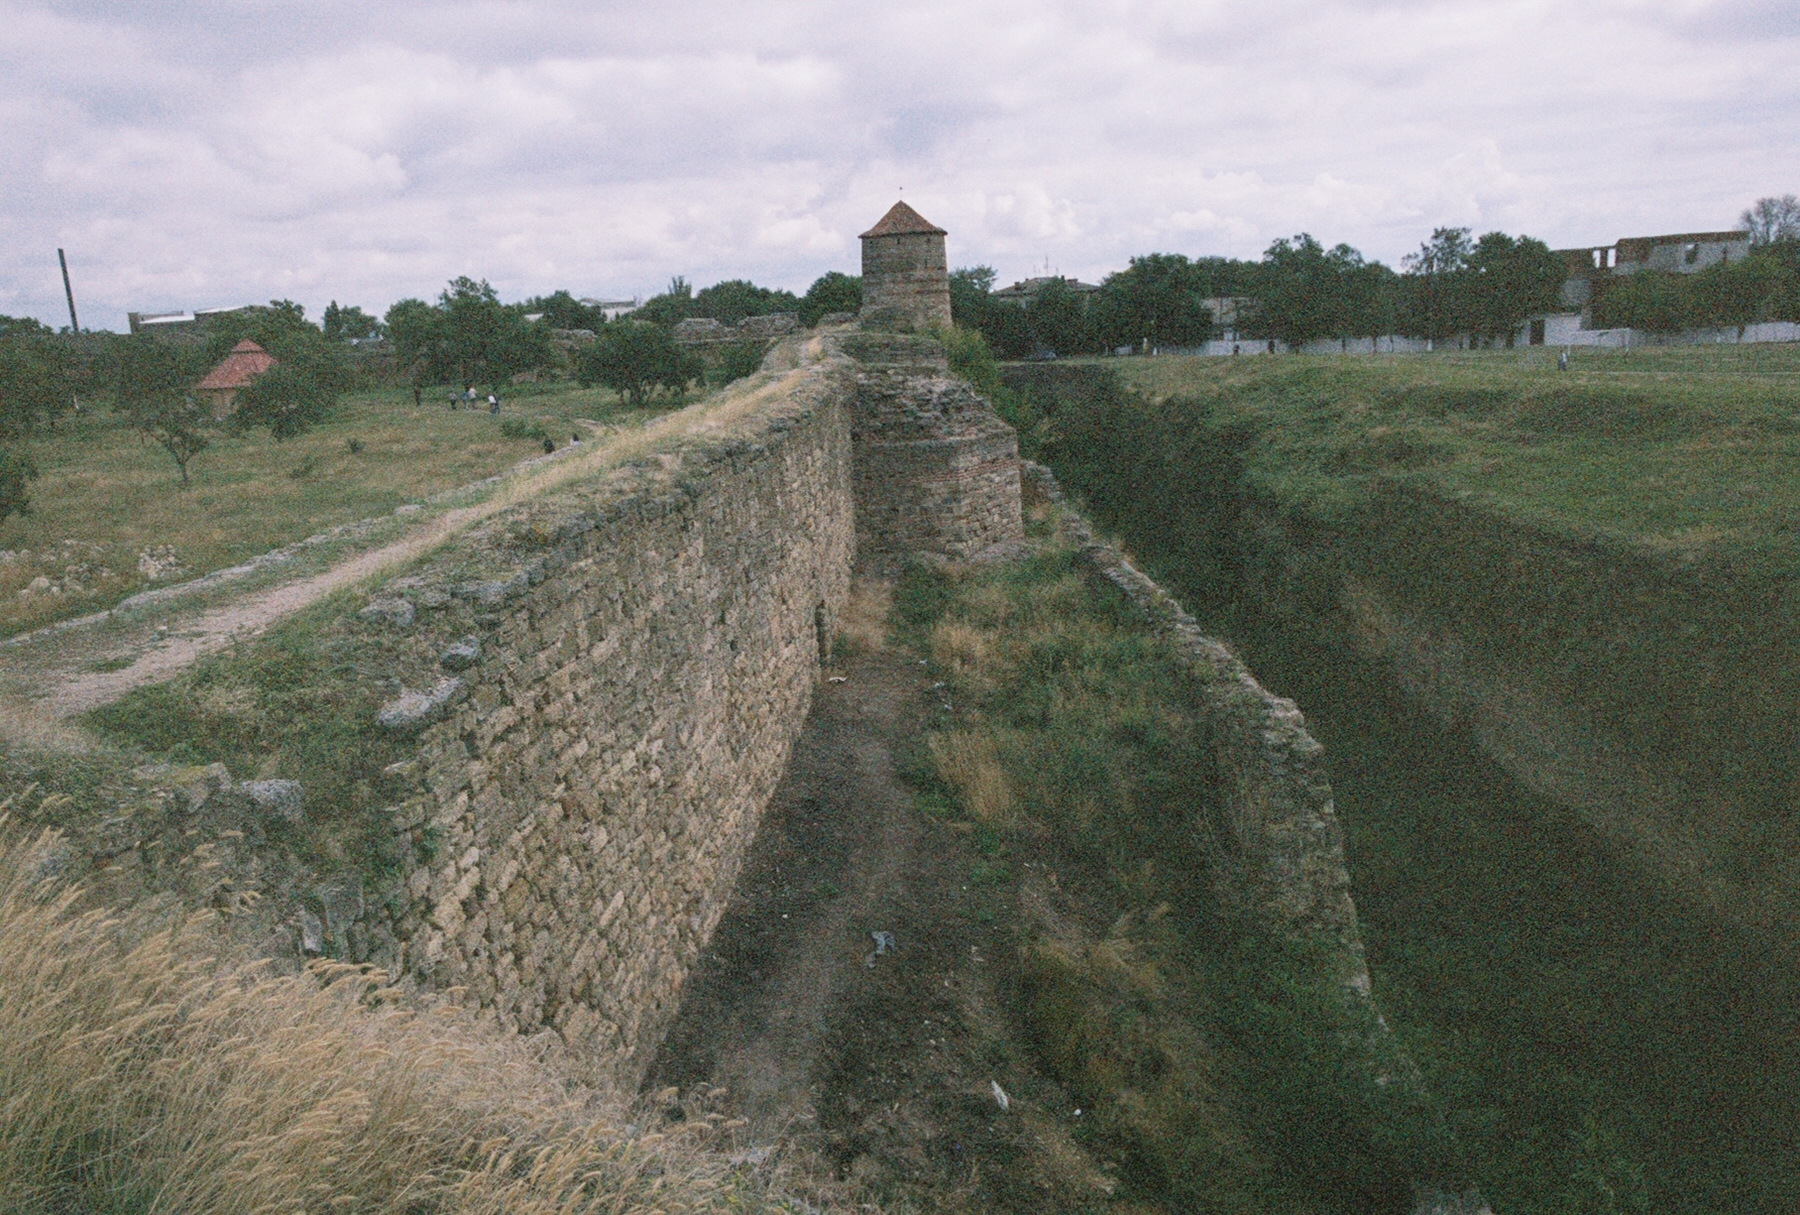
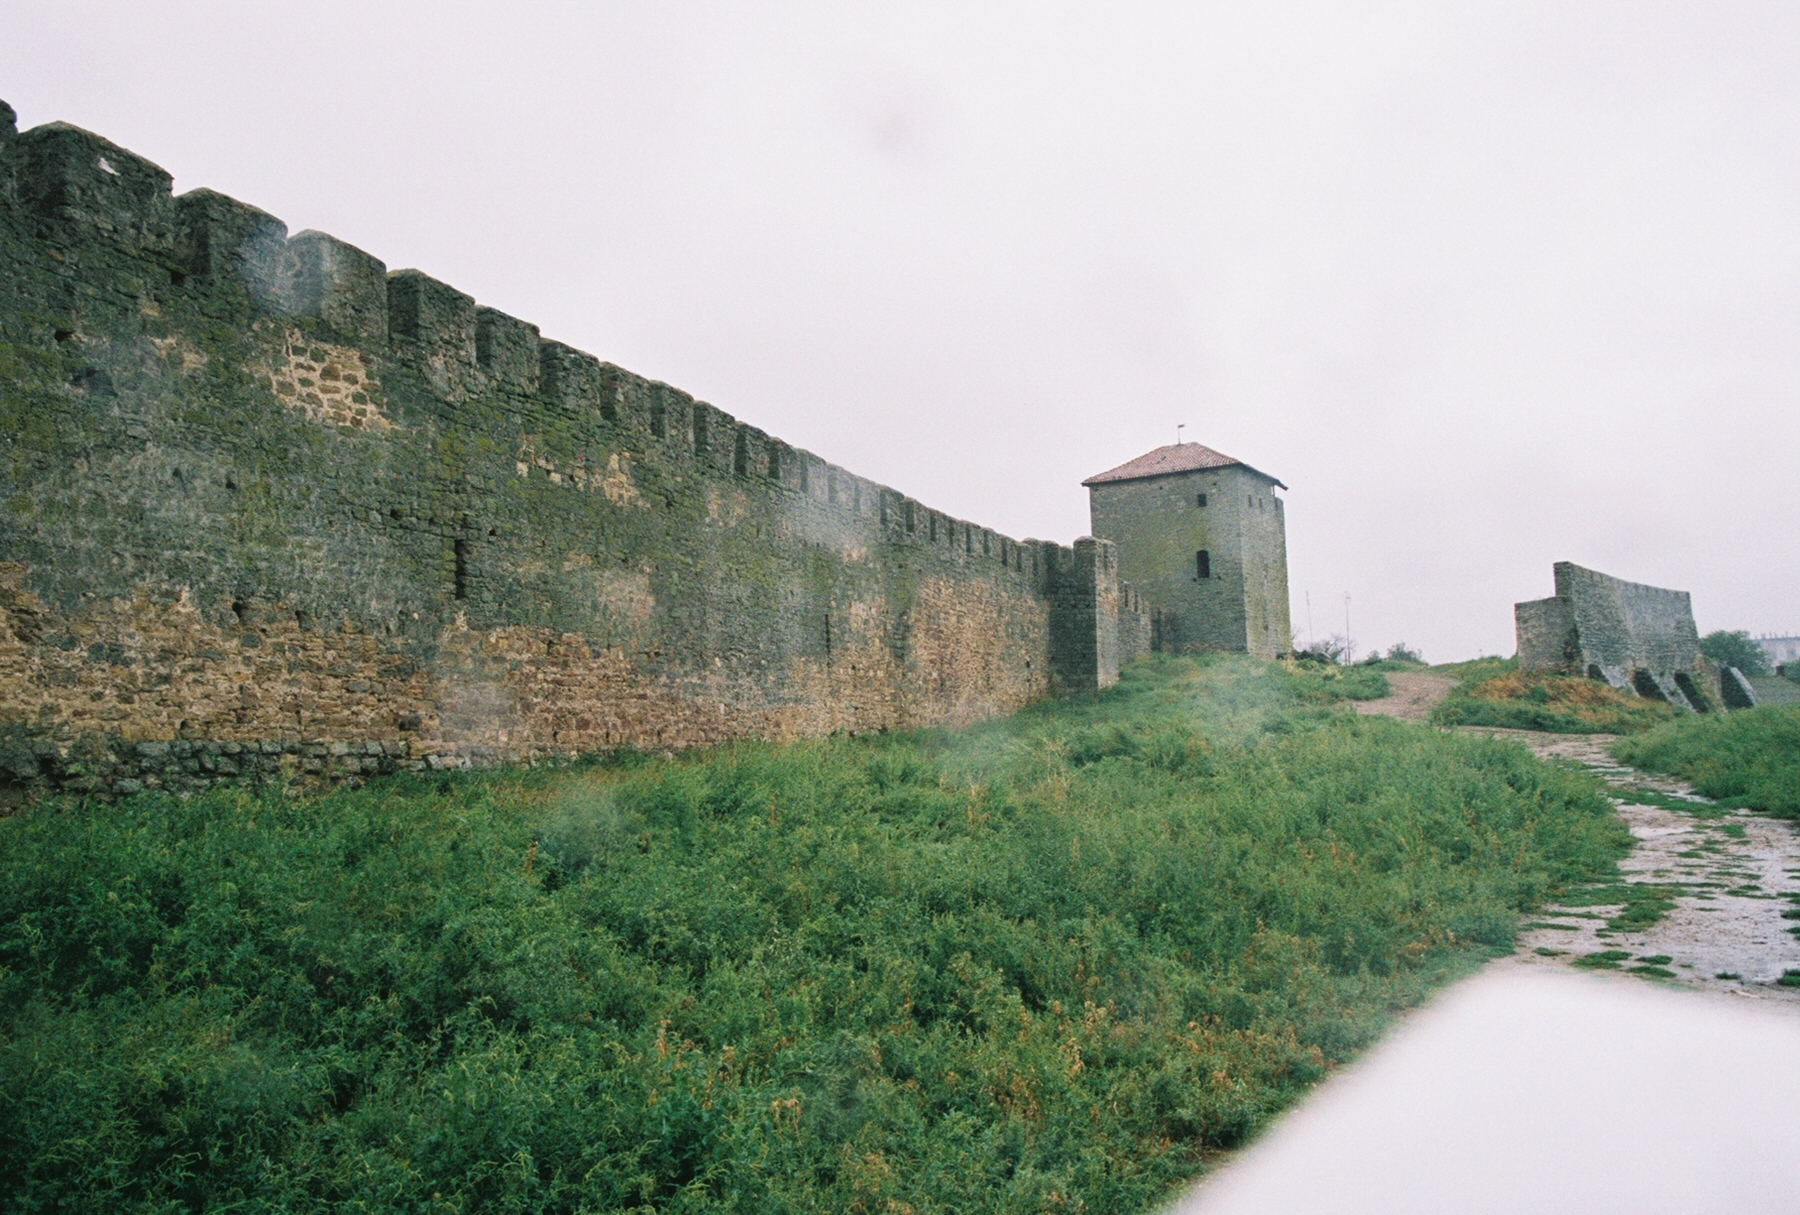
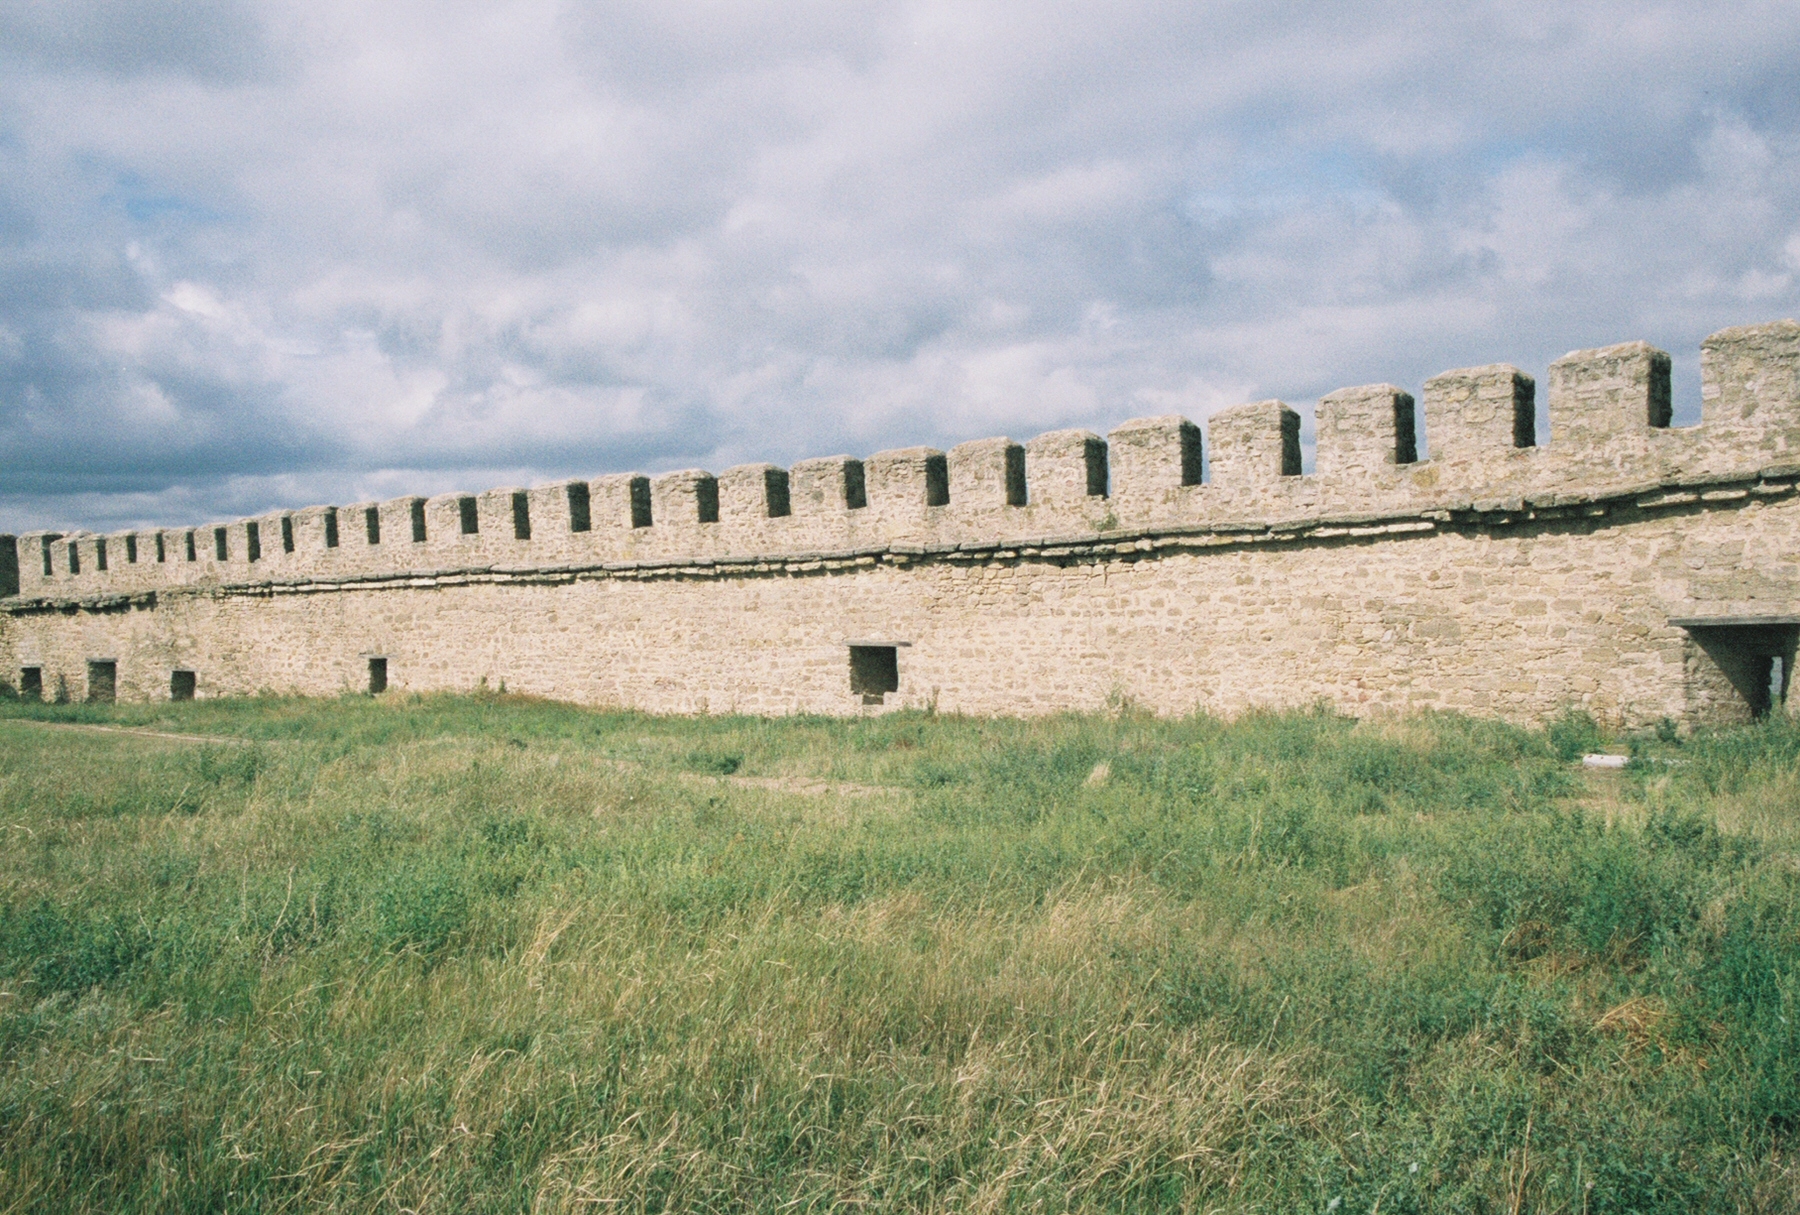
South Curtain Wall
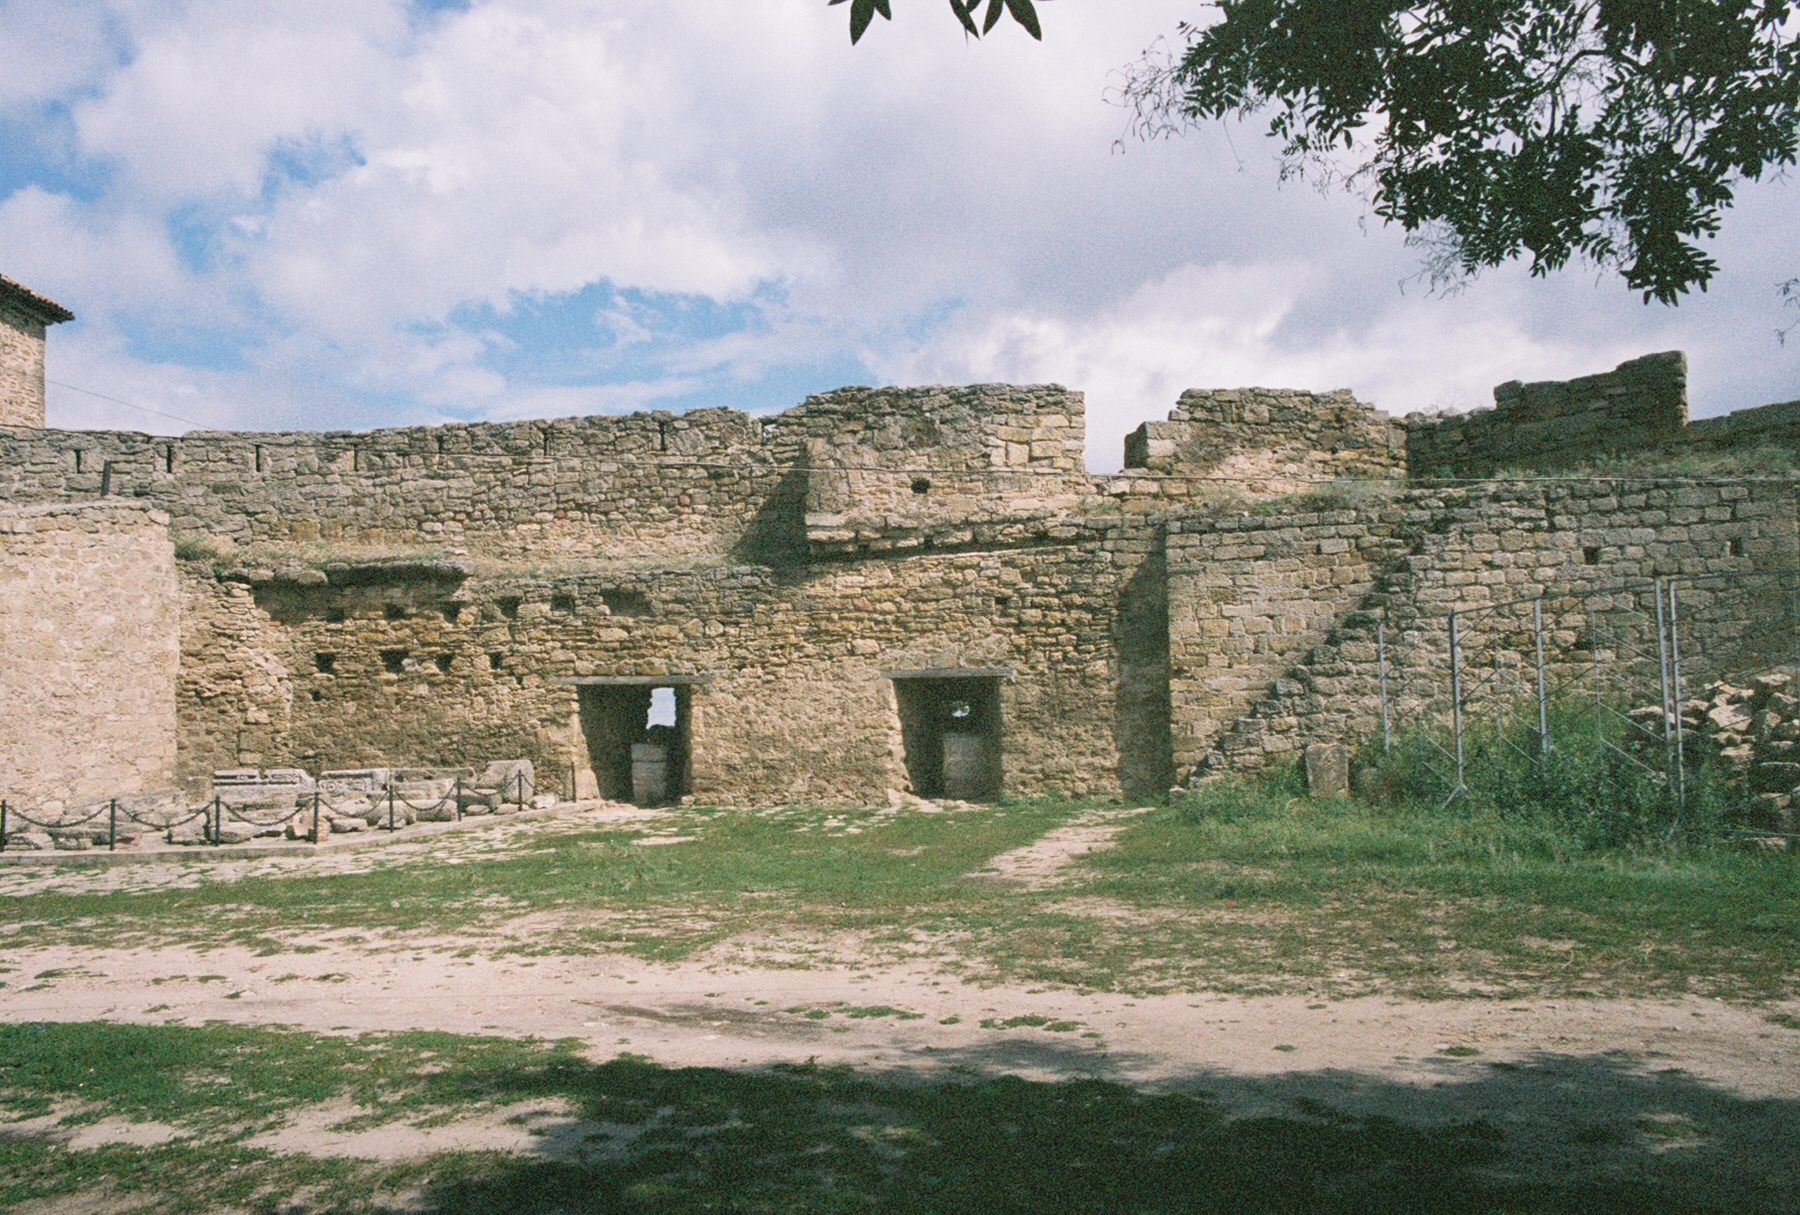
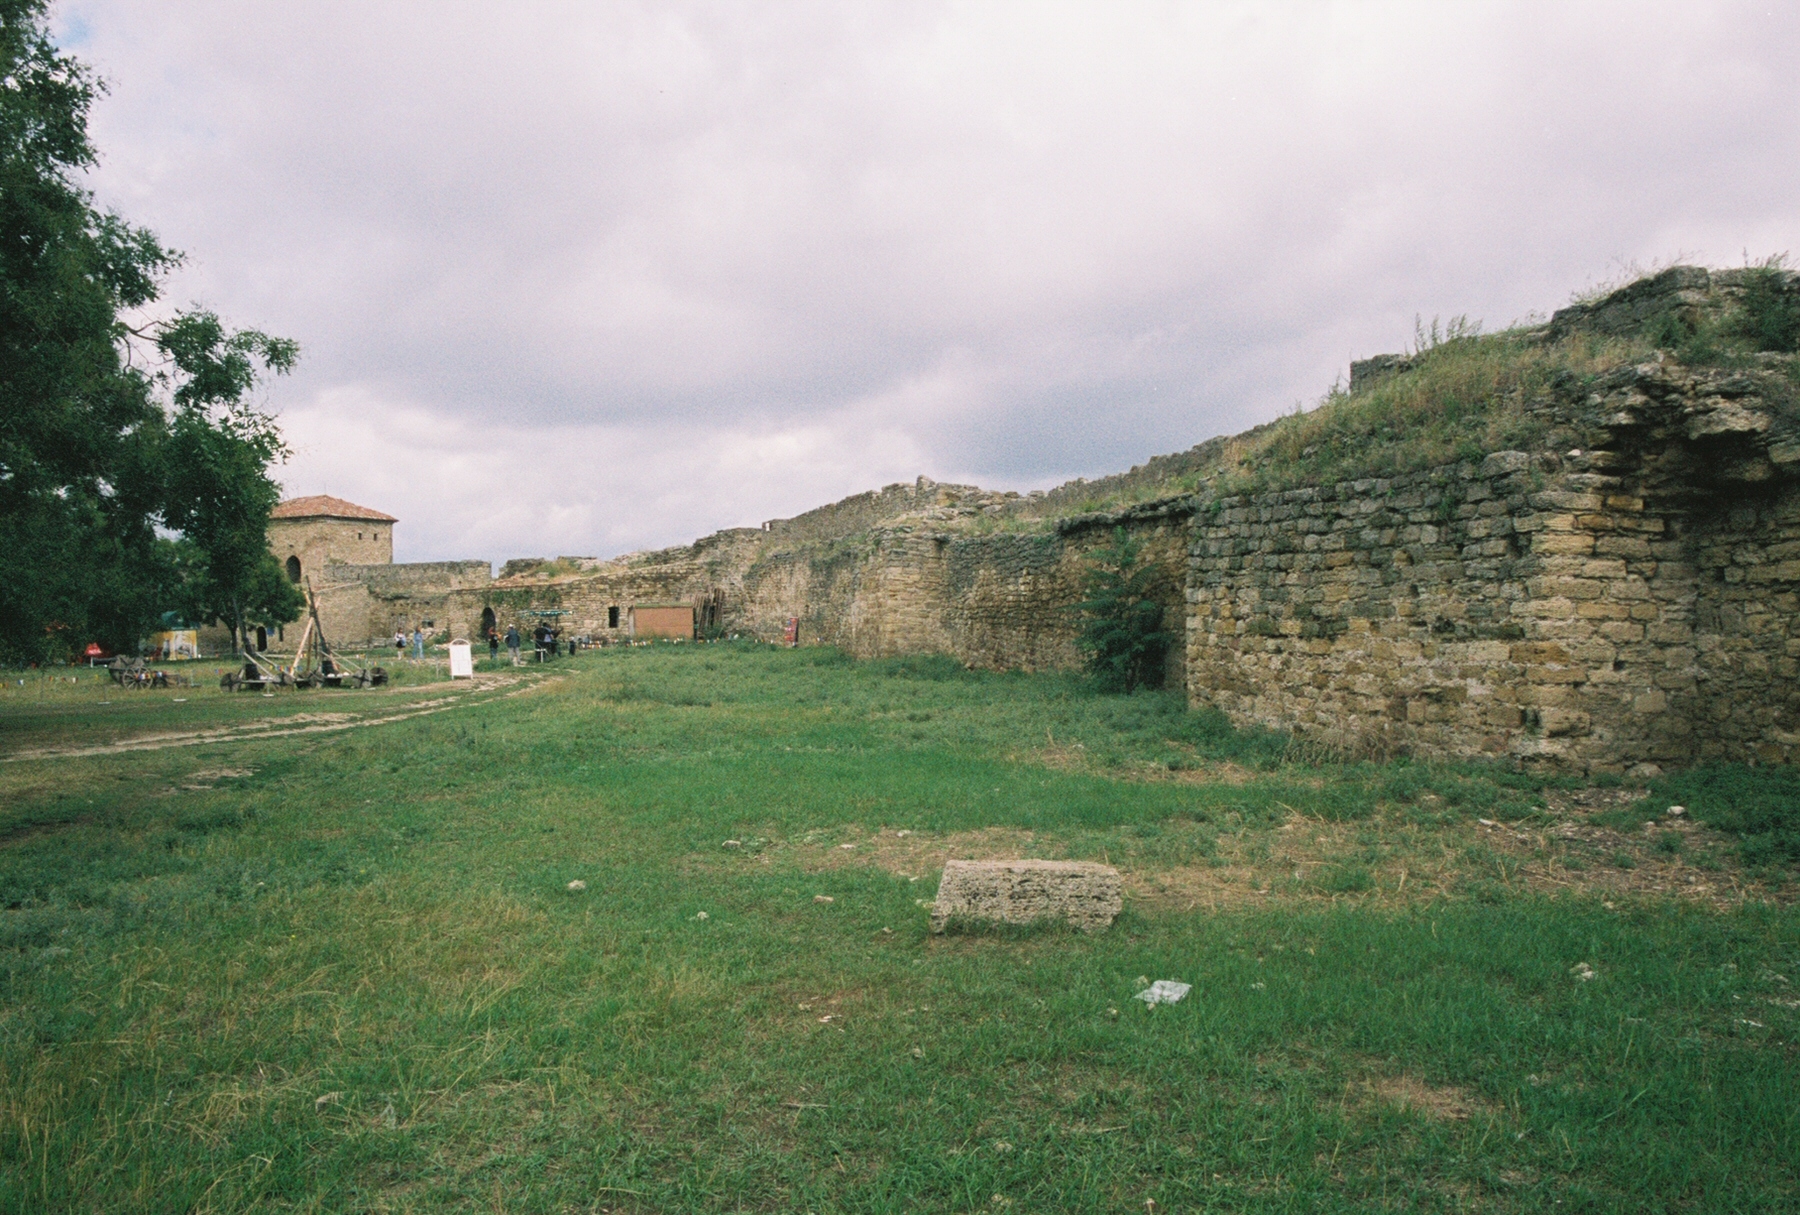
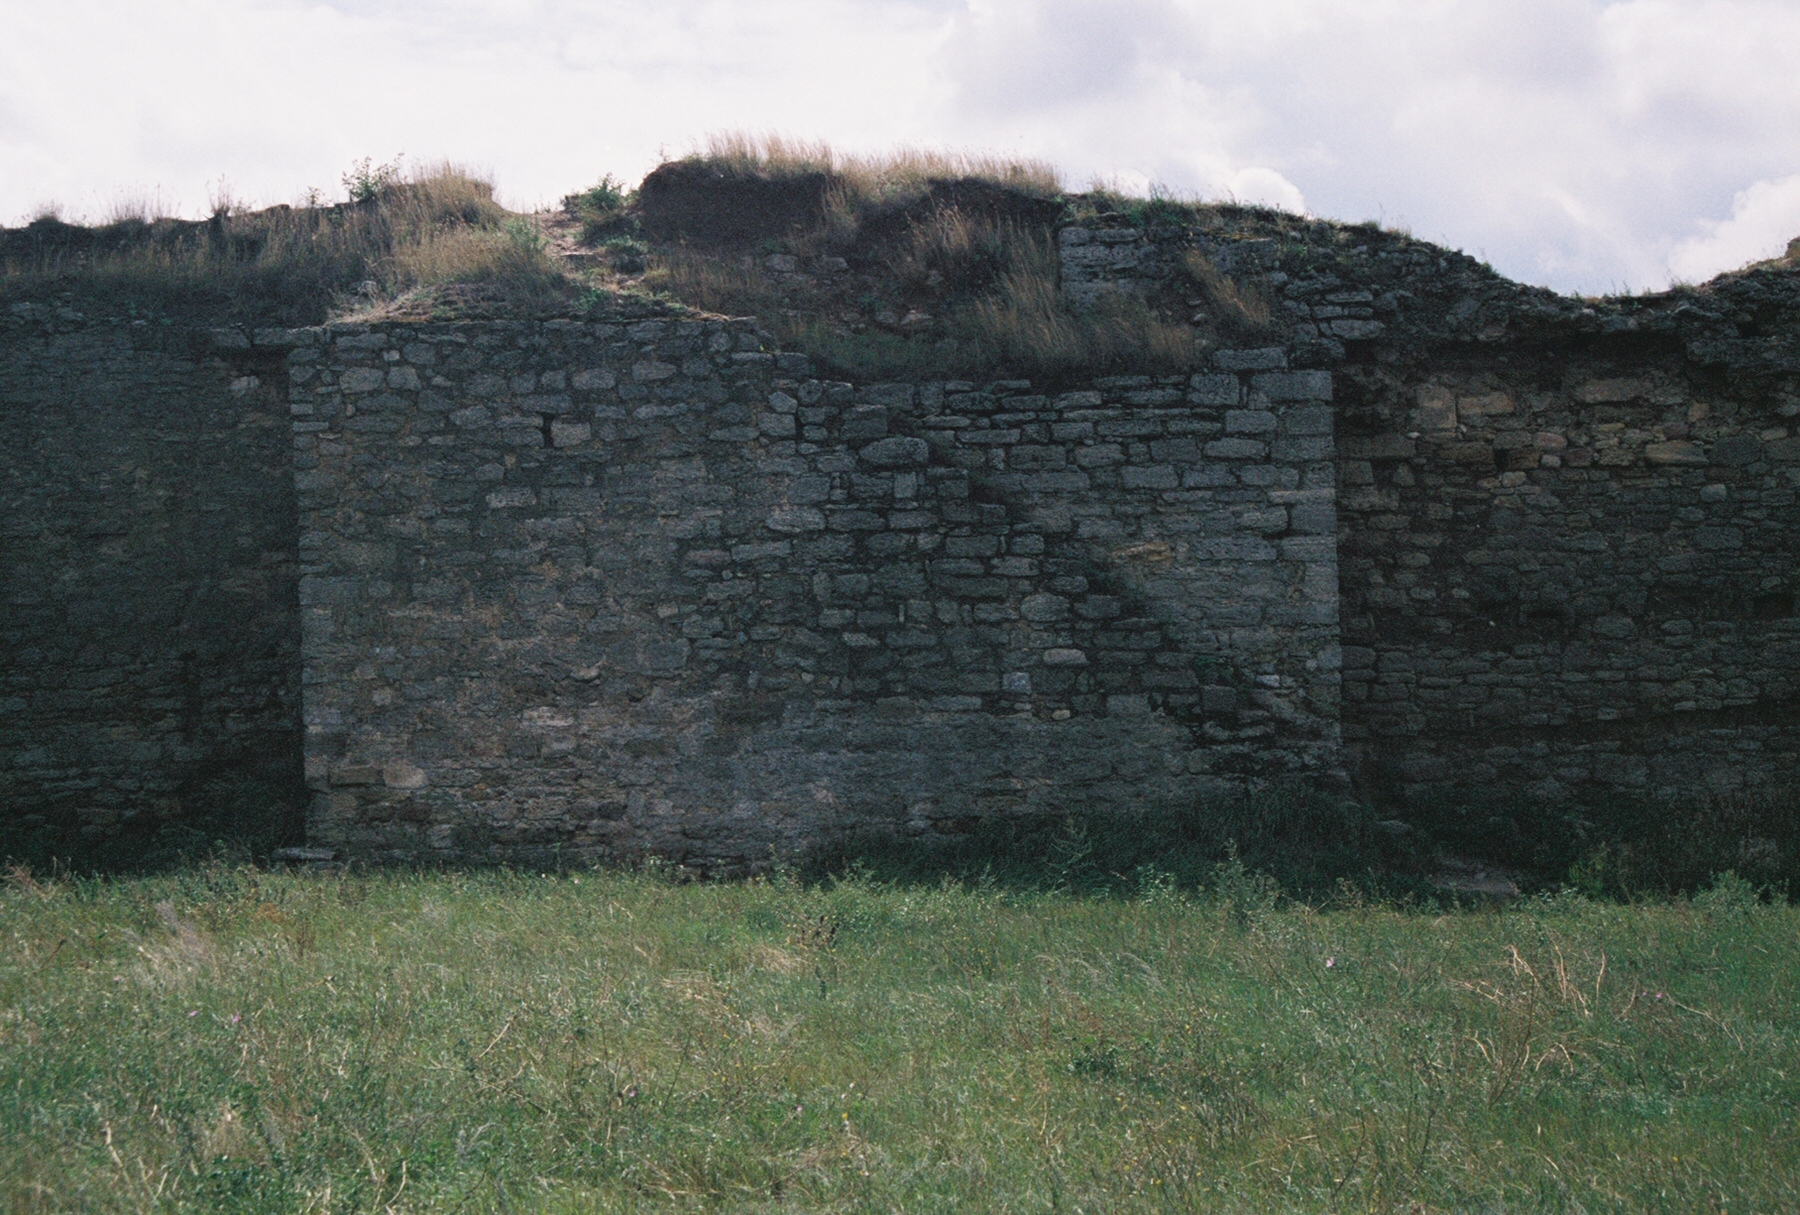
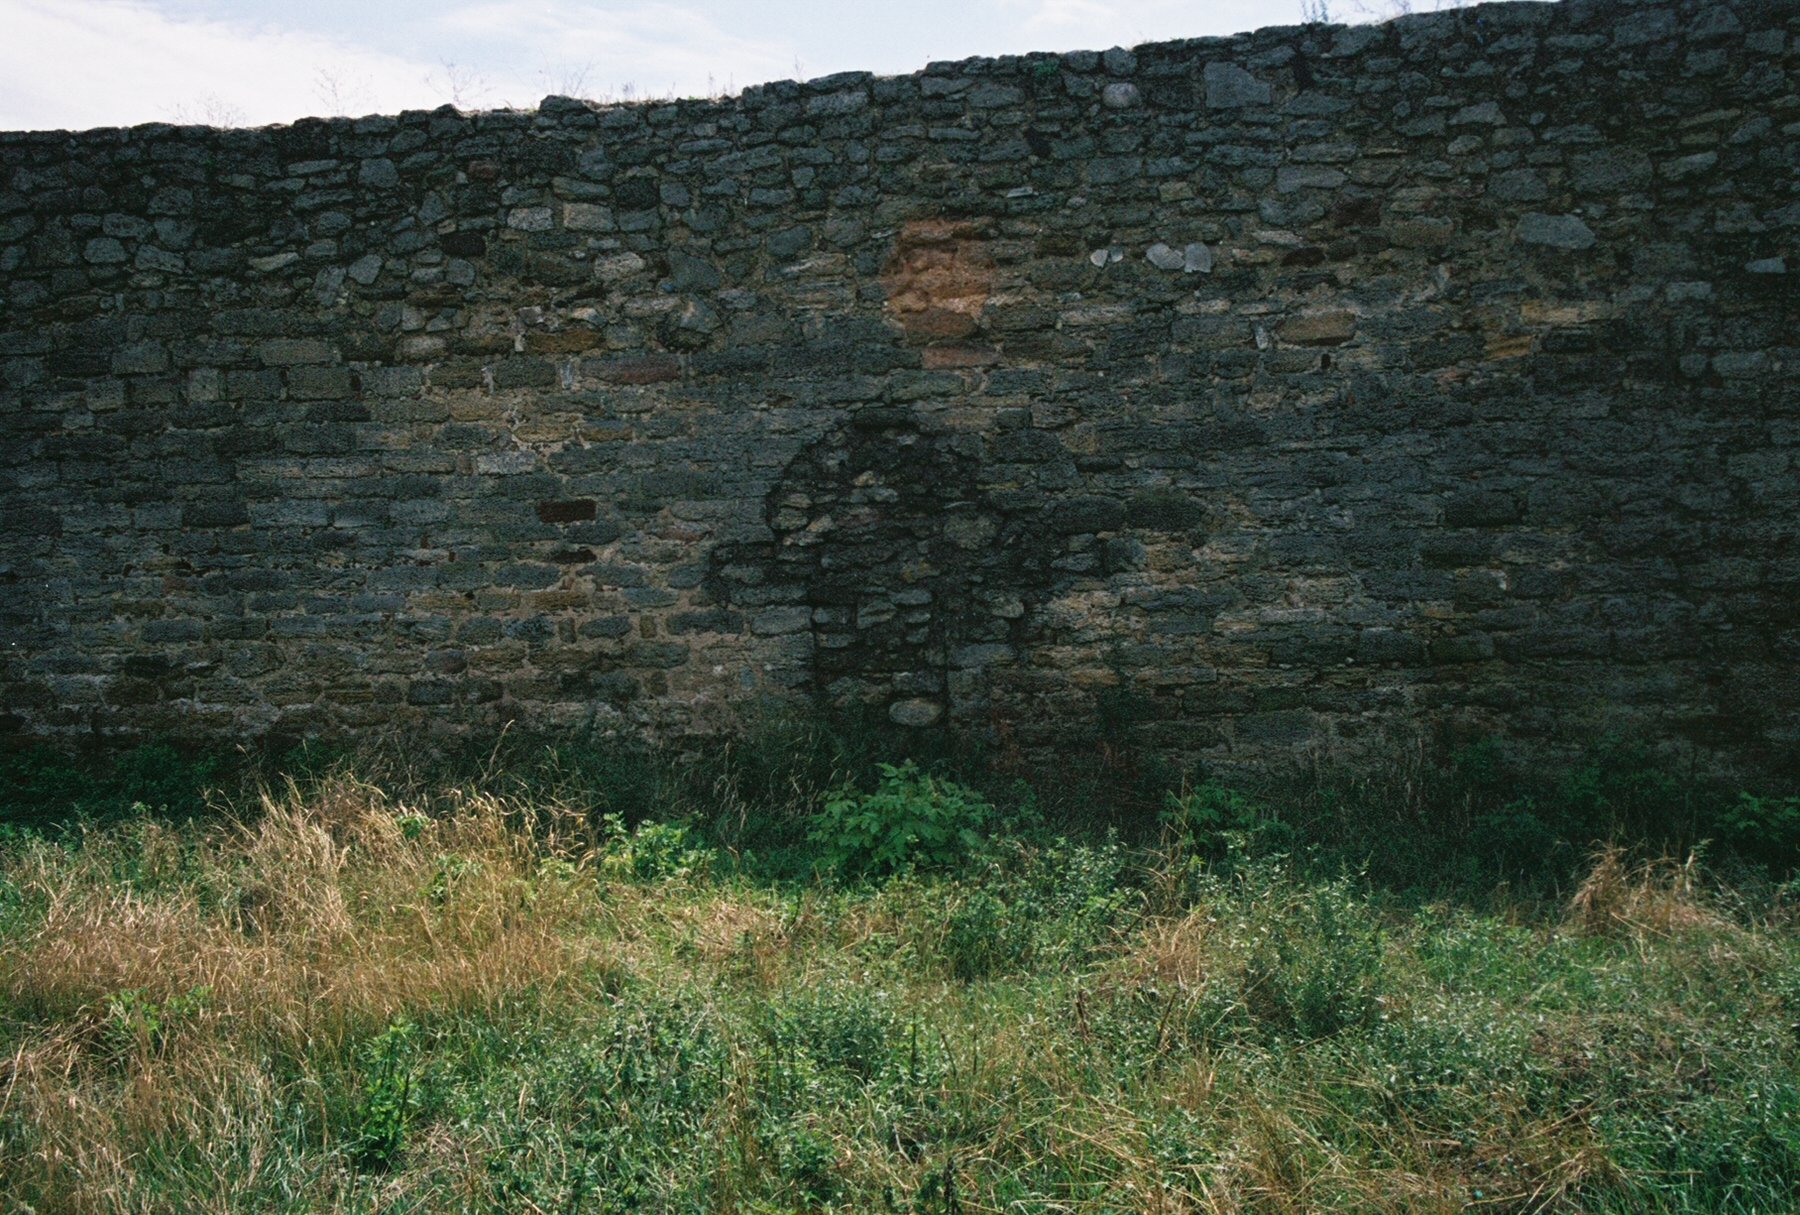
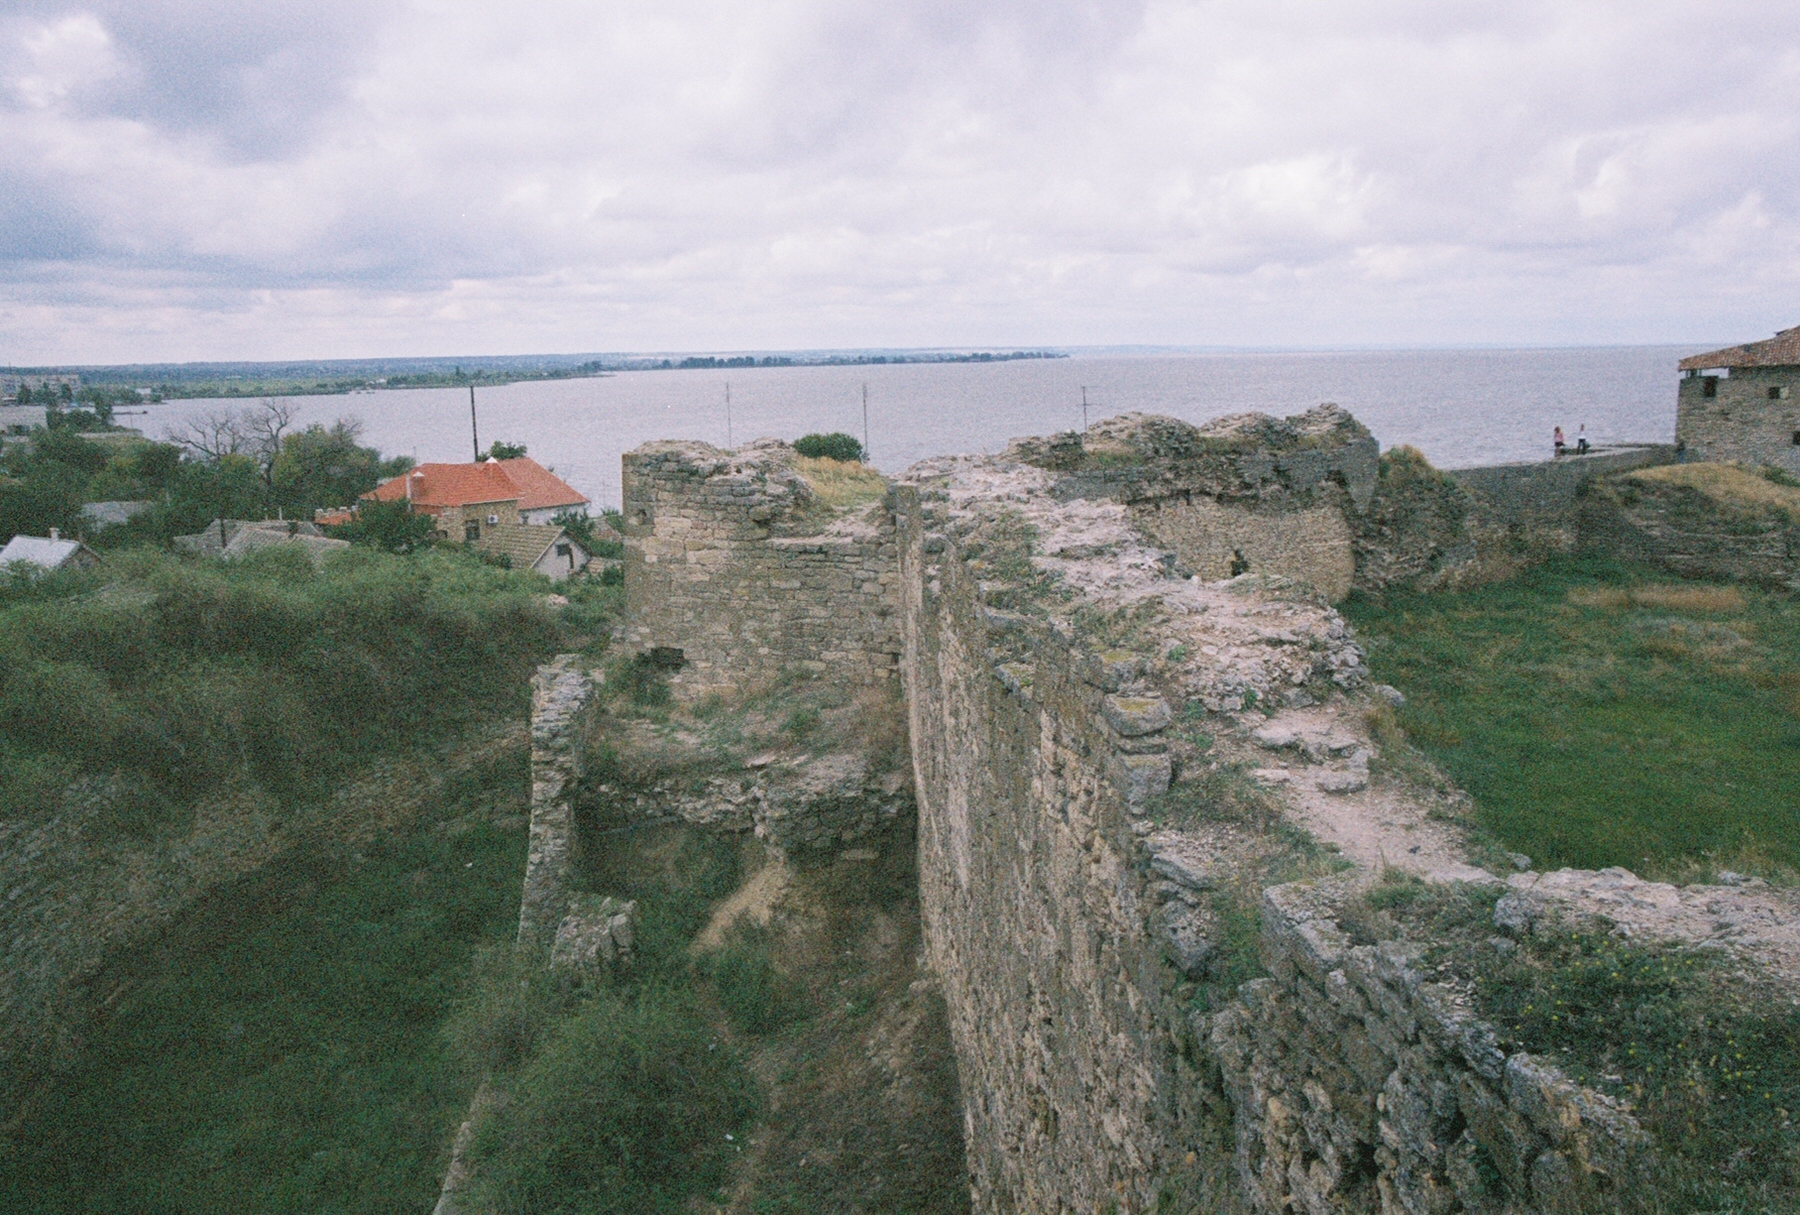
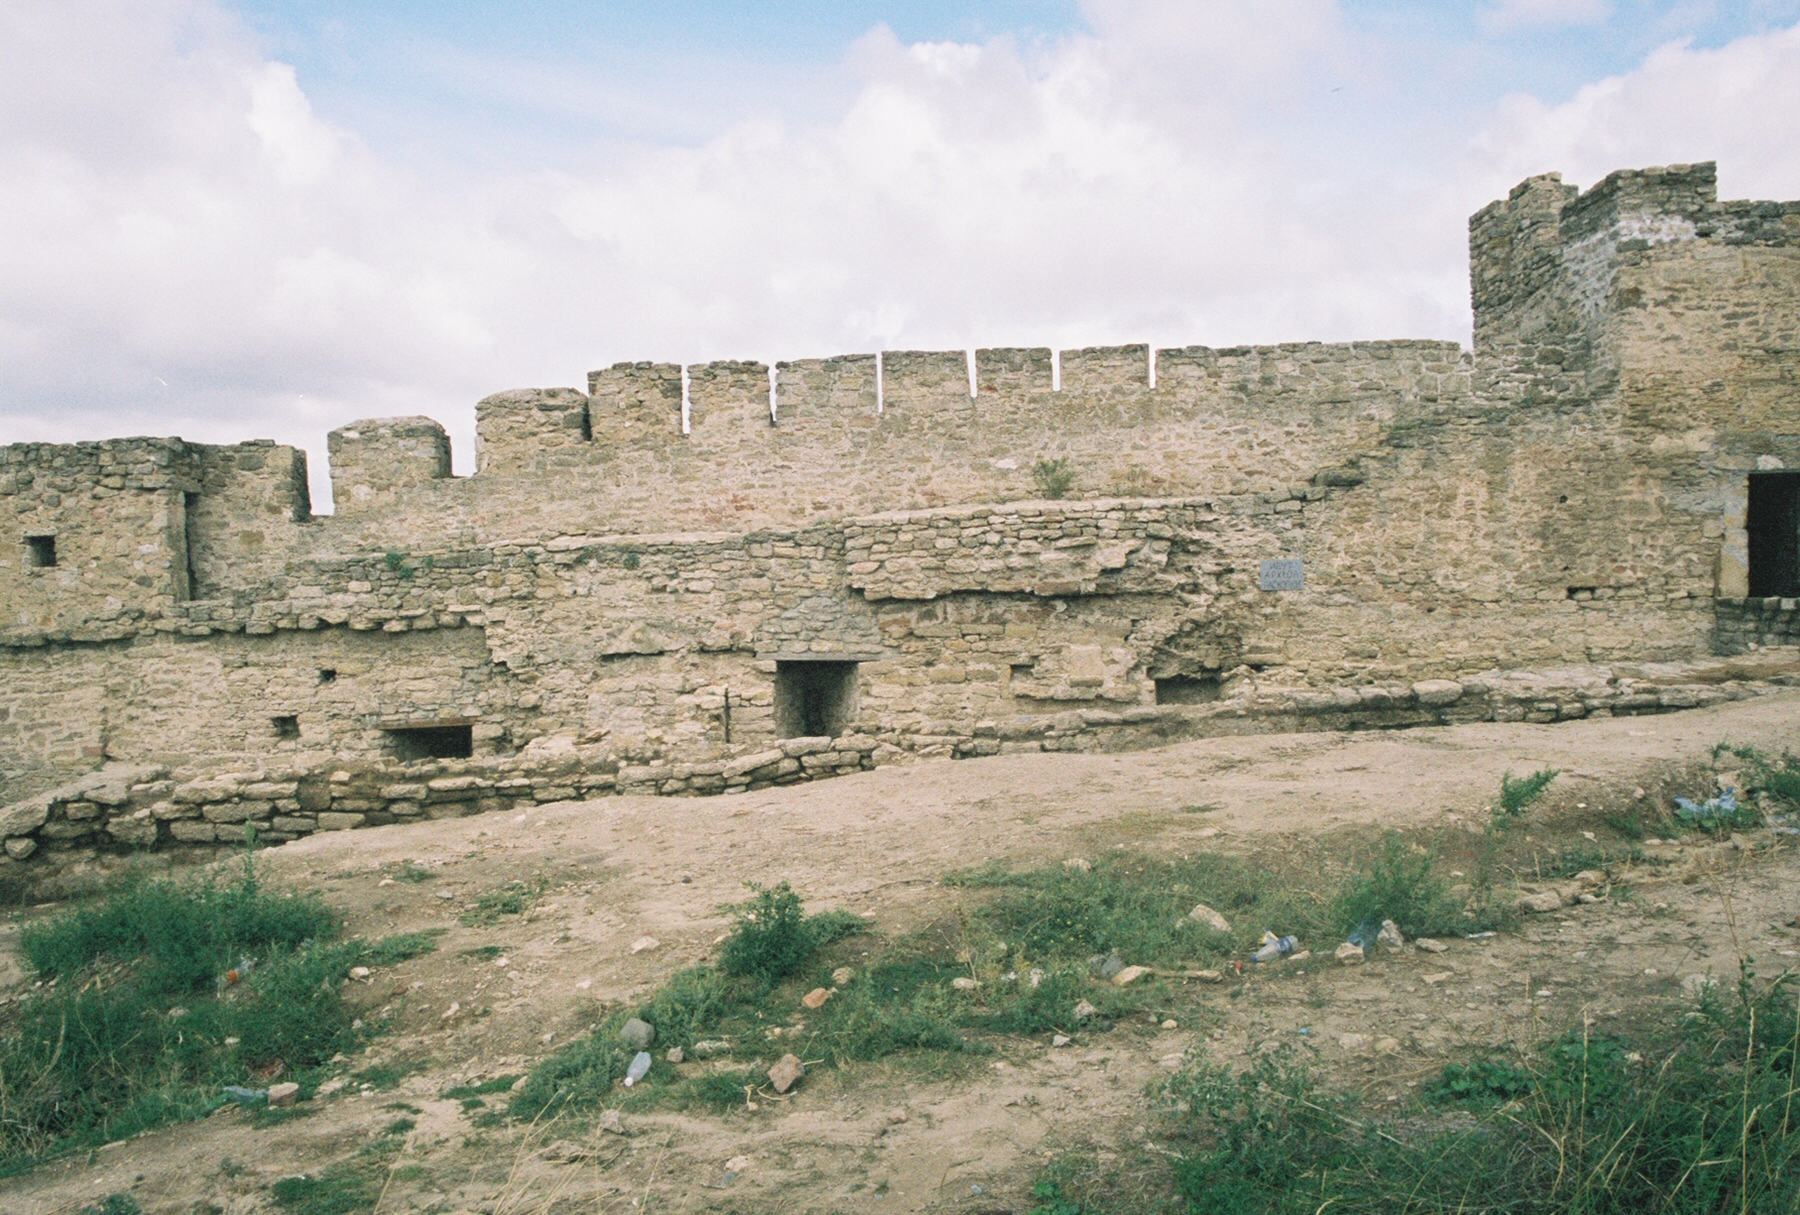
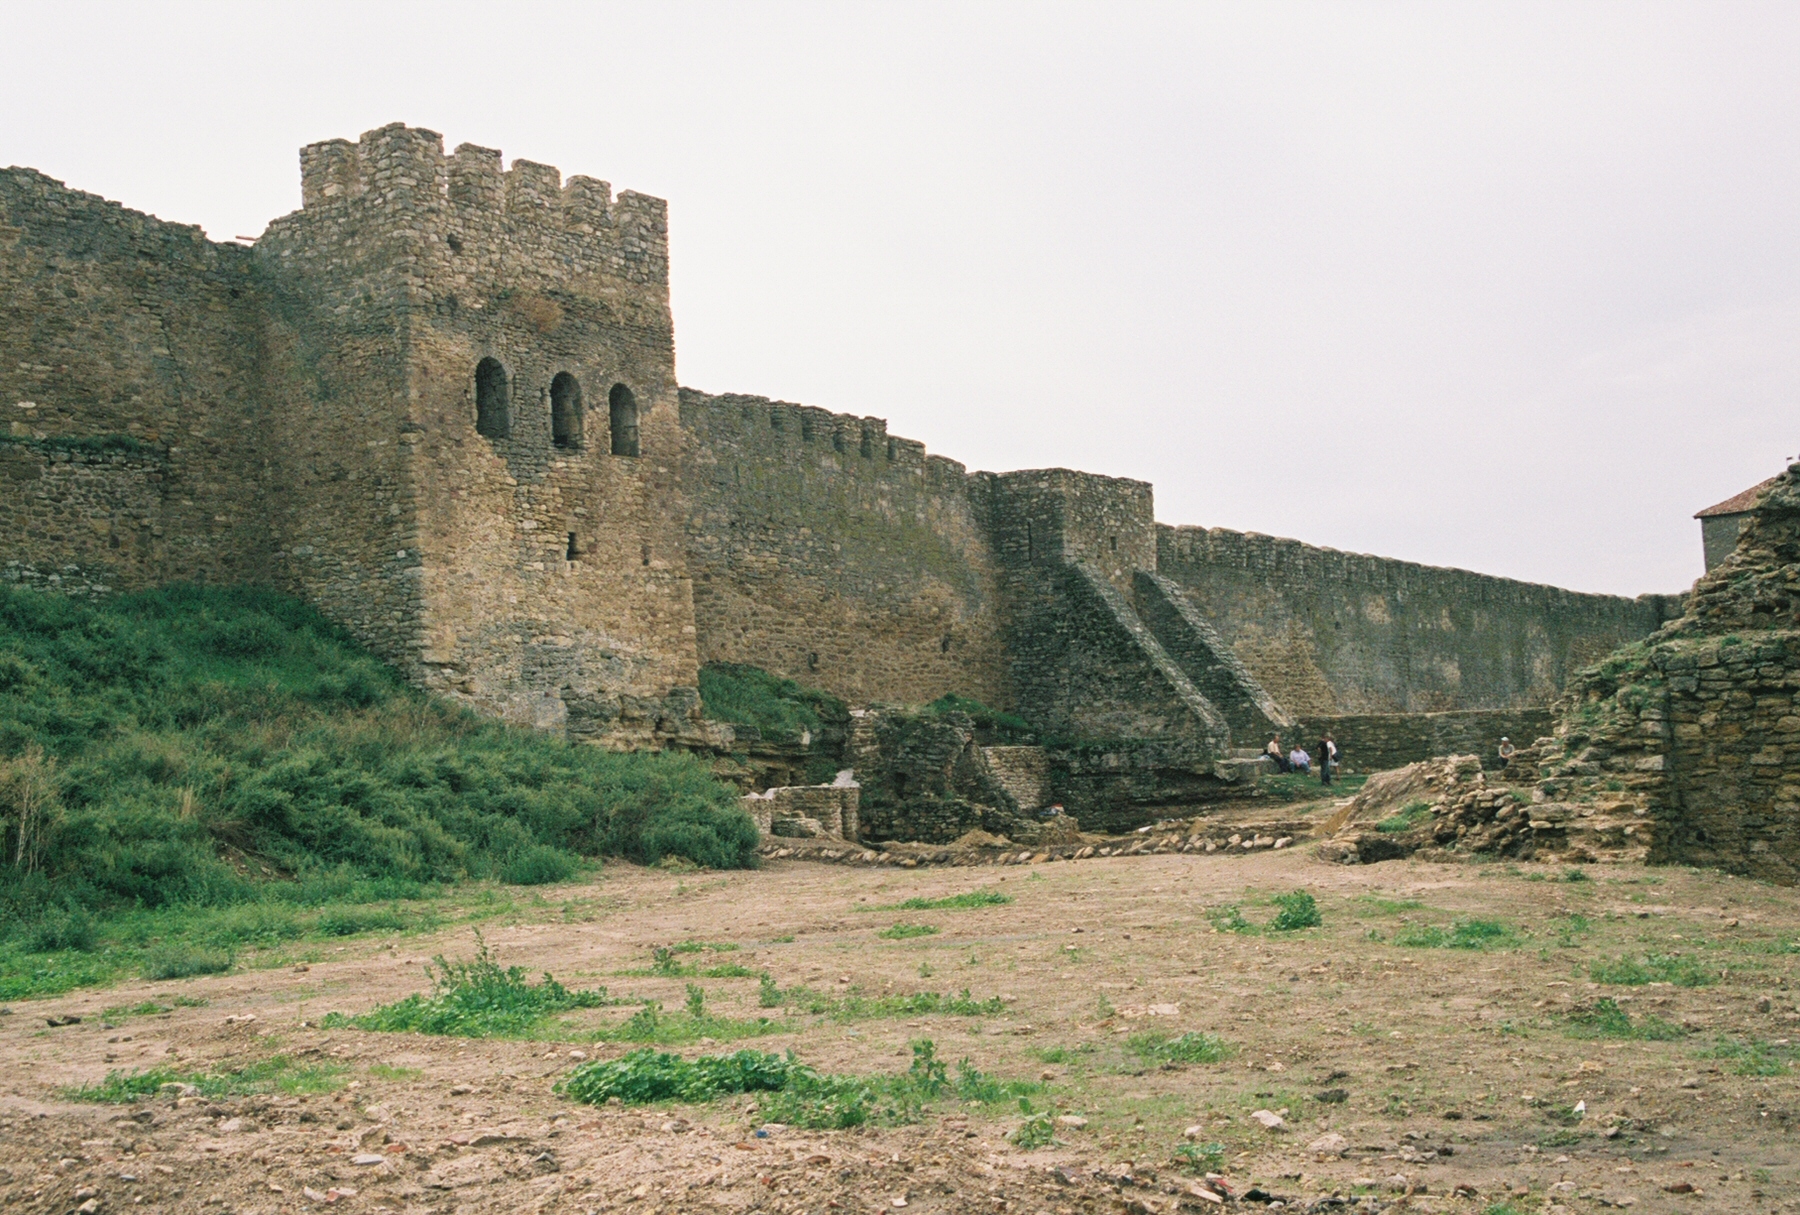
The south curtain wall of the Civil Yard is notable for the lack of a wall-walk or protected parapet along most of its length. [Fig 53] Though such a feature may have originally existed (see the surviving remains near Tower 11), the need for it was removed when the entire south curtain (and east curtain) was converted into an extensive gun platform backed by casemates. The existence of this platform is corroborated by the surviving remains of casemates behind Towers 11 and 12 [Fig 50] and Tower 19 (see below), as well as depictions found on a number of old plans (see below). Furthermore, the contour lines depicted on the main plan of the fortress show the high ground level sloped up behind the south and east curtain walls of the Civil Yard. [Fig 1]
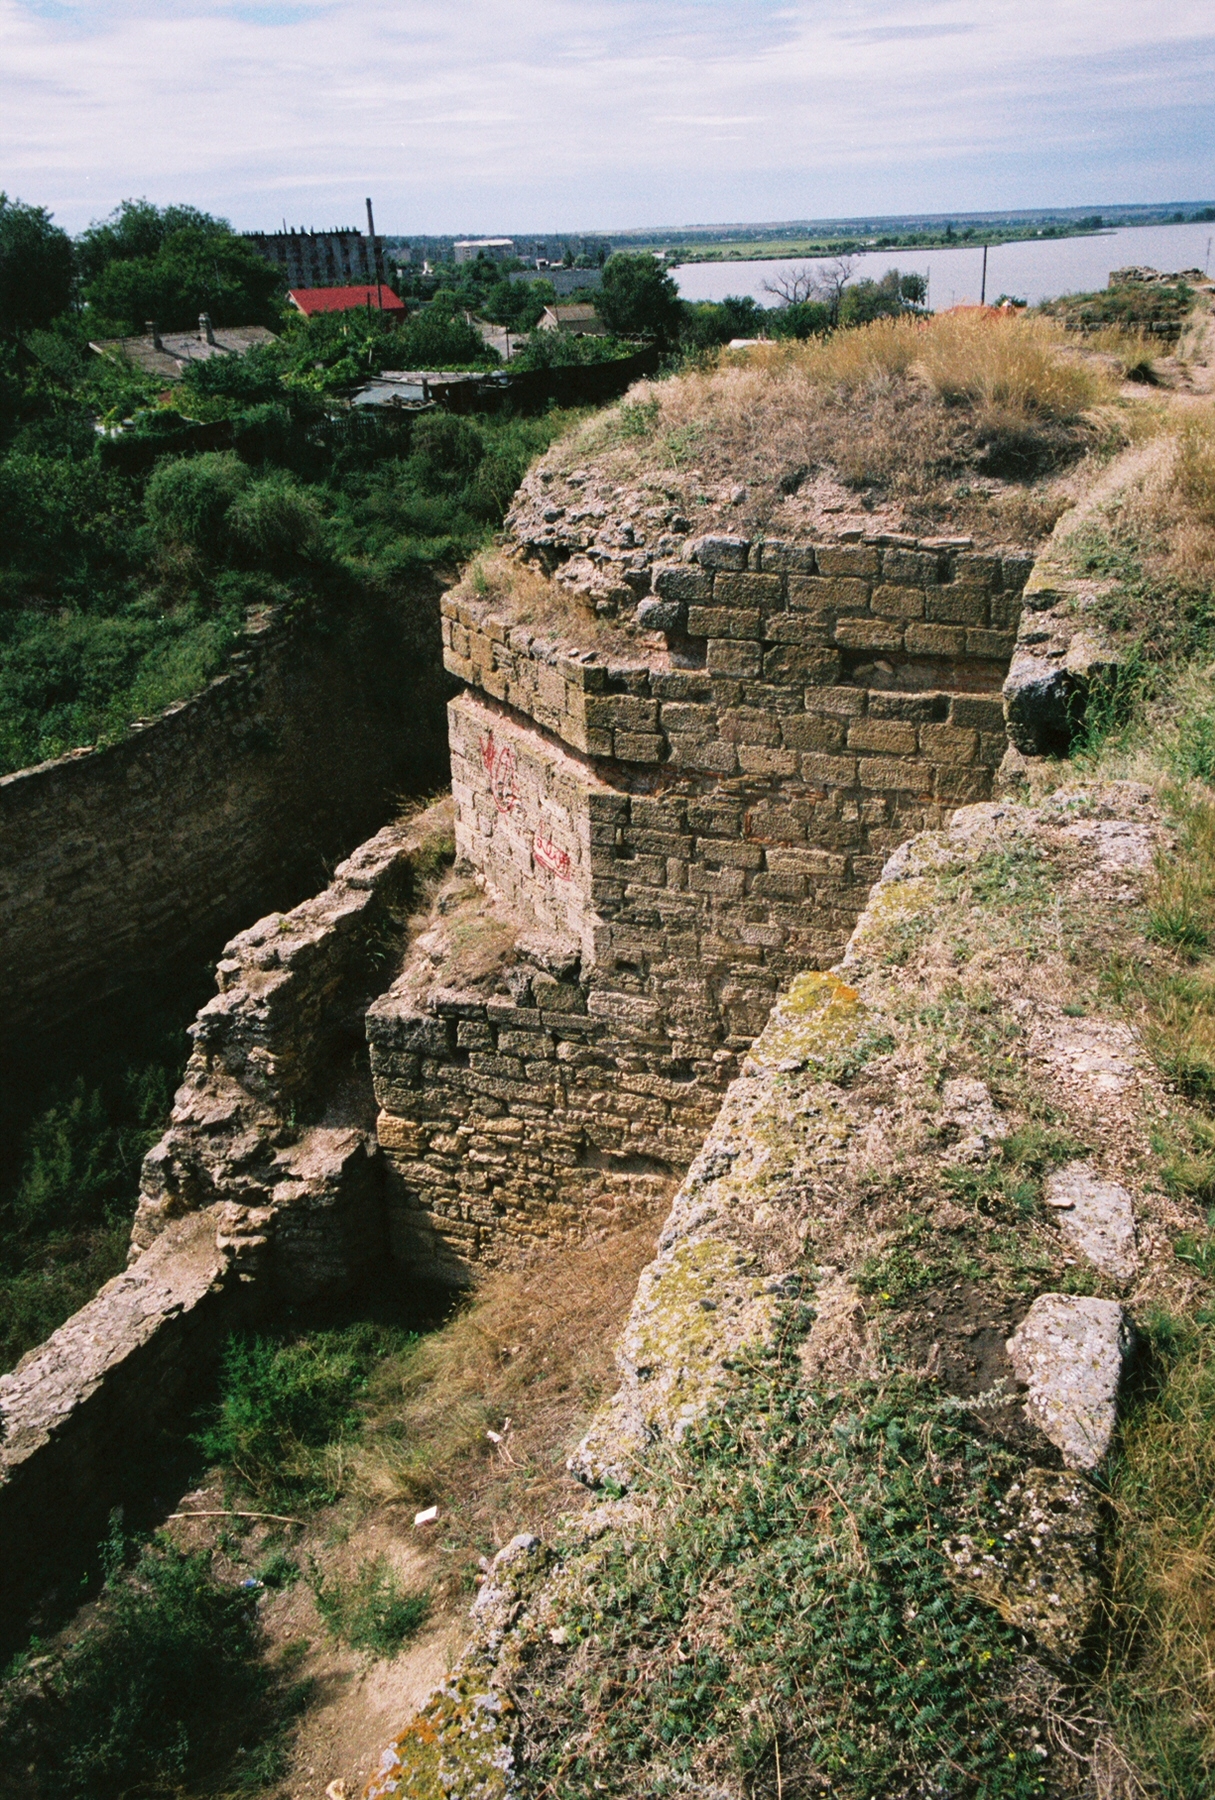
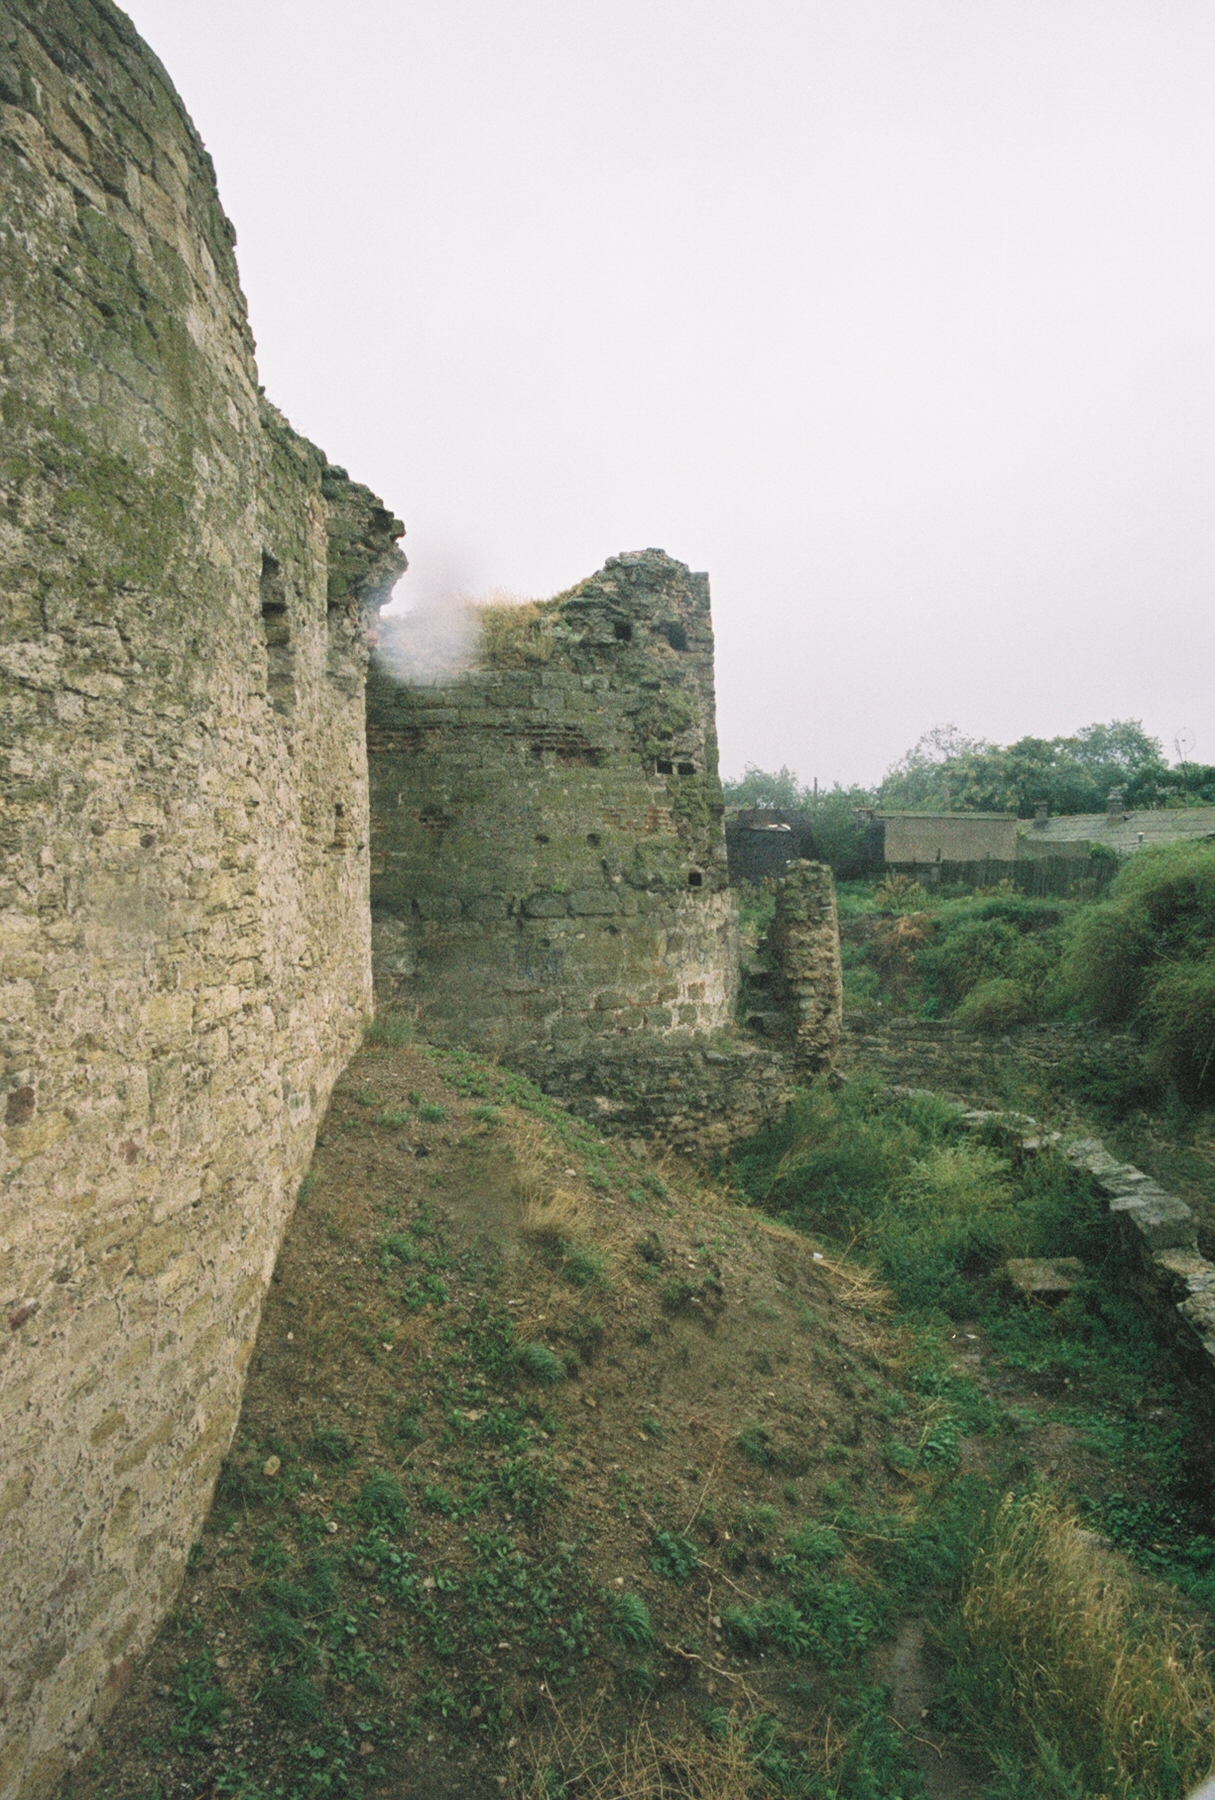
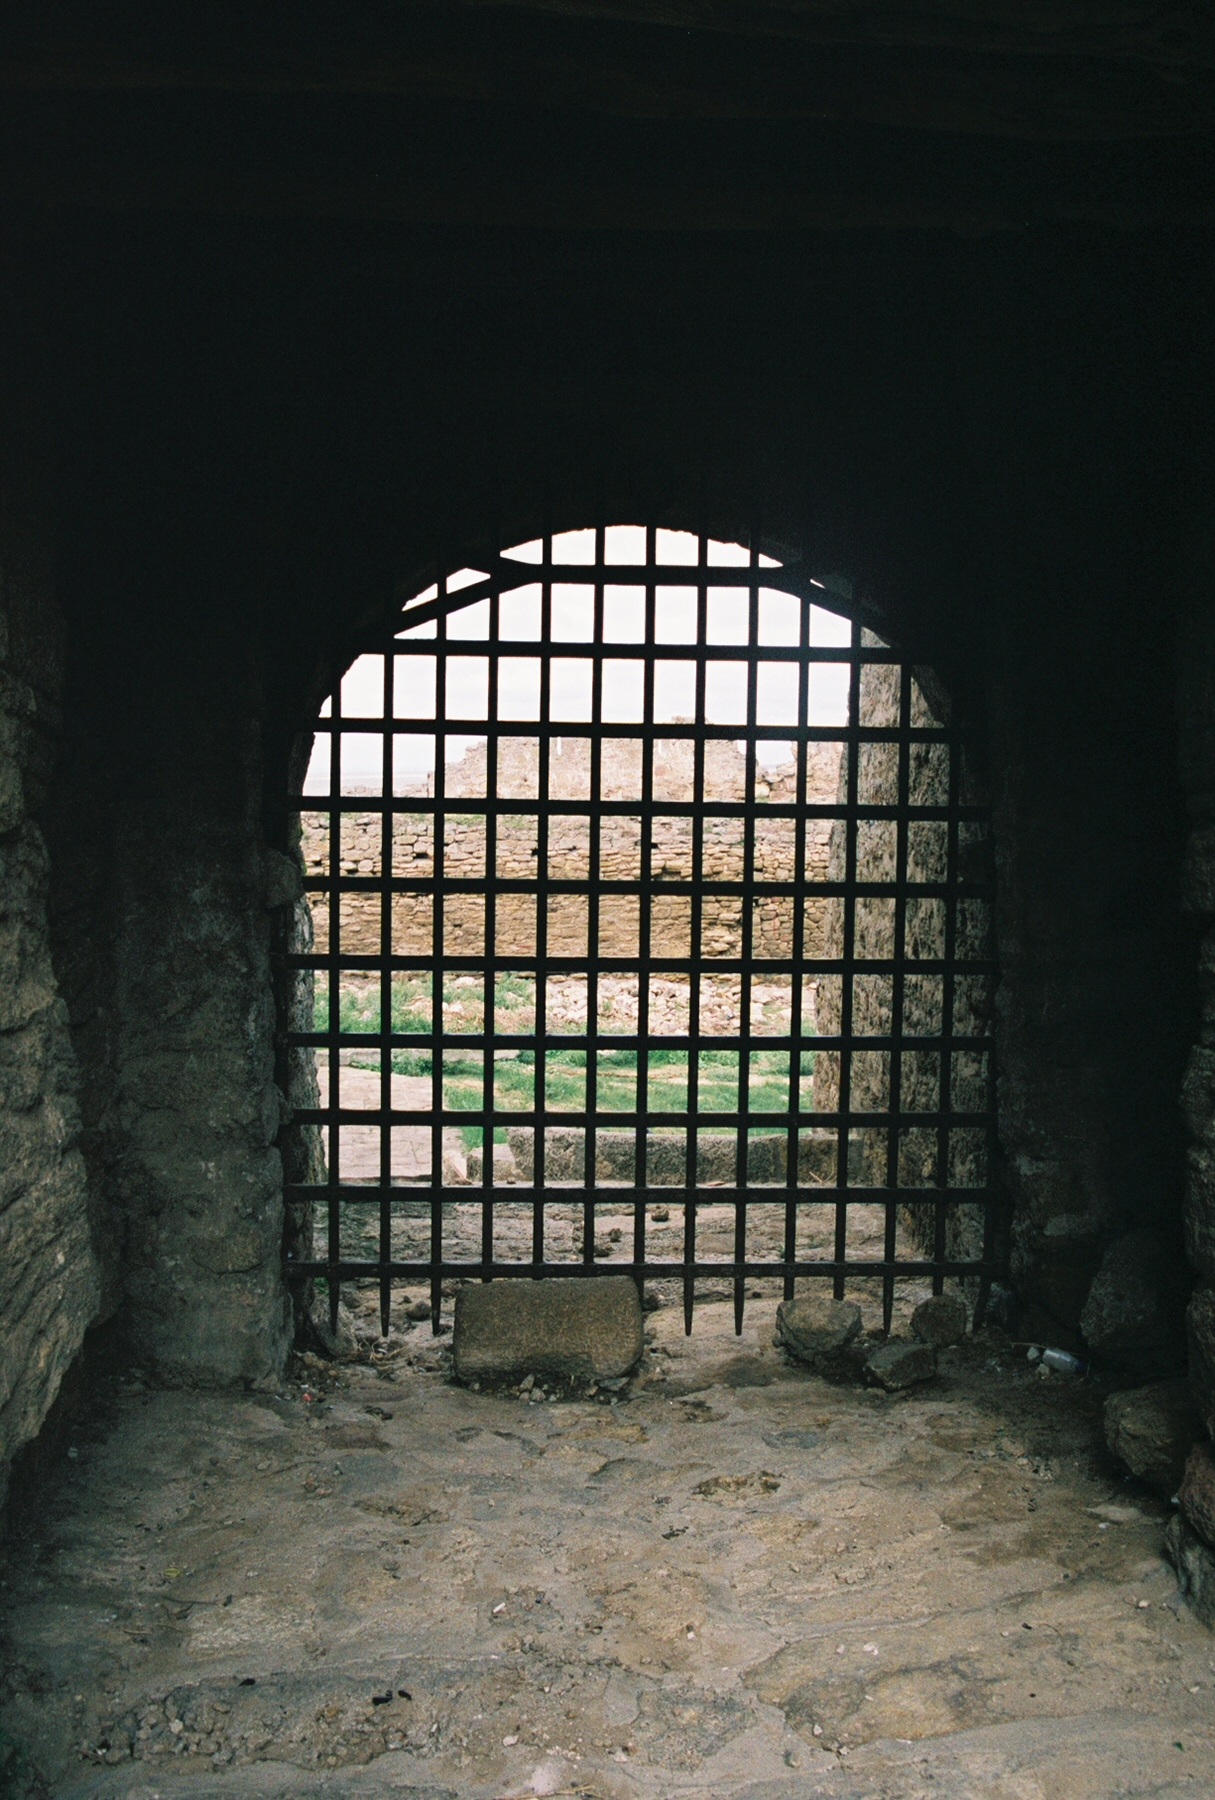
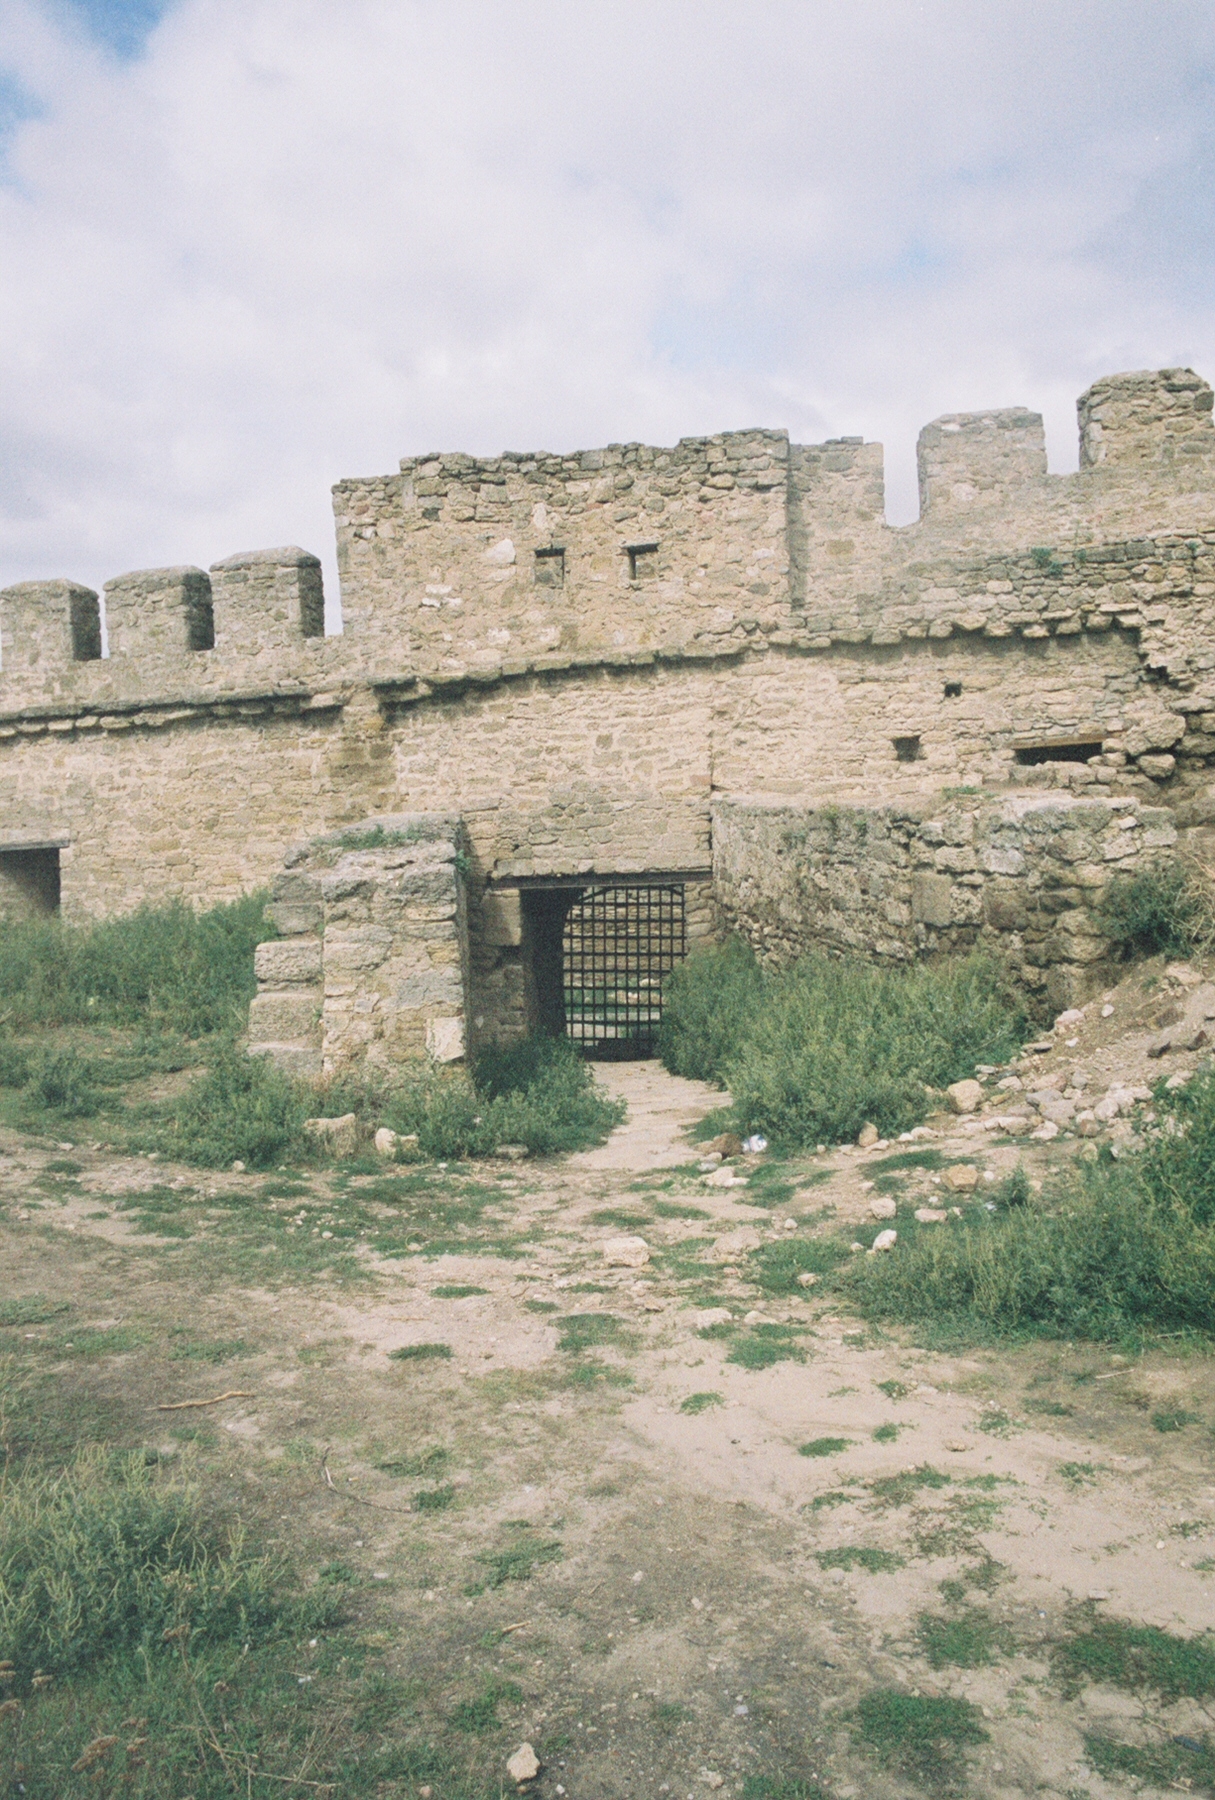
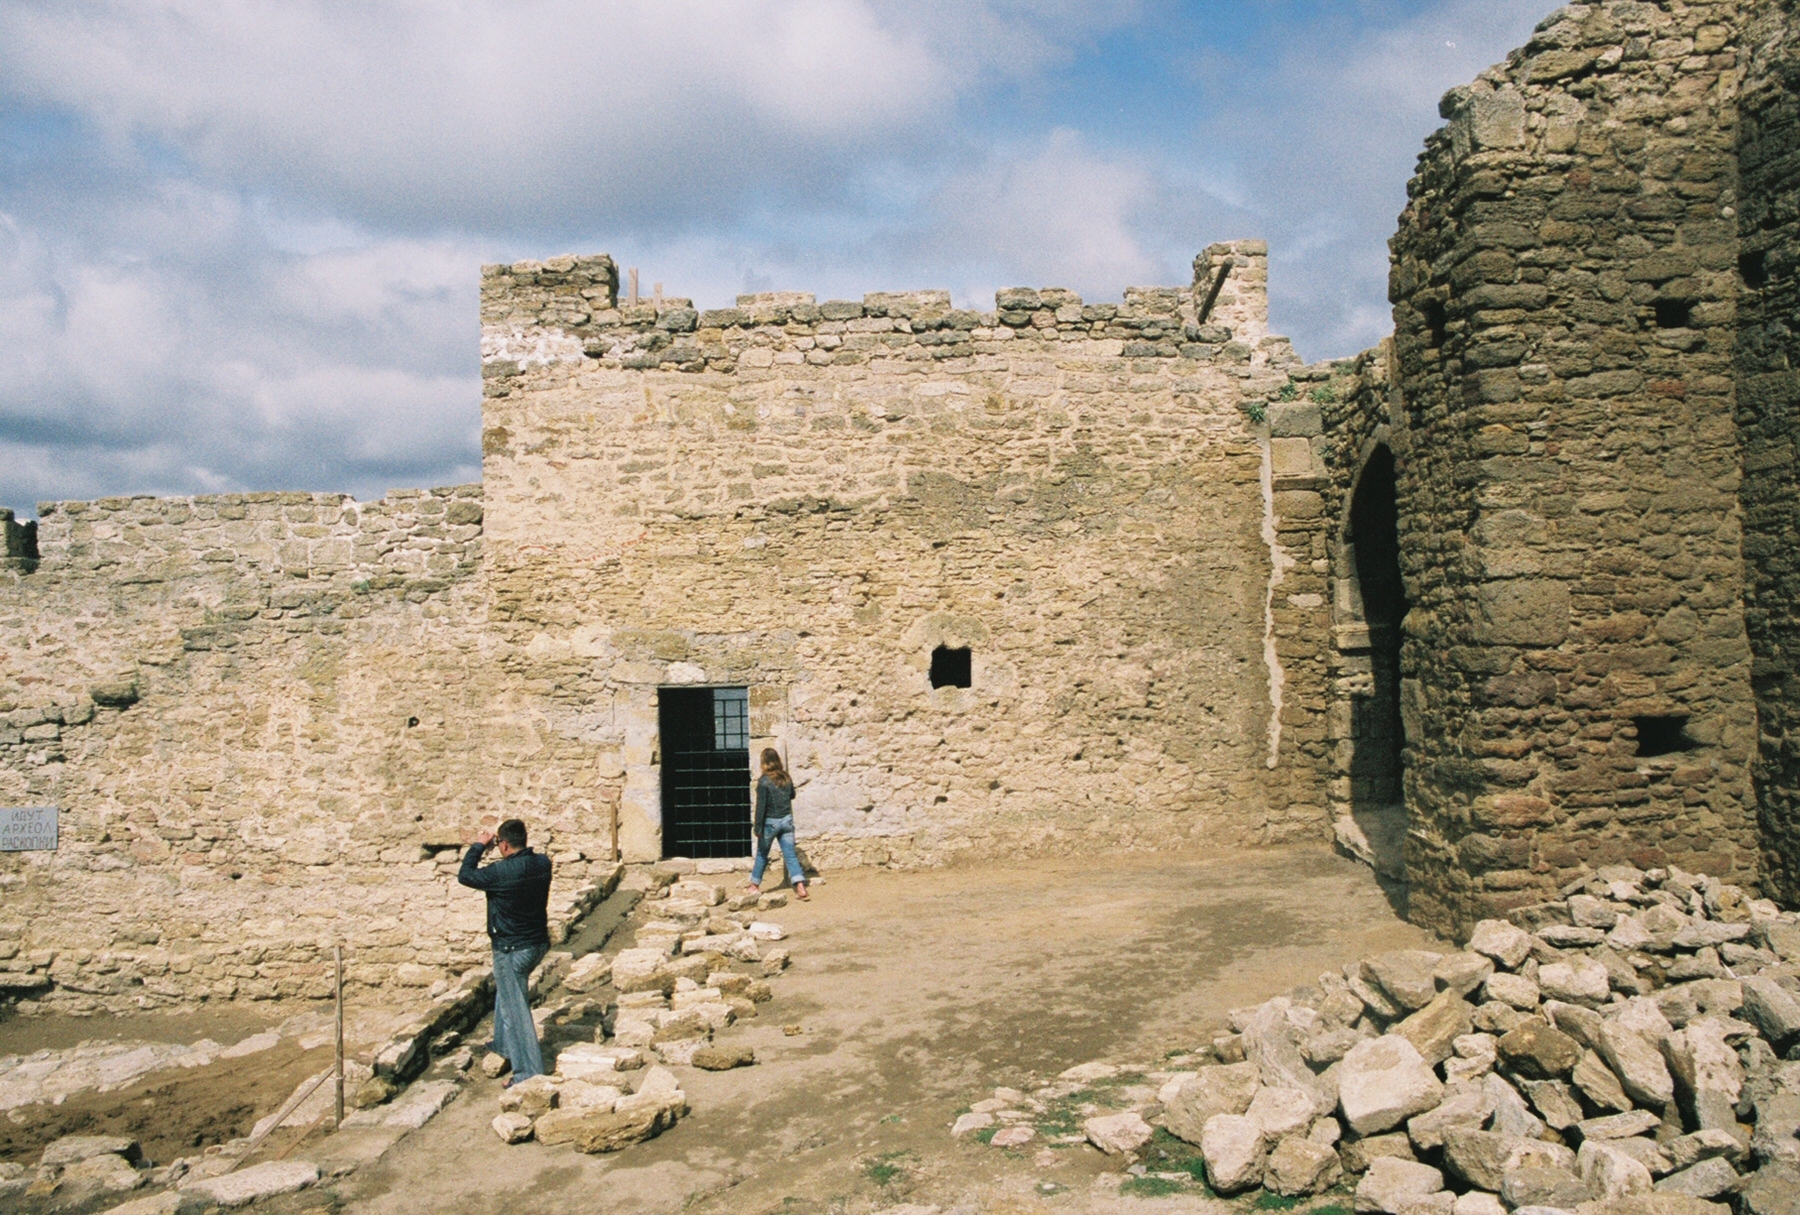
With these casemates now mostly removed, the rear of the south curtain wall is exposed for inspection. In various places, usually behind each tower, one can see the remains of staircases that ascended to the tower tops and former wall-walk. [Figs 53 and 54] Other features now visible include putlog holes where previous structures abutted the curtain wall and (now blocked) doorways (posterns) into the thickness of the curtain that presumably penetrated it to give access to the Small Ditch outside the curtain and above the main Ditch. [Fig 55] The location of these will be discussed in more detail below in the section on the Half-Wall Defenses.
Tower 12
This is an open-backed, polygonal tower, probably reconstructed from a square original.
Tower 13
This is a polygonal tower, probably reconstructed from a square original. [Fig 56] In front of this tower on the outside is a half-wall tower (13A) that protrudes into the Ditch (see below).
Tower 14
This is a polygonal tower, probably reconstructed from a square original. [Fig 57]
Tower 15
This open-backed tower has a square foundation on the outside, but its current external shape is an asymmetrical polygon. This suggests it was significantly re-designed at some point, probably when the tower was converted from its original form into a gun platform.12 [Figs 58 and 59] Based on Ottoman documentary evidence, we are tentatively assigning the name “Arsenal Building” to the area behind this tower.
Tower 16
This is a polygonal tower, probably reconstructed from a square original.
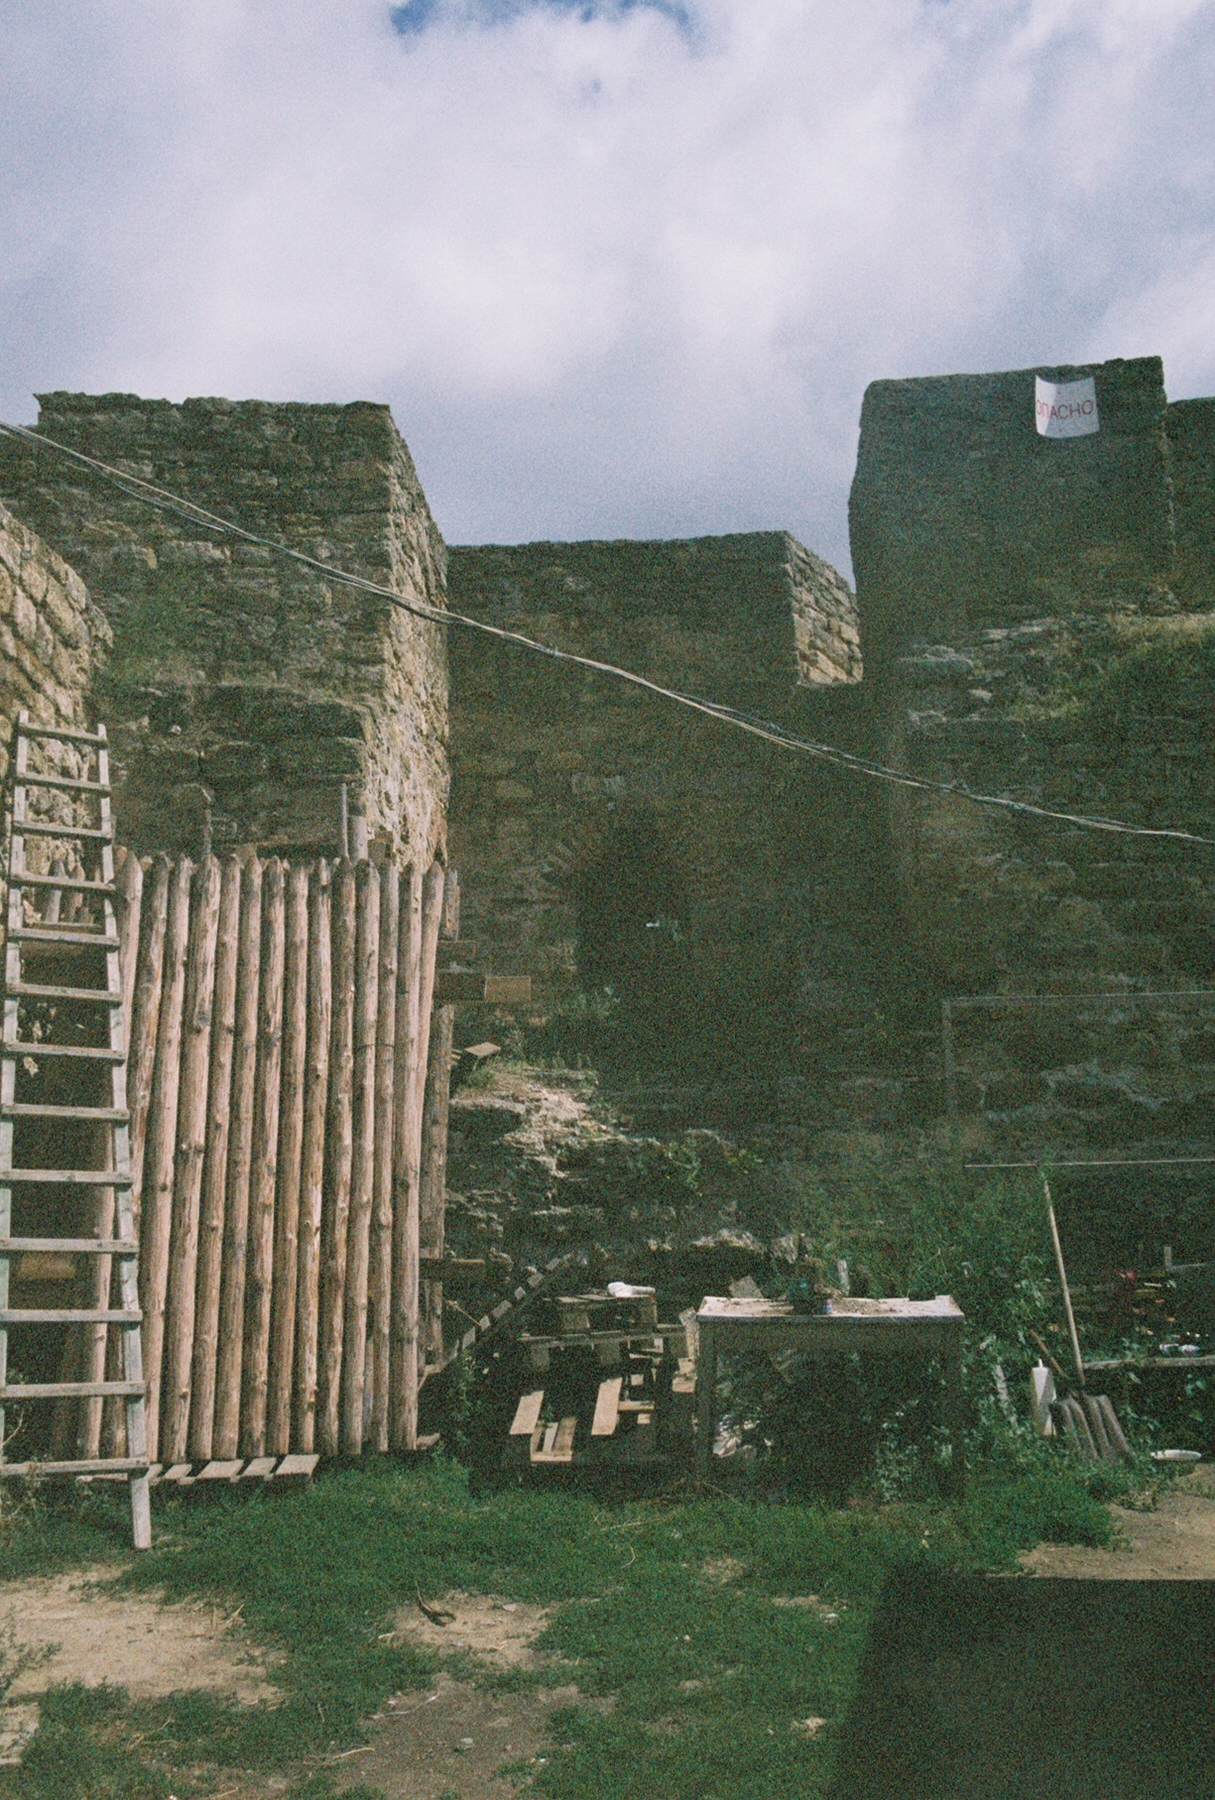
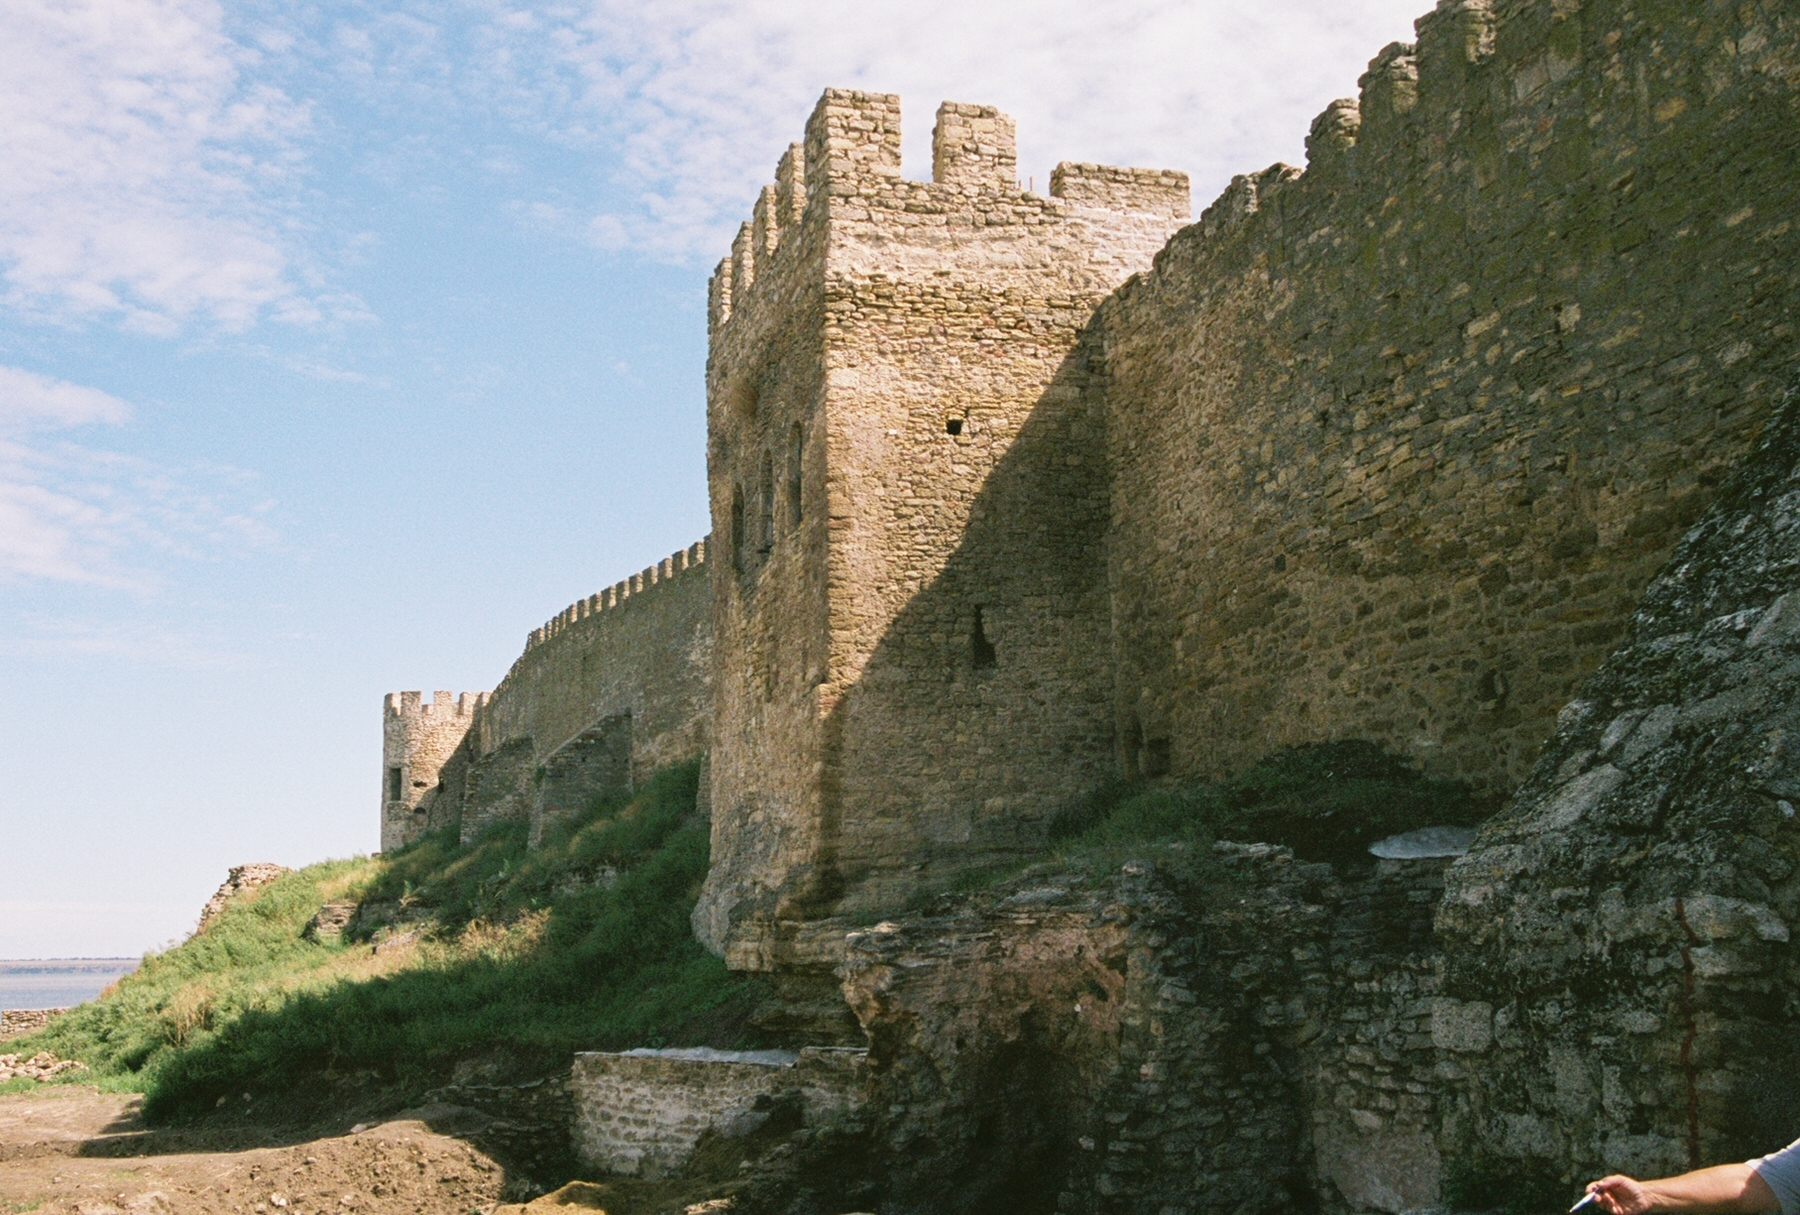
Tower 17
This large half-round/half-polygonal, open-backed tower has two or three cannon embrasures on its top. [Figs 60 and 61] It is flanked by further cannon embrasures along the curtain walls toward Towers 16 and 18. [Fig 62] This stretch of defenses has clearly been reconstructed to form an internal bastion like the areas around Towers 7 and 11 (see above and below). Based on Ottoman documentary evidence, we believe this tower was called the “White Tower” (Ak Kule) and the bastion was the “White Tower Bastion” (Ak Kule Tabyası).
In contrast to Tower 11, however, this tower has lost any superstructure it may have once had, leaving a rather simple appearance. In front of this tower on the outside is a half-wall tower (17A) that is corbelled out to protrude into the Ditch, but not all the way down to the Ditch’s bottom (see below).
Tower 18
This is a polygonal tower, probably reconstructed from a square original. [Fig 62]
Tower 19
This square tower is backed by a surviving casemate structure behind its curtain wall. [Figs 62 and 63] The casemate has a doorway in its northwest corner that may lead into the thickness of the curtain wall and penetrate through it into the Small Ditch beyond (see below). In front of this tower on the outside is a half-wall tower (19A) that protrudes into the Ditch (see below).
Tower 20
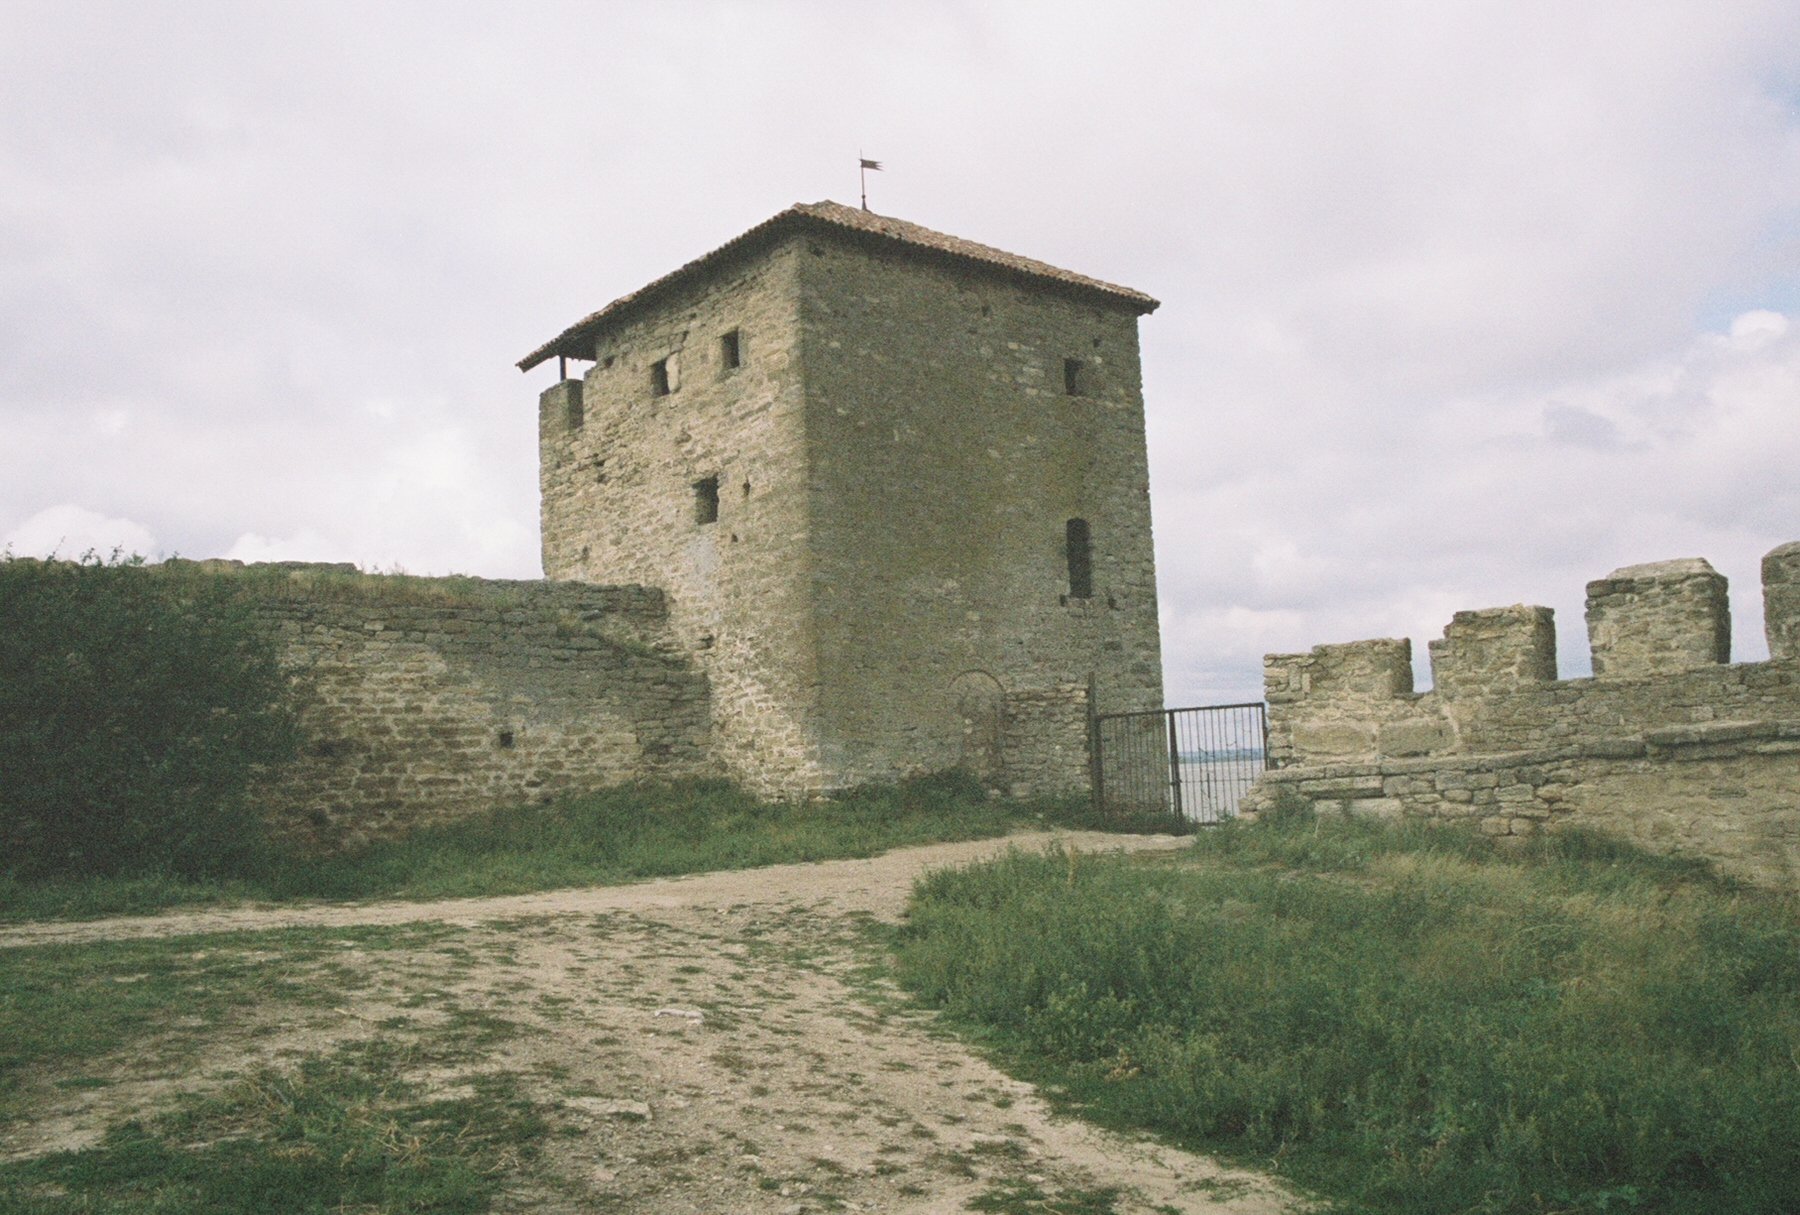
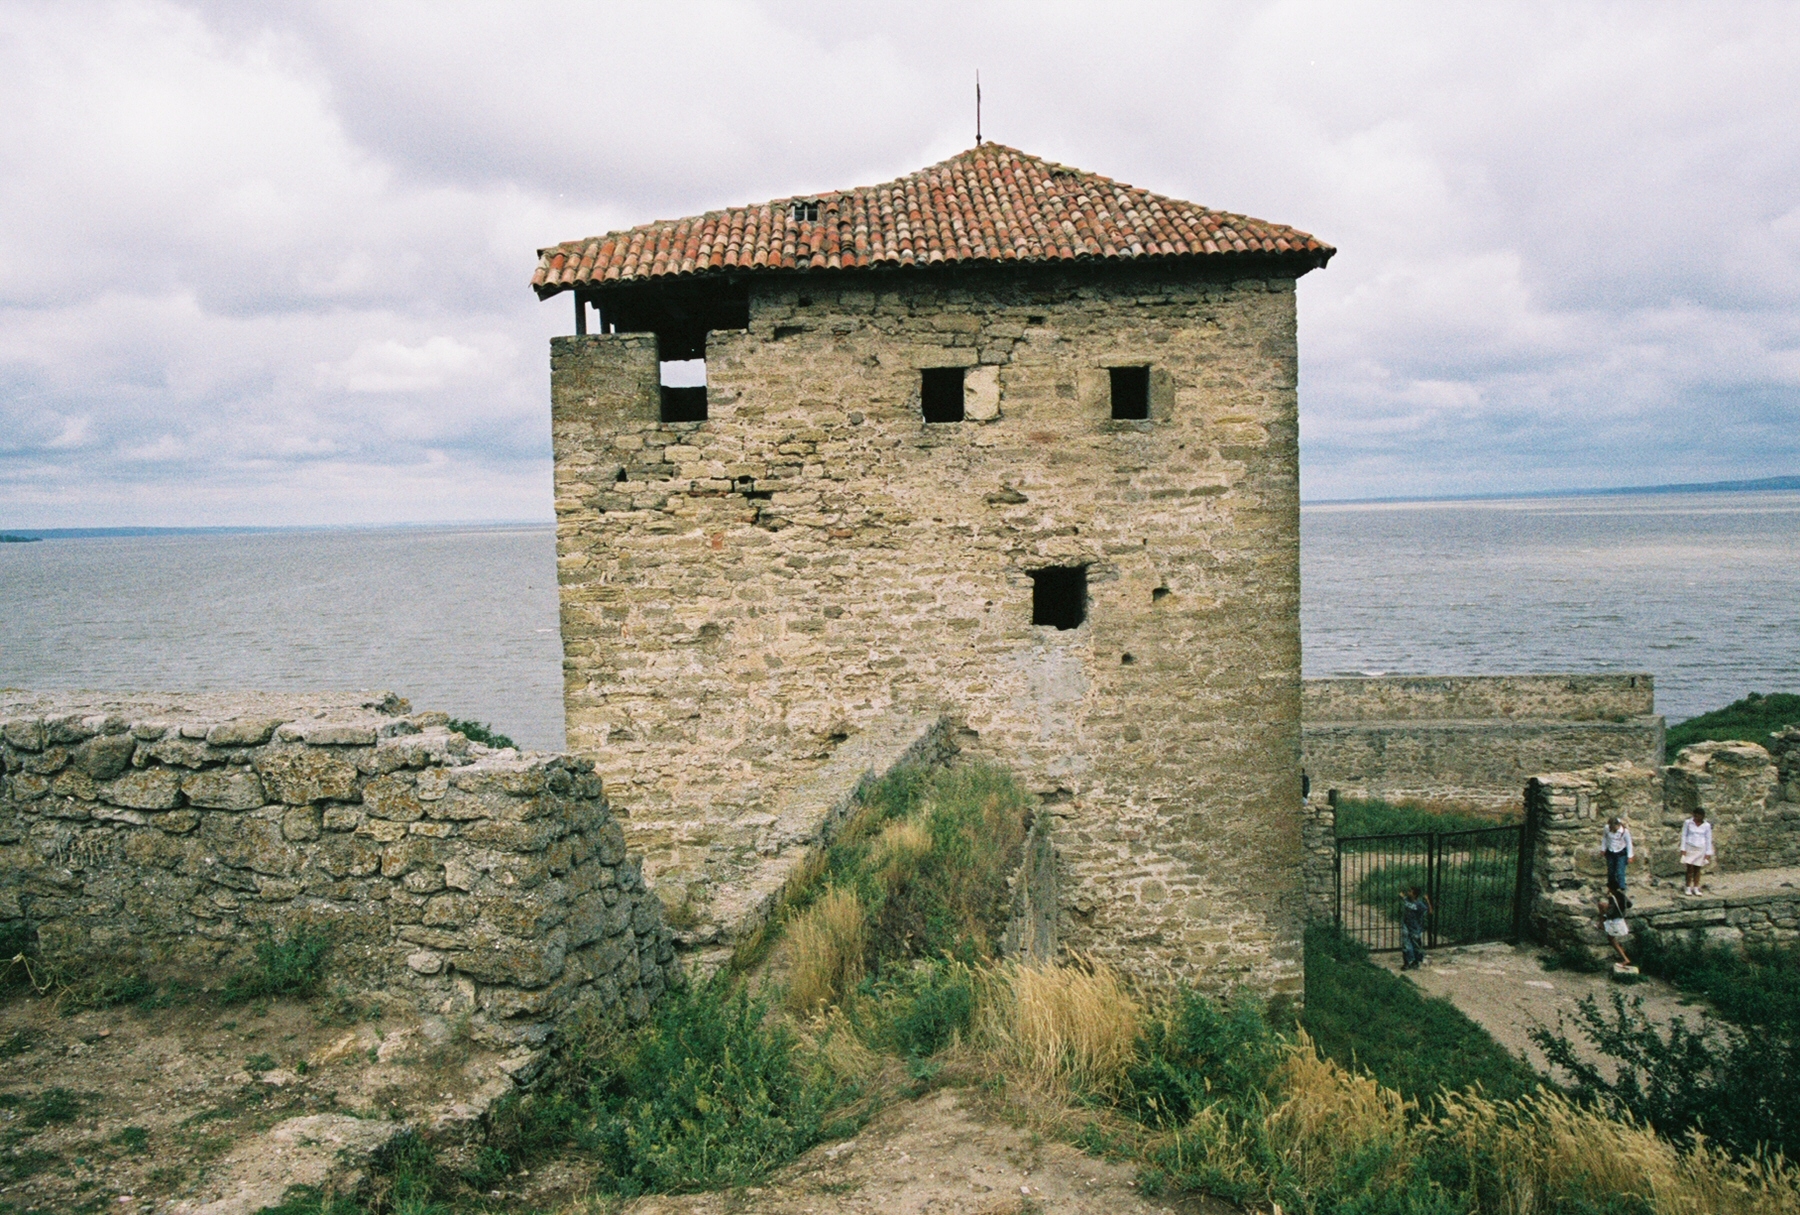
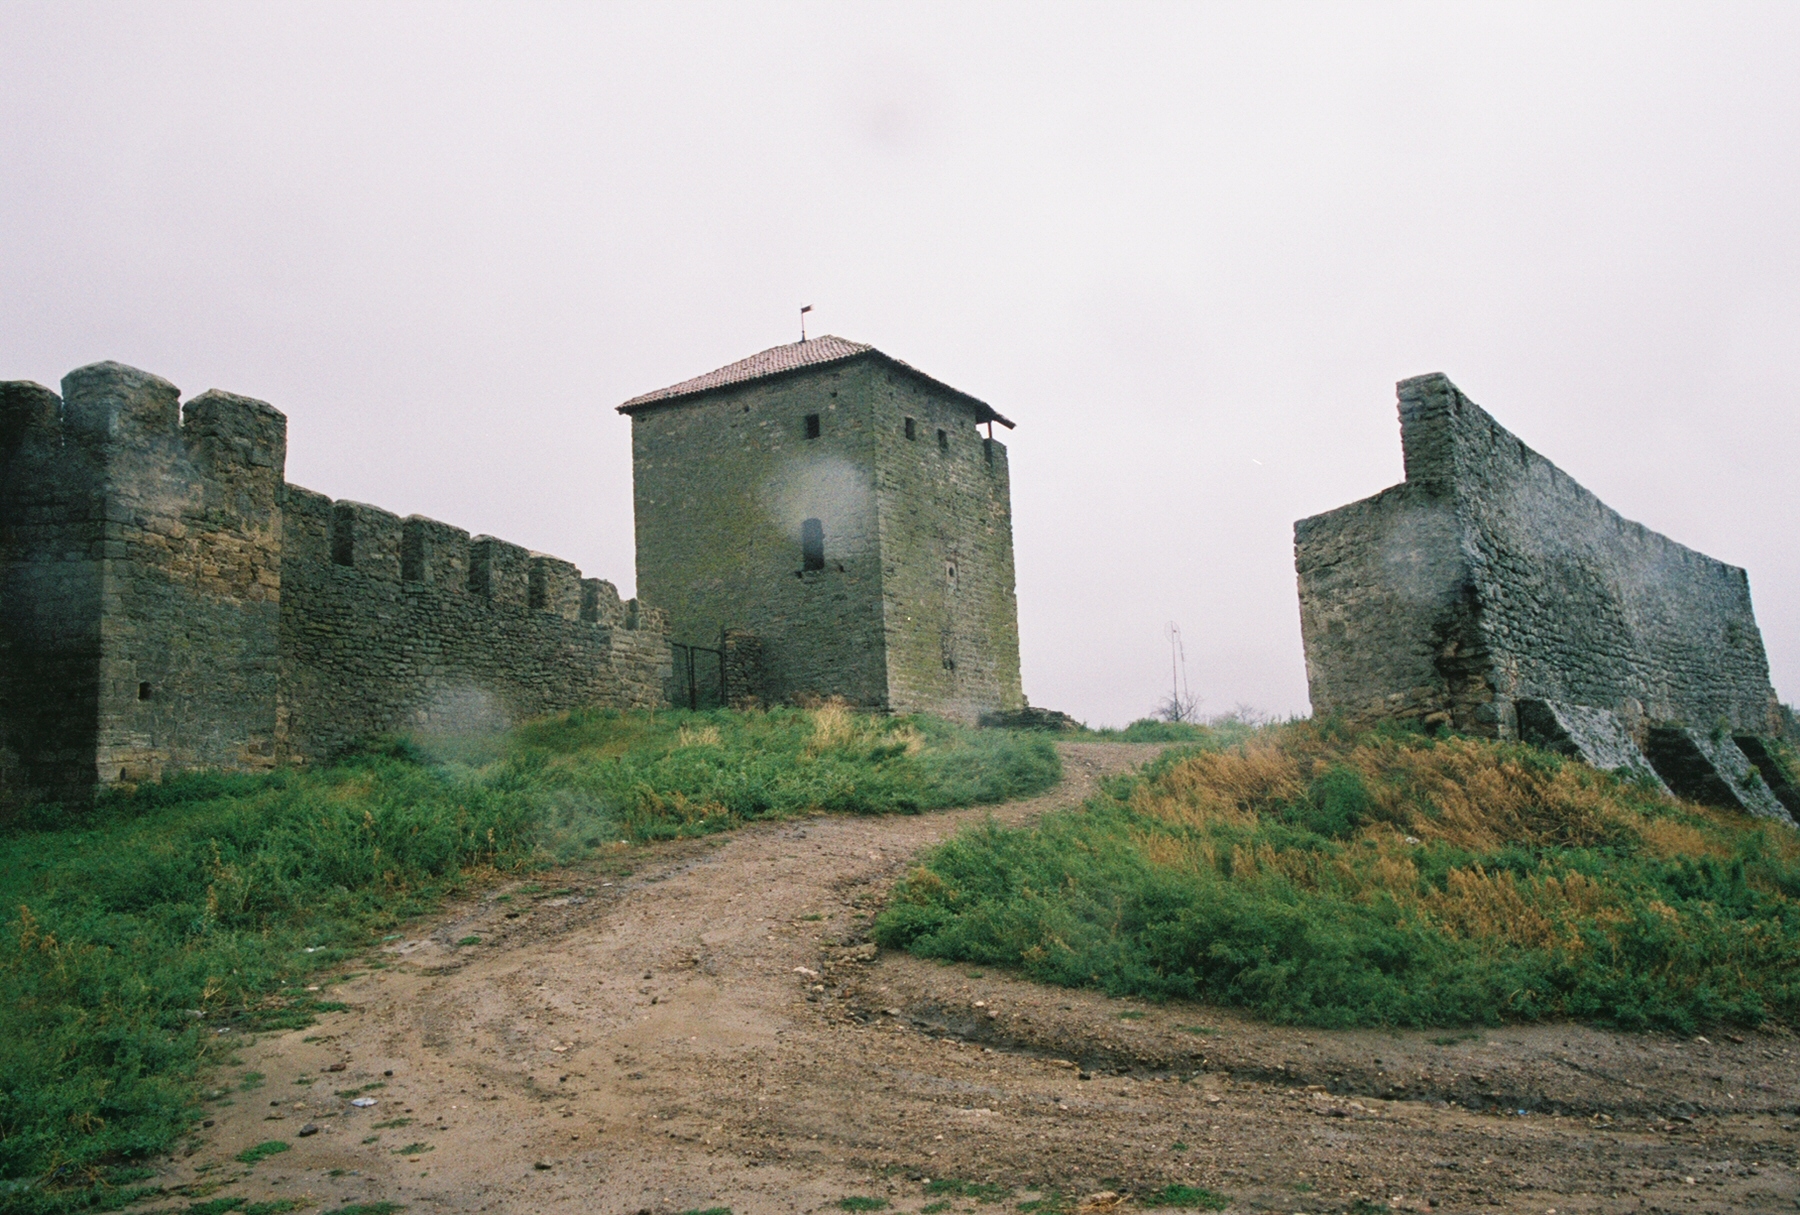
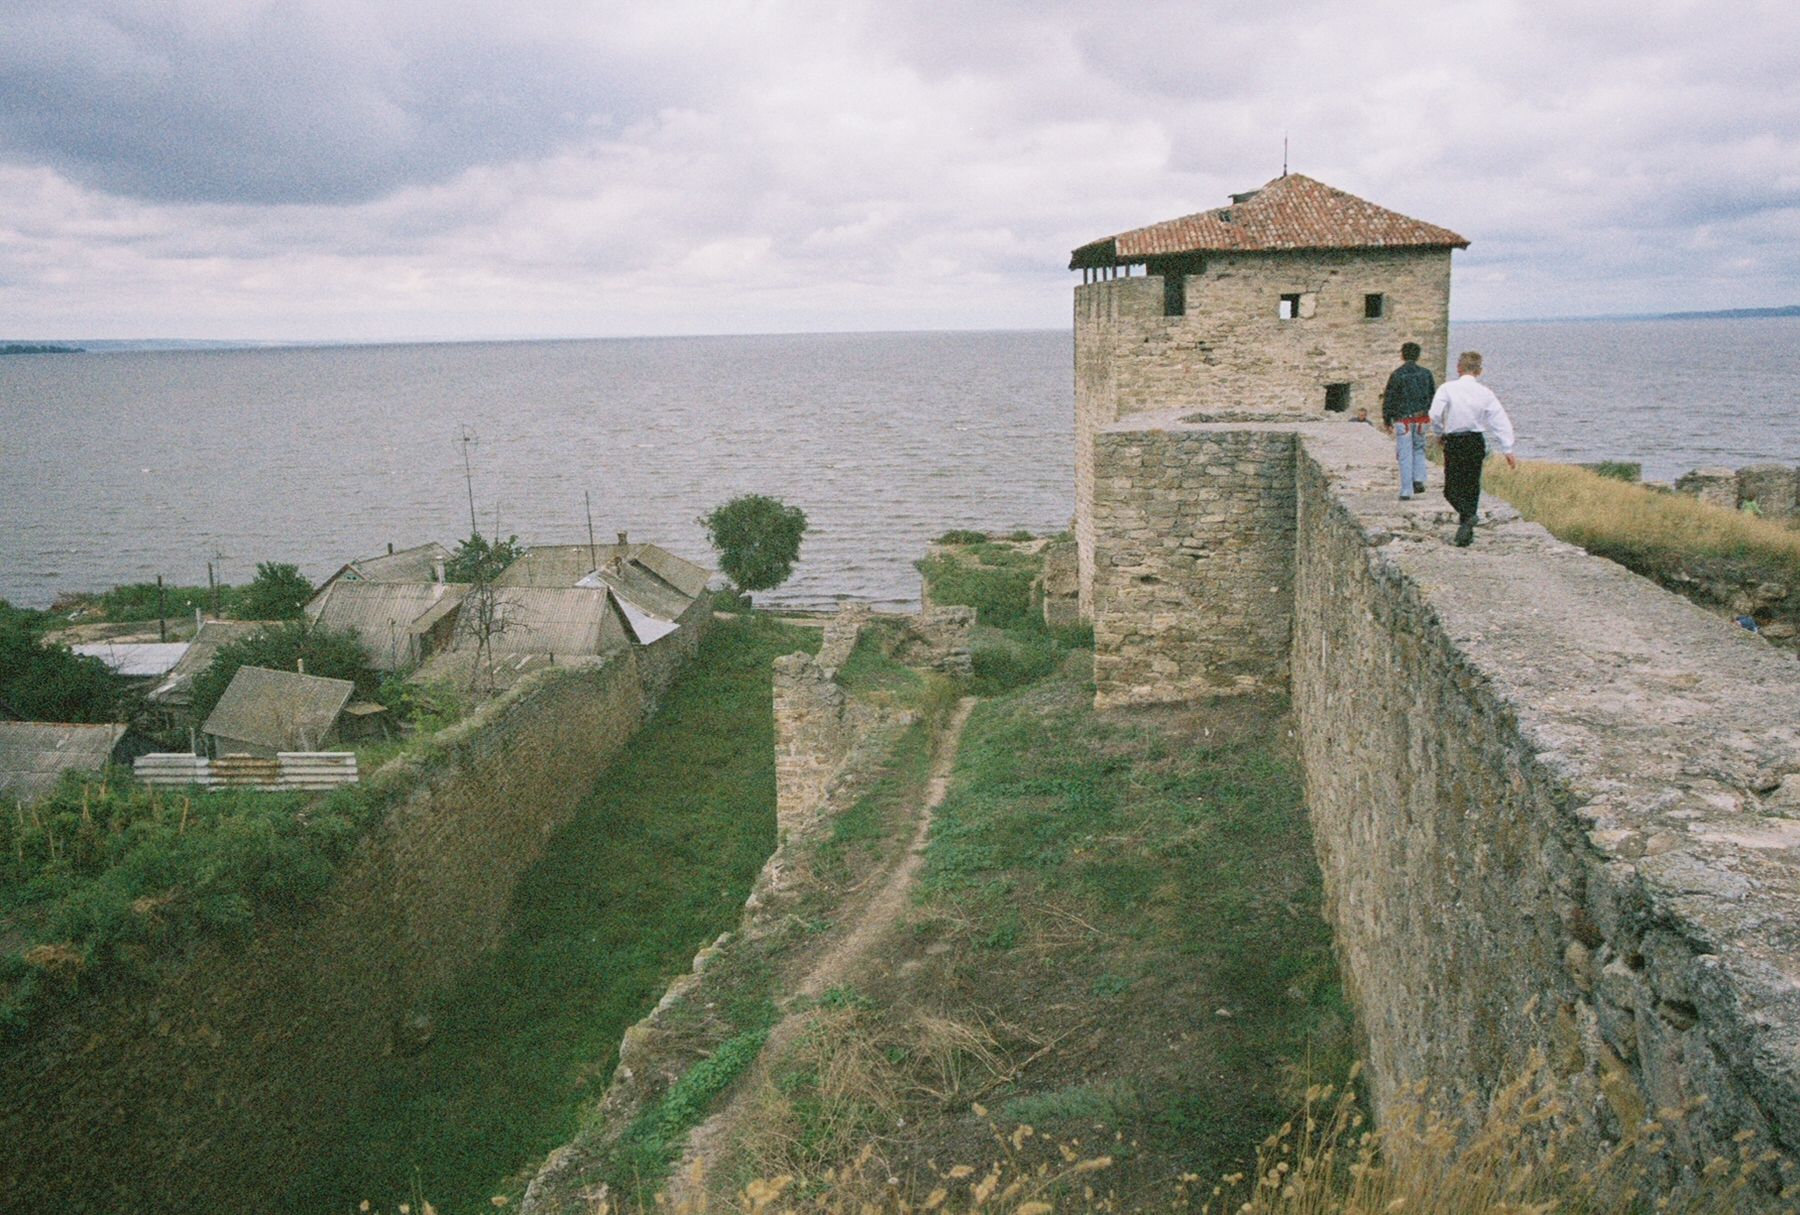
This tower was previously entered at ground level from the Civil Yard via a door (now blocked) on its northeast face.13 [Fig 64] Although its internal arrangements are inaccessible, it seems to have contained three floor levels.
Above the ground floor doorway from the Civil Yard there is another doorway at first floor level that currently opens into space, but previously (probably) connected this tower to the wall-walk of the west curtain wall. On this first floor level, there is another opening (now partially blocked) on the tower’s southeast side. [Fig 65] This probably provided access to the wall-walk of the south curtain wall before the latter was converted into a gun platform. The only other feature at this level visible from the outside is a gun loop in the center of the tower’s northwest face, covering the south end of the Port Yard. [Fig 66]
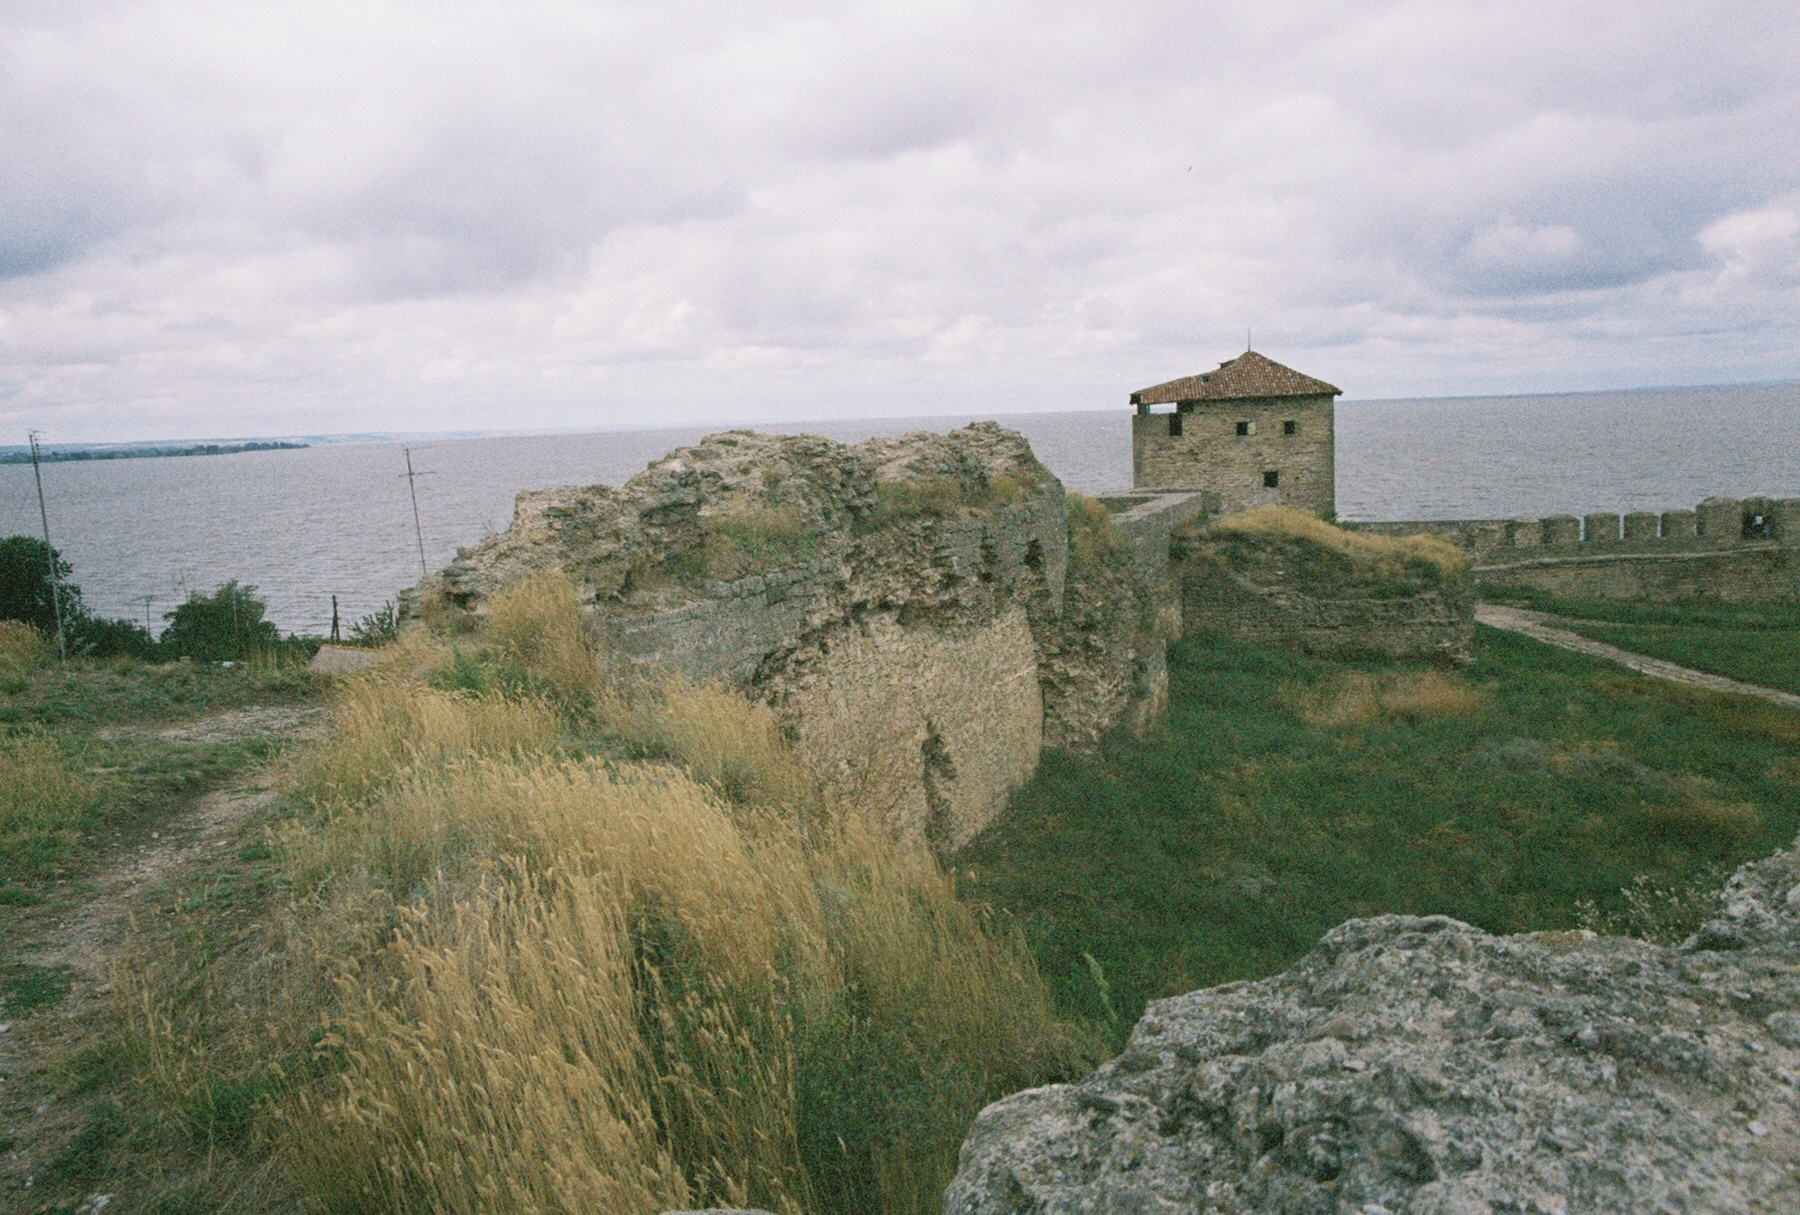
At second floor level, this tower has a number of features, including a total of five windows that open to the northeast, northwest, and southwest. [Figs 64, 65 and 66] The most interesting feature, however, is the covered balcony on the tower’s southwest side, which overlooked the western end of the Ditch where it met the estuary shoreline. [Fig 67] This suggests that the tower’s primary purpose was to serve as a lookout post. Based on Ottoman documentary evidence, we believe this tower was called the “Entertainment Tower” (Meşrebeli Kule).
In front of this tower on the outside are the remains of what appears to be a half-wall tower (20A) that previously protruded into the Ditch (see below). [Fig 68]
Tower 21
This is not so much a tower as an open-backed protruding platform jutting out from the Civil Yard’s west curtain wall. [Fig 69] It is accessible directly from the wall-walk. Outside this tower, beyond the curtain wall, the ground surface of the Port Yard climbs up towards Tower 20, and the place where the west curtain has been dismantled (since the 1950s) to allow vehicular traffic to enter the Civil Yard. This route bypasses the original entrance between these wards at, Tower 22, the Water Gate (see below).
West Curtain Wall
The west curtain wall is notable for the arrow loops that penetrate it at ground level—a feature rarely seen elsewhere in Akkerman’s curtain walls. [Fig 70] Between Towers 21 to 22, there are six of these, with reconstructed crenellations defending the very narrow wall-walk along the top of the curtain.
This configuration contrasts slightly with the stretch of curtain wall between Towers 22 and 23. [Fig 71] Here, the wall sports both musket loops at wall-walk level and arrow loops (now blocked) at ground level.
This stretch of wall-walk connects both of these heavily reconstructed towers. [Fig 71] For Tower 22 on the left (south), the wall-walk enters from the north into the first floor chamber where the portcullis to block the Water Gate was raised and lowered. For Tower 23 on the right (north), stairs climb from the wall-walk to the top of this tower.
Tower 22
This tower provided access between the Port Yard and Civil Yard via a double-arched gateway passage that sloped up to the level of the Civil Yard. [Fig 72] On the Port Yard side of this gate, triangular buttresses have been added to either side, creating a tunnel effect when entering the gate. The gate’s passageway is blocked by a massive portcullis and (previously) a door backed by multiple drawbars, as evidenced by their slots on the passage’s north side. [Fig 73] Continuing up the ramp into the Civil Yard, the passage was flanked by walls on either side for a significant distance, extending the tunnel-like experience for those entering. [Figs 1 and 74] Based on Ottoman documentary evidence, we believe this tower was commonly referred to as the “Water Gate” (Su Kapısı).
The top of this tower appears to have been reconstructed, using metal girders to support the roof. The first floor room was entered via the wall-walk from Tower 23 (see above). In the middle of its floor is a “murder hole” for use in attacking assailants in the passage below.
Currently, wheeled traffic is unable to enter this gate due to steps and a drainage channel now descending its central passageway. This was presumably a late alteration, probably coinciding with the creation of the opening in the west curtain wall to the south between Towers 20 and 21 (see above).
Tower 23
This tower overlooks the Port Yard and was probably interconnected with Tower 24 (the original Middle Gate) at its rooftop level. Extensive reconstruction of its fabric has added crenellations to its top and the tower’s roof is now vaulted. It is unclear whether the vaulting is original. [Fig 75]
Within the tower, two floor levels are evident. The one entered from the ground level of the Civil Yard (just outside the original Middle Gate into the Garrison Yard) is the upper chamber. [Fig 76] This room has a window that opens out into the Civil Yard, and three large windows that overlook the Port Yard to the west. [Fig 77] This upper room also has two openings in its internal south wall. One is a small loop window that penetrates to the outside, while the other provides access to a latrine in the thickness of the wall (p. 129, fig. 80) whose chute can be seen to exit into the Port Yard at the base of the west curtain wall just to the south of this tower. [Fig 78] The tower’s lower floor level has two triangular loop windows, one in its west and south walls.
Given this tower’s size, location, and internal features (especially those three large windows over the Port Yard), its primary function may have been to help provision the Garrison Yard directly from the Port Yard, possibly via a pulley system that could bring up supplies from below. Alternatively, it could have served as a fairly high-status residence (with nice lighting fixtures and a private latrine) for the gatekeeper of the Middle Gate between the Civil and Garrison Yards. Based on Ottoman documentary evidence, we believe this tower was called the “Fireplace Tower” (Ocaklı Kule). 14
Original Towers and Reconstructed Towers
The original form of the towers around the Civil Yard appears to have been either circular or square, with the possible exception of the octagonal Tower 11. At some point, many of these towers were re-designed as polygons, probably to defend against as well as to mount cannons. This reconstruction probably also involved the infilling of some hollow towers, giving them the necessary bulk required to support heavy cannons. A clue as to the dating of this reconstruction may be found in the banded brick masonry seen in many of the polygonal towers along the south curtain wall (including the octagonal Tower 11). This banding mimics the famous Theodosian walls of Constantinople, possibly suggesting that the banding masonry should be associated with the Ottoman occupation, though it is possible that the Moldavians themselves could have mimicked this masonry during the 15th century. [Figs 51 and 56, 57, 58 and 59]
Internal Bastions
As was noted earlier, sets of three towers at angled sections along the east and south curtain walls of the Civil Yard were reconstructed at some point to form internal artillery bastions (in lieu of tearing down Akkerman’s defenses and building a modern Vauban-style fortress). This occurred around Towers 7, 11, and 17, and involved the thickening of the curtain walls at these points and the creation of cannon embrasures atop the adjoining curtain walls towards both neighboring towers on either side (i.e. linking Towers 6 thru 8, Towers 10 thru 12, and Towers 16 thru 18). Although the casemates built behind these towers to support the guns are now mostly gone15 , the putlog holes at the back of the curtain walls provide evidence of their existence, as do the contour lines depicted on the 1950s plan. [Fig 1]
10 Note that a town also grew outside the fortress beyond the ditch at some point in time.
11 The one to the right (north) may house a latrine since a chute exits from it into the ditch. [Fig 44]
12 Note that this tower was incorrectly depicted as symmetrical in the 1950s (Şlapac, p. 123)—it actually lacks the additional part on its west side.
13 The structure currently sports a roof, though this was apparently missing in the 1950s (p. 92).
14 The existence of a fireplace in this tower has been confirmed by Mariana Şlapac.
15 One can still see casemate remains between Towers 7 and 8 and Towers 11 and 12.
top of page
View all images
index
next
back
|
